Documentation
Techlon - Technology & IT Solutions WordPress Theme
Thank you so much for purchasing our item from themeforest.
- Version: 1.0
- Author: Pearstheme
- Created: 20 April, 2023
- Update: 20 April, 2023
If you have any questions that are beyond the scope of this help file, Please feel free to email via Item Support Page.
WordPress Installation
Below are all the useful links for WordPress information:
- WordPress Codex – general info about WordPress and how to install on your server.
- First Steps With WordPress – general information that covers a wide variety of topics.
- FAQ New To WordPress – the most popular FAQ’s regarding WordPress.
Follow the steps below to setup Install WordPress::
Before beginning the installation and configuring of your new theme, you must have WordPress installed. If you need to install WordPress then please visit: http://wordpress.org/download/. If you need any help with the installation , please refer to this guide: http://codex.wordpress.org/Installing_WordPress.
Here is a brief step by step on how to install WordPress:
- Download and unzip the WordPress package if you haven't already.
- Techlon a database for WordPress on your web server, as well as a MySQL user who has all privileges for accessing and modifying it.
- Upload the WordPress files in the desired location on your web server:
- If you want to integrate WordPress into the root of your domain (e.g. http://example.com/), move or upload all contents of the unzipped WordPress directory (but excluding the directory itself) into the root directory of your web server.
- If you want to have your WordPress installation in its own subdirectory on your web site (e.g. http://example.com/blog/), create the blog directory on your server and upload WordPress to the directory via FTP. Note: If your FTP client has an option to convert file names to lower case, make sure it's disabled.
- Run the WordPress installation script by accessing wp-admin/install.php in a web browser.
- If you installed WordPress in the root directory, you should visit: http://example.com/wp-admin/install.php
- If you installed WordPress in its own subdirectory called blog, for example, you should visit: http://example.com/blog/wp-admin/install.php
Install Theme
Once you've downloaded the installation file on ThemeForest, extract it and locate a file called techlon.zip. You can install the theme by using one of two installation methods:
WordPress Upload
- Login to WordPress admin.
- Go to Admin panel > Appearance > Themes > Add New > Upload Theme.
-
Click on Choose File and select
techlon.zip. - Click on Install Now.
- When your theme is successfully installed, click Activate to activate the newly installed theme.
FTP Upload
- Using FTP client, login to the server where your WordPress website is hosted.
-
Using FTP client, navigate to the
/wp-content/themes/directory under your WordPress website's root directory. -
Using FTP client, upload the
techlondirectory to themes directory on remote server. - Once uploaded, navigate to Dashboard > Appearance > Themes in the WordPress Dashboard and hit Activate below your newly uploaded theme.
General Settings
Set Home PAge and Blog Page. WP-admin >> Settings >> Reading
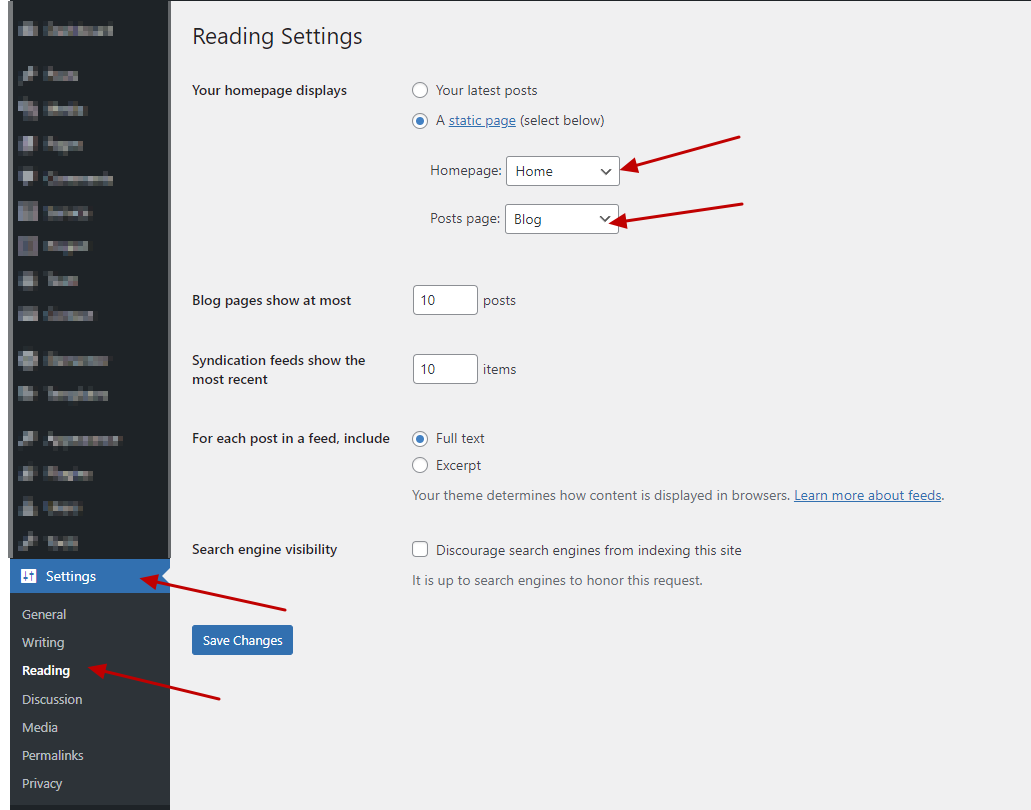
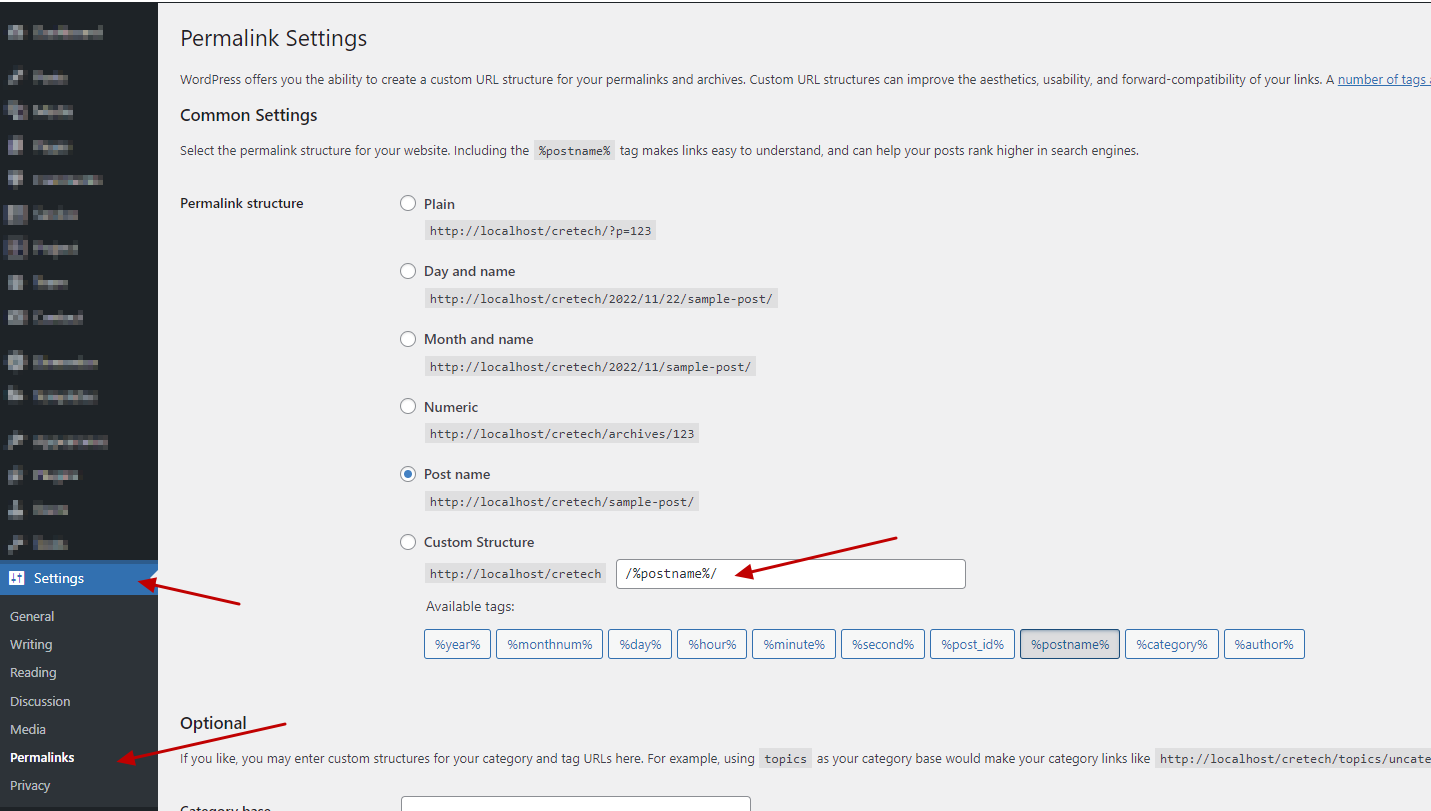
Set Permalink. WP-admin >> Settings >> Permalinks
Menu Settings
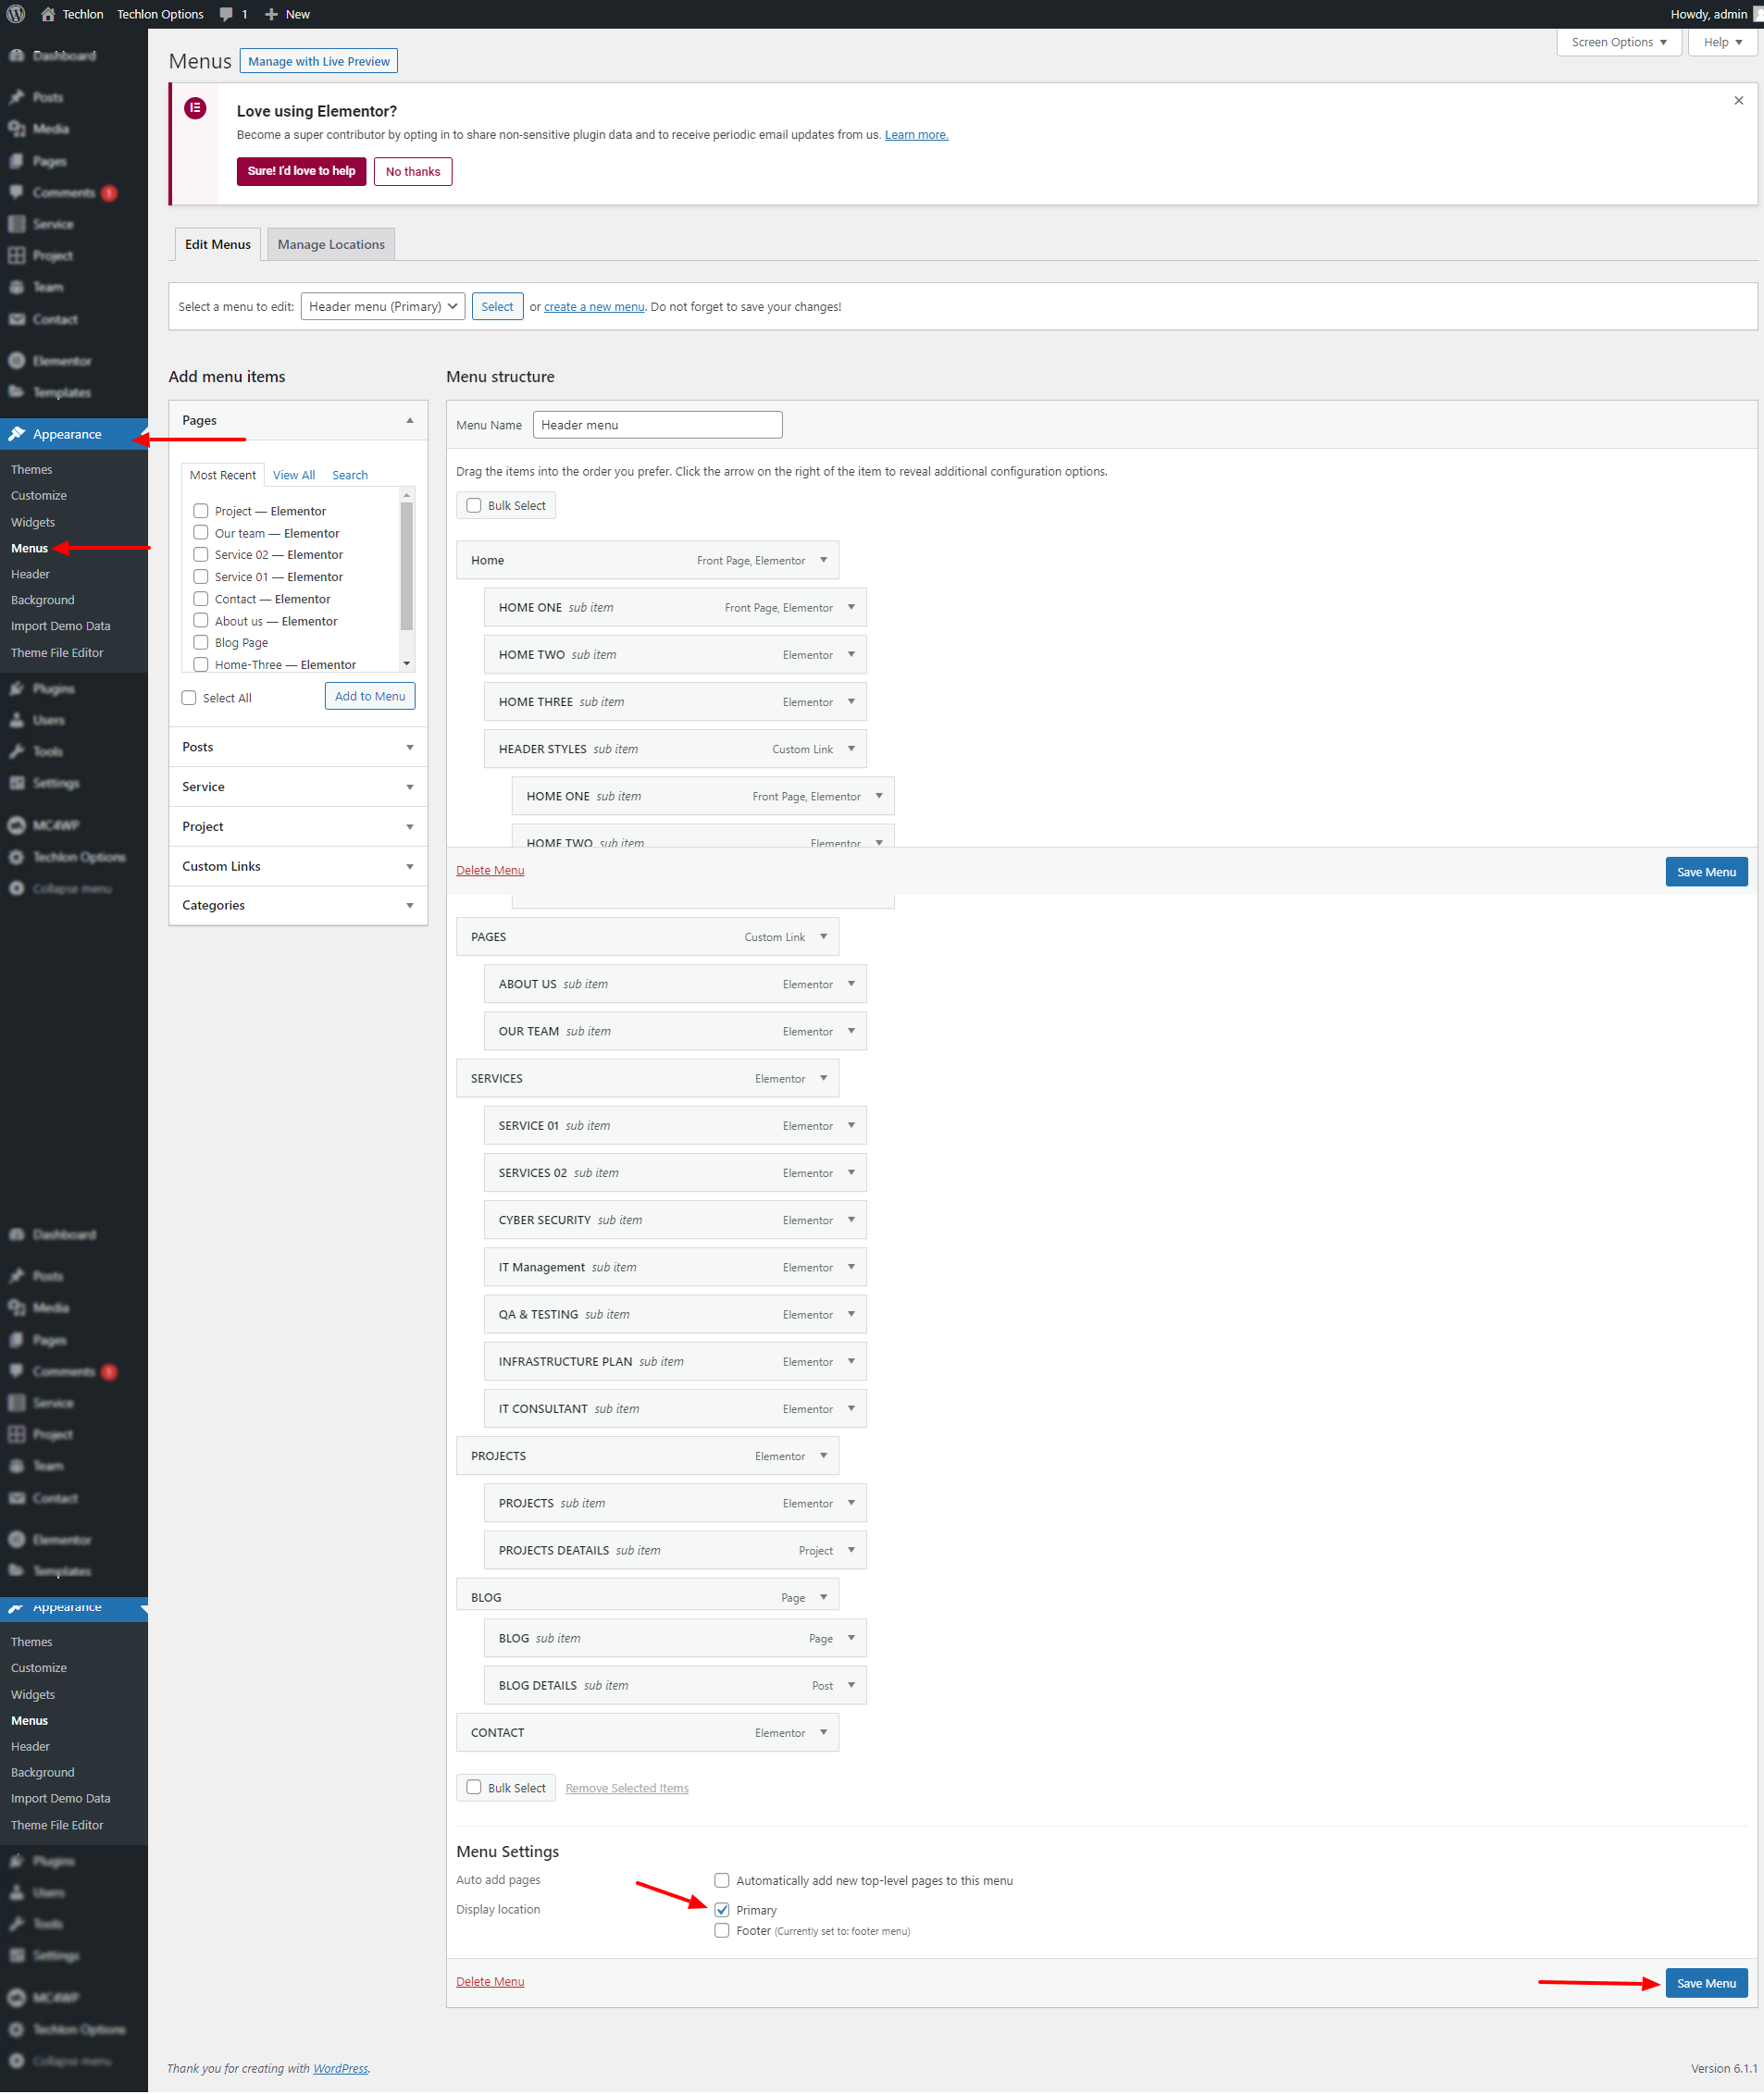
Techlon Menu and add pages in it and Set the Display Location. Wp-admin >> Appearance >> Menu
Page Settings
Wp-admin >> Page >> Add New
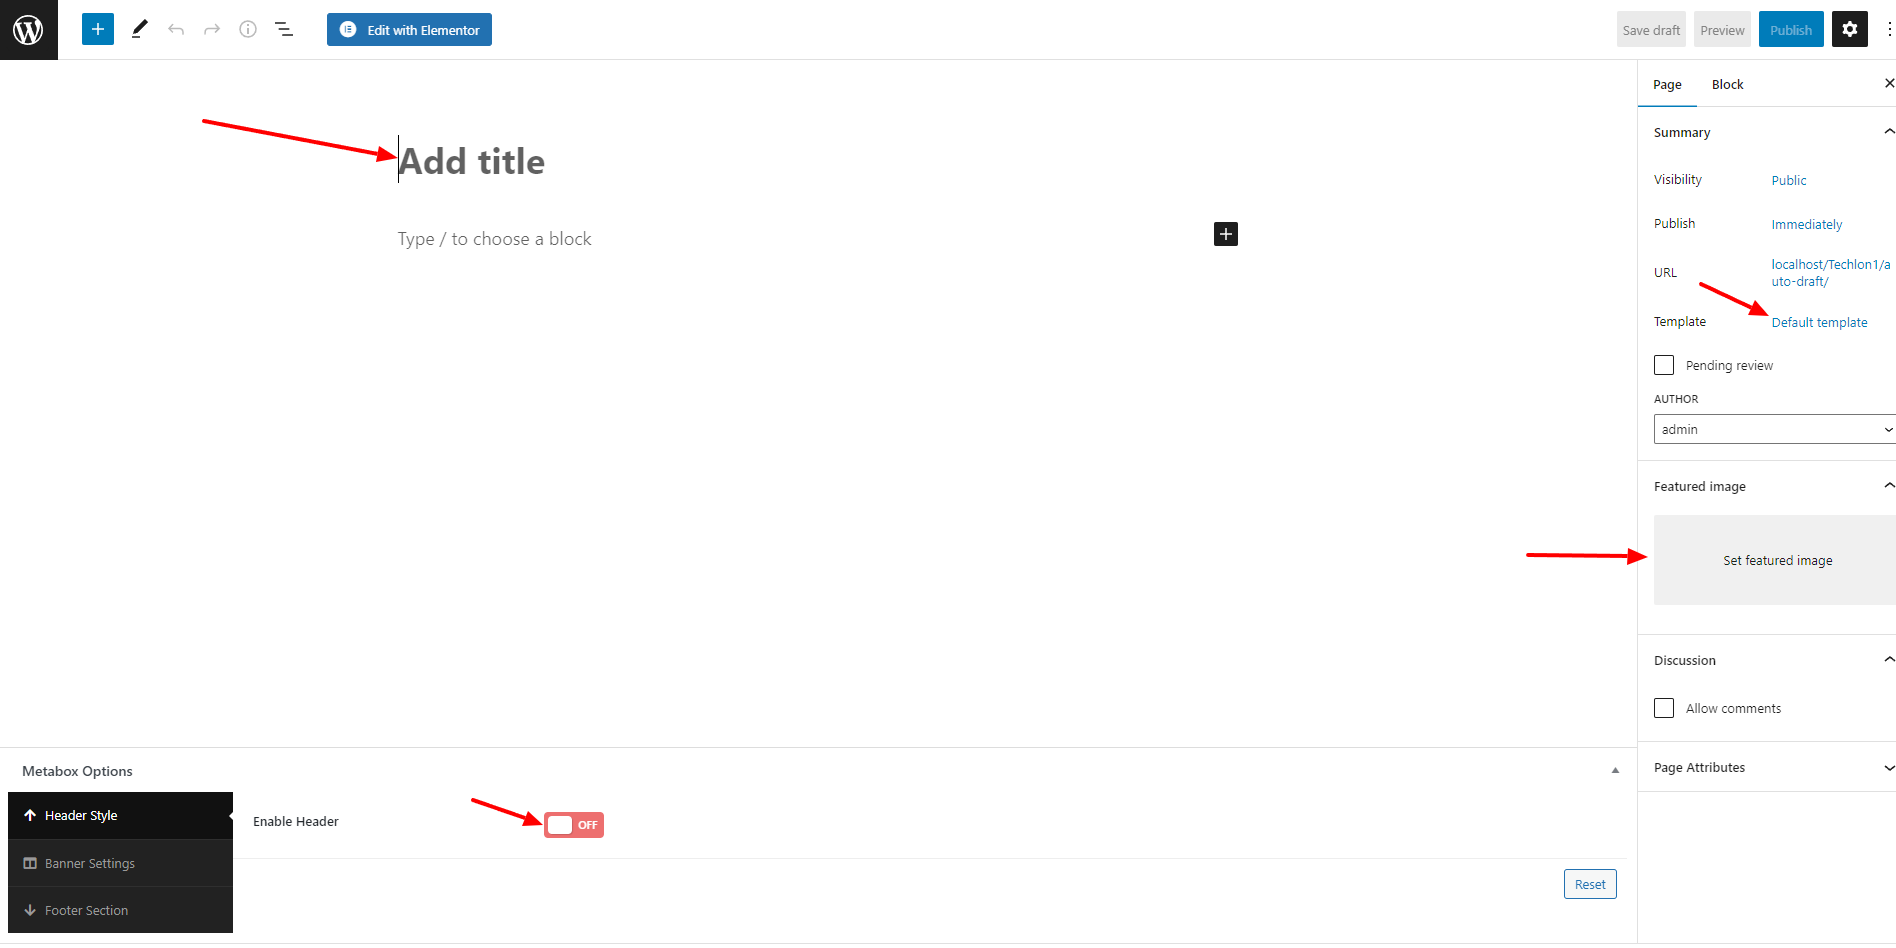
If you Want to change header style for particular page , enable it and choose style. Otherwise it will be default header as other pages.
Set Page Template to Full Width Page for Batter View.
Theme Options Setting (Techlon Options)
Documentation for Header, Typography, Color, Sidebar, Footer
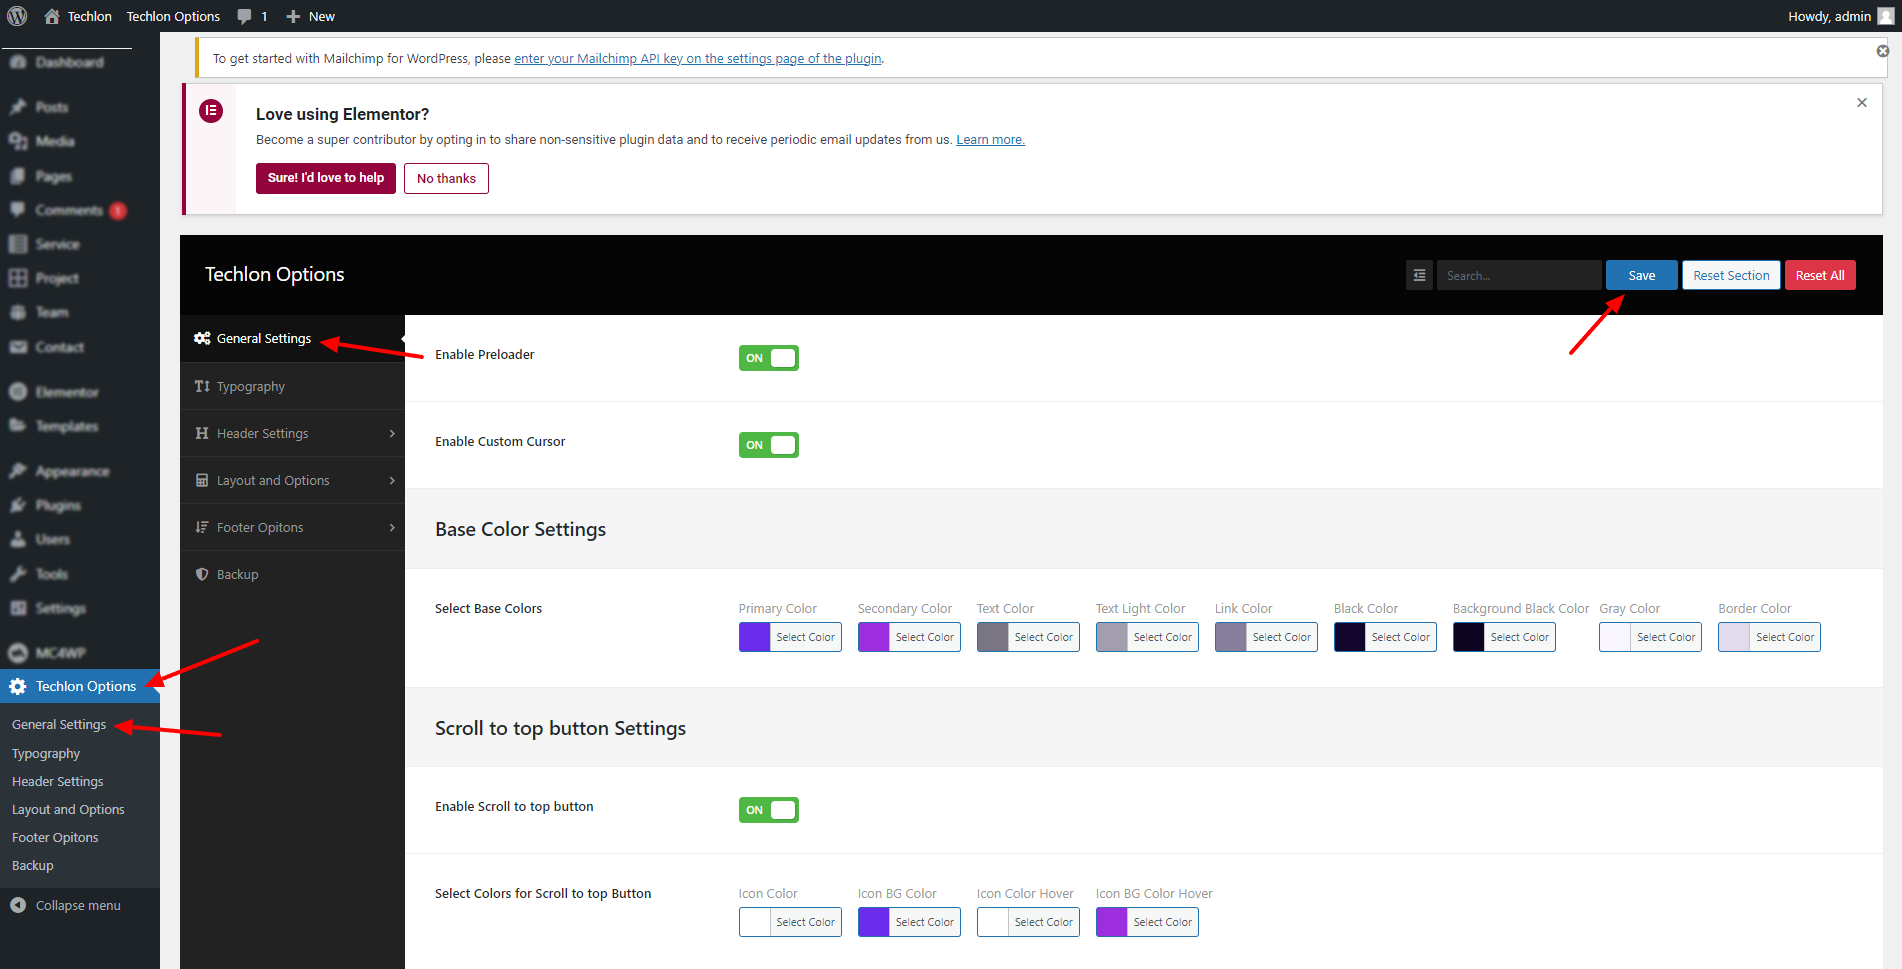
General Setting
wp-admin >> Techlon Options >> General Setting
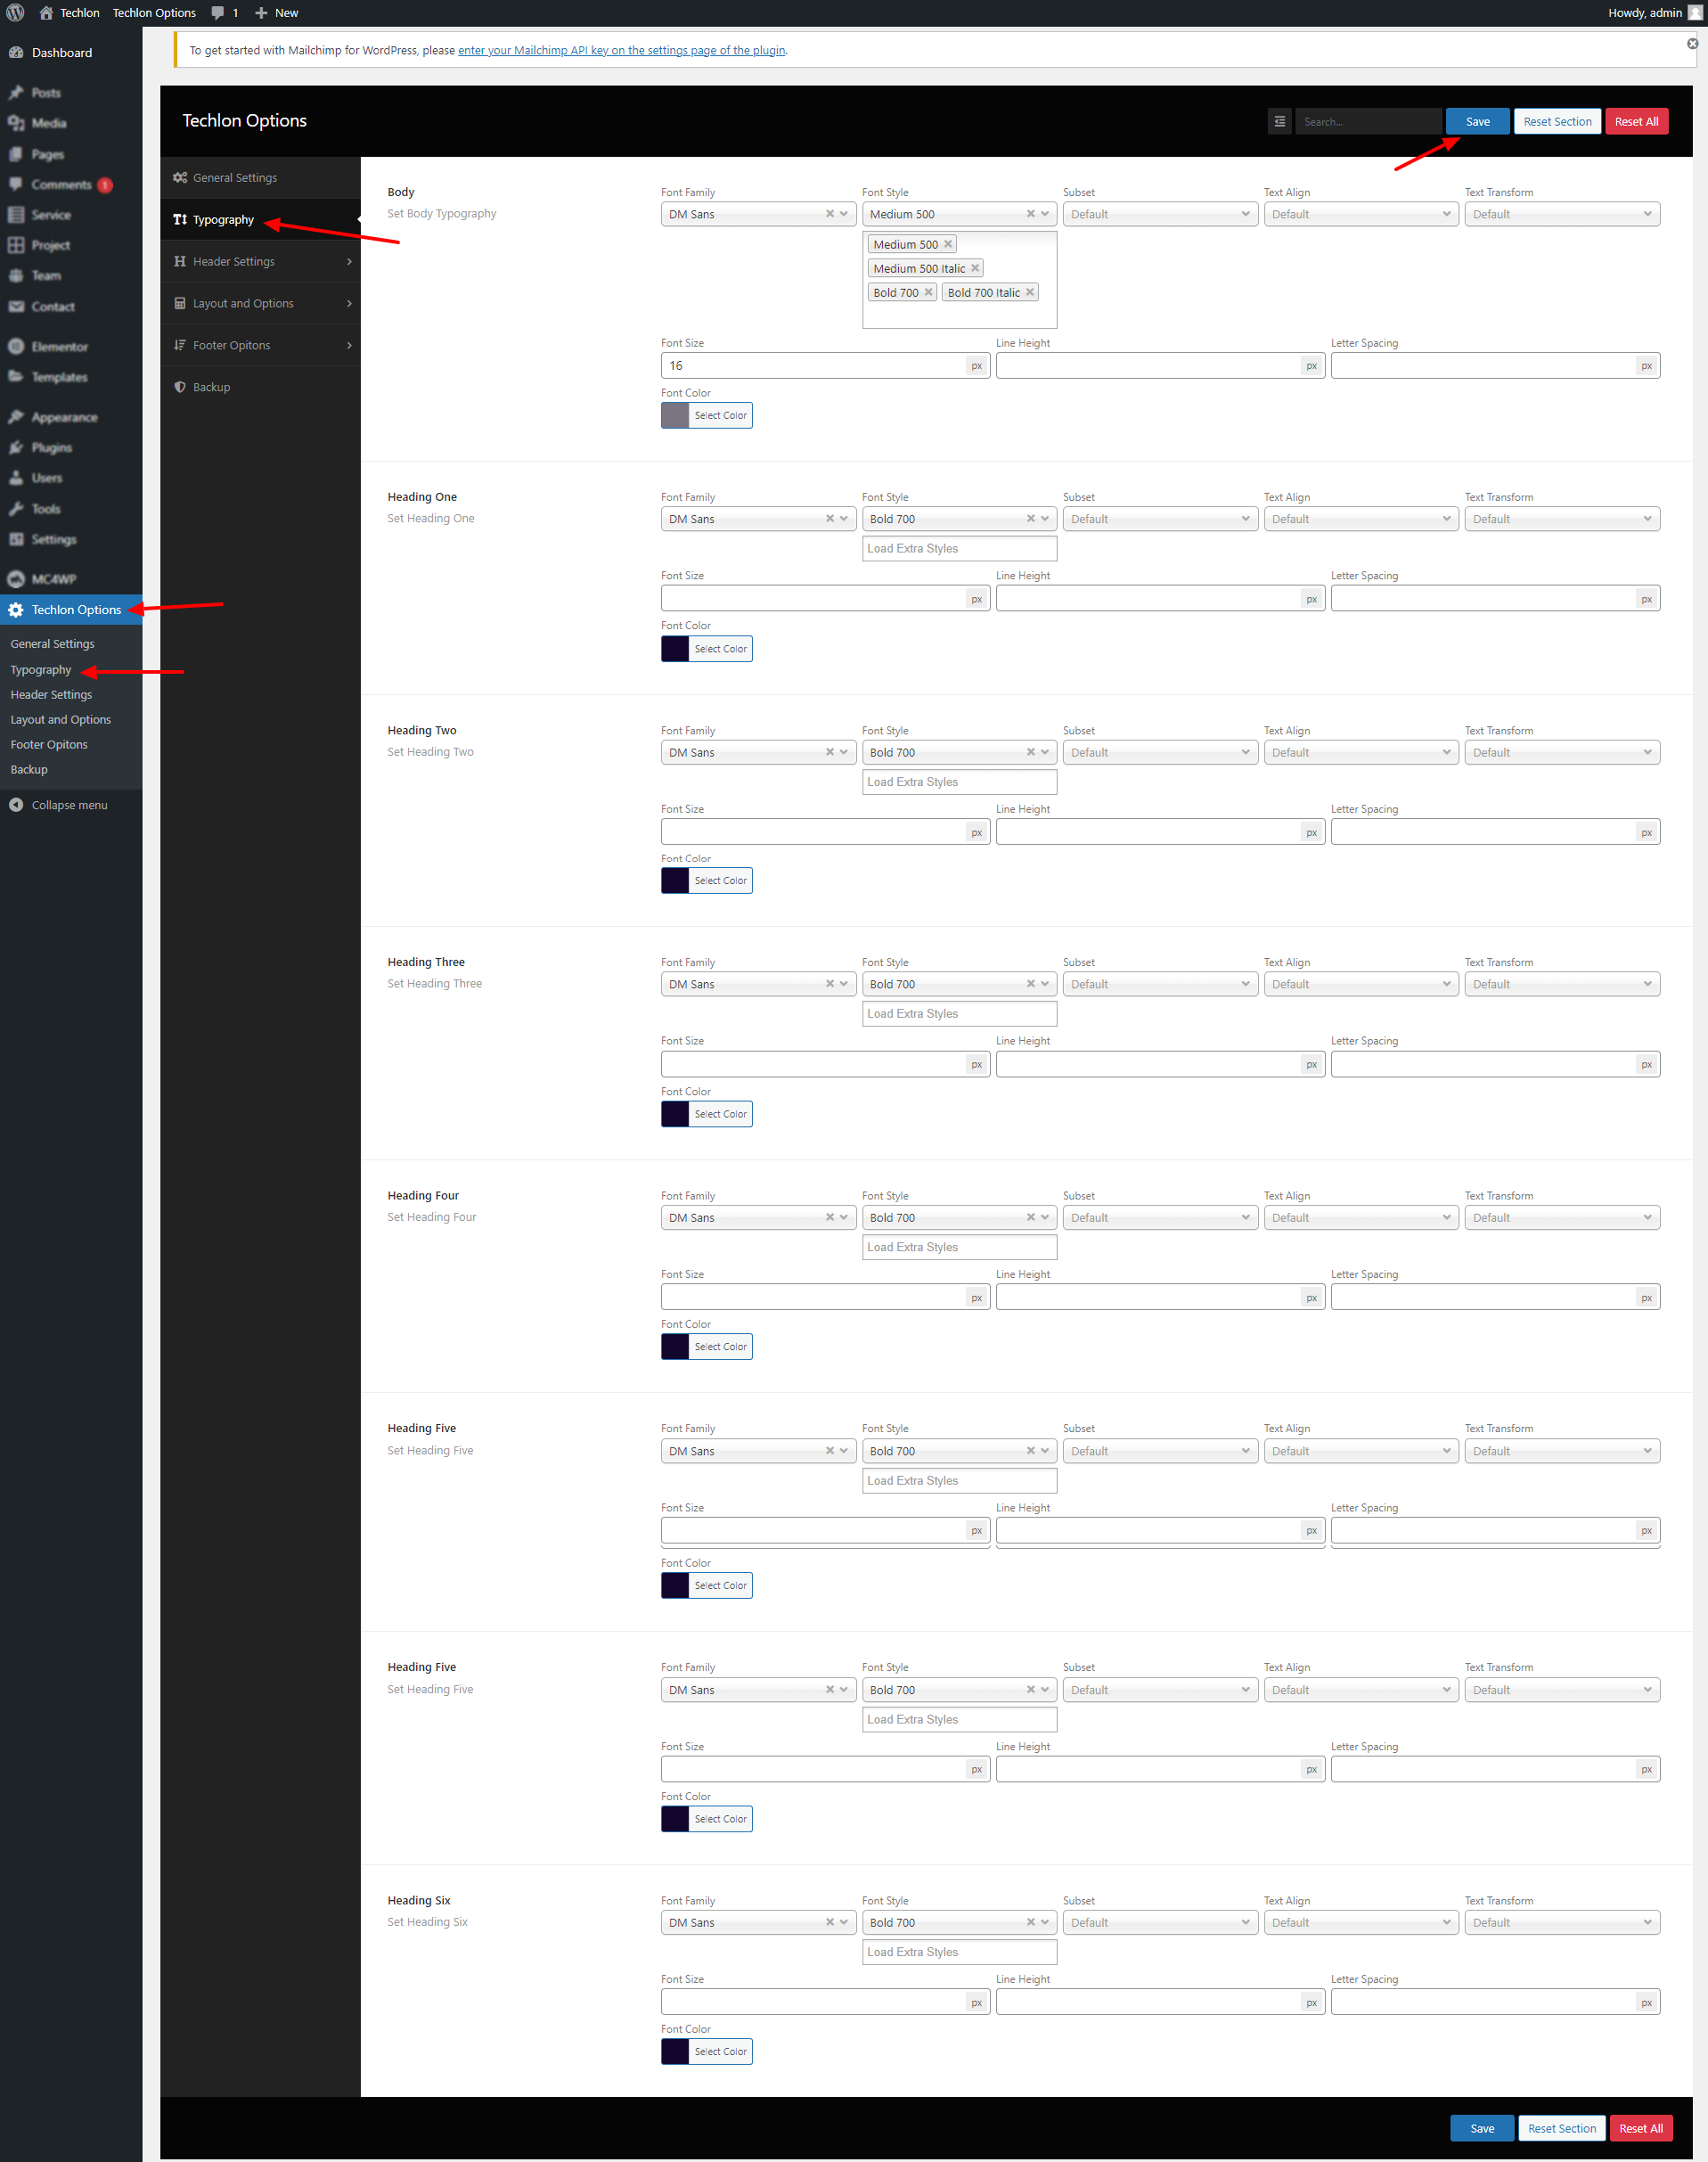
Typography Setting
wp-admin >> Techlon Options >> Typography
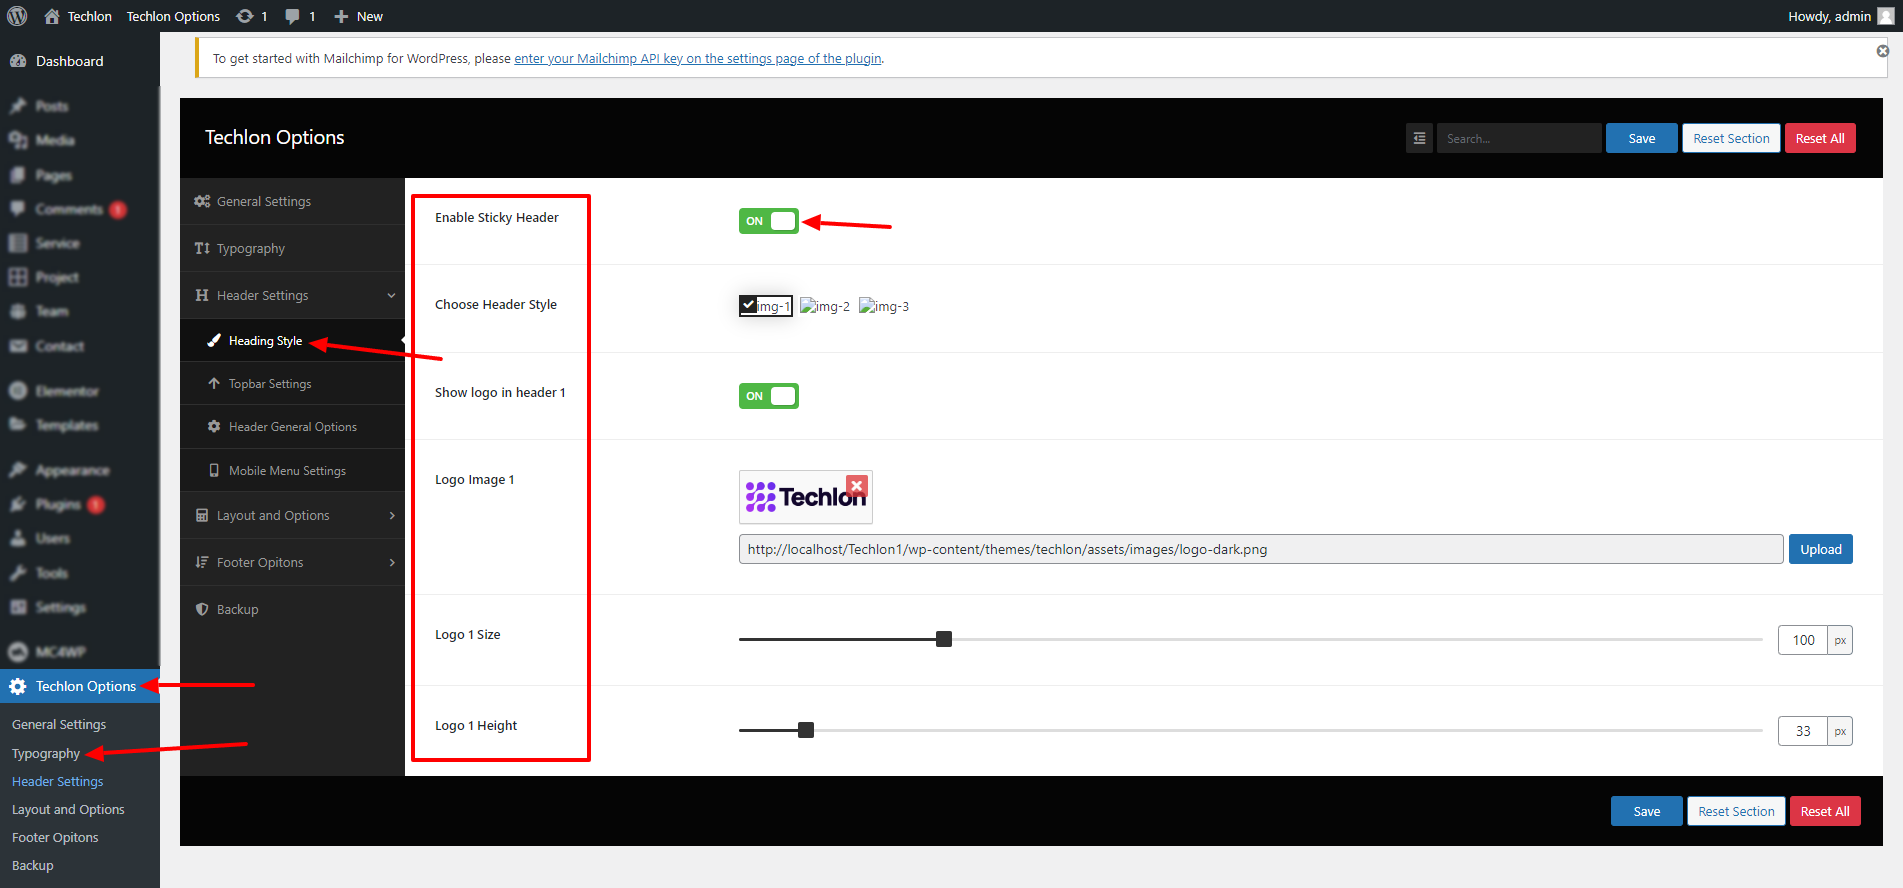
Header Style Settings
wp-admin >> Techlon Options >> Header Settings >> Header Style
Topbar Settings
wp-admin >> Techlon Options >> Header Settings >> Topbar Style

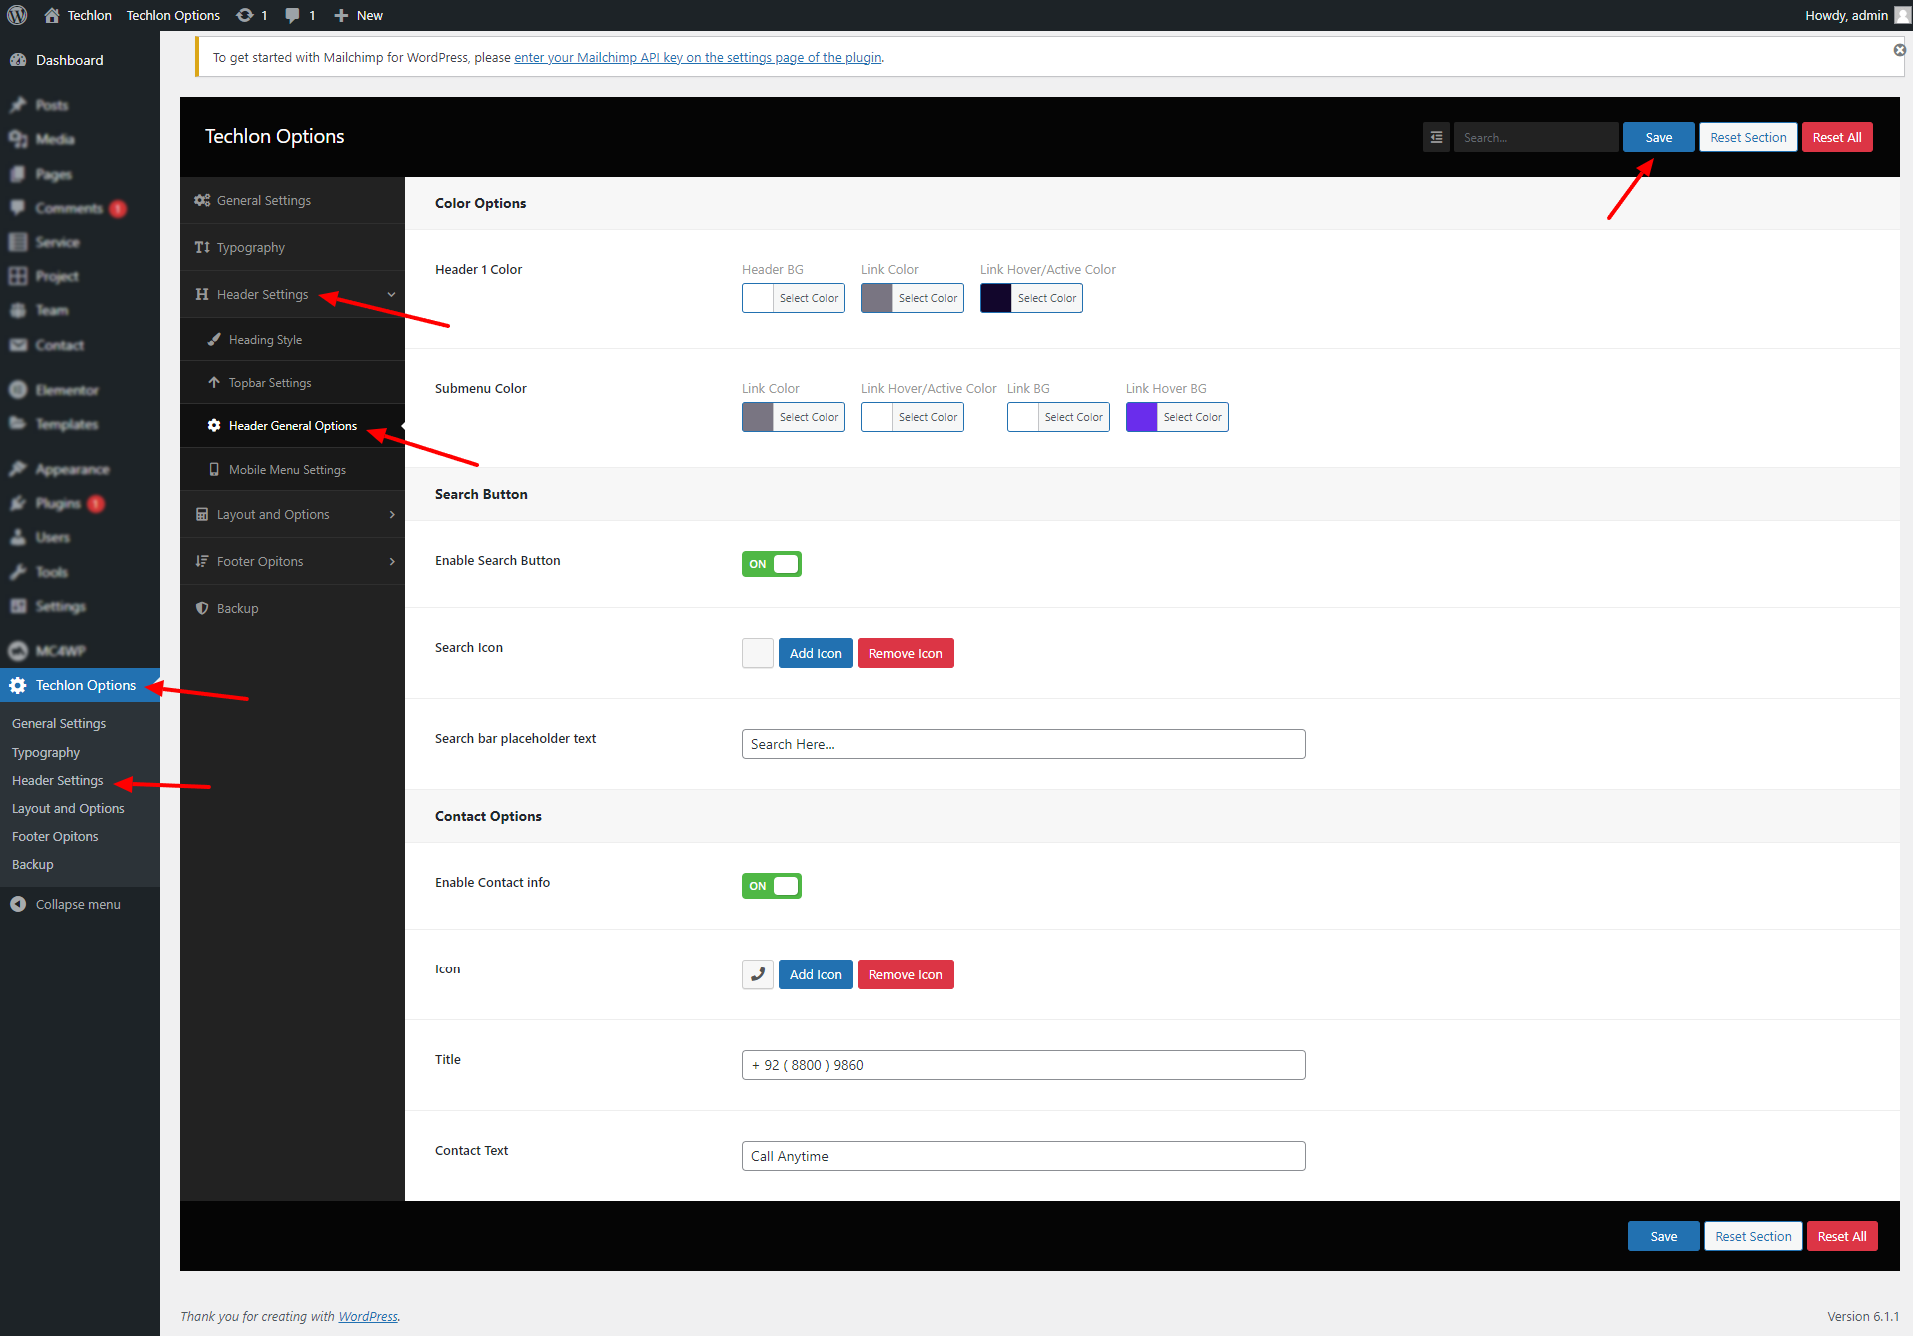
Header General Settings
wp-admin >> Techlon Options >> Header Settings >> Header General Style
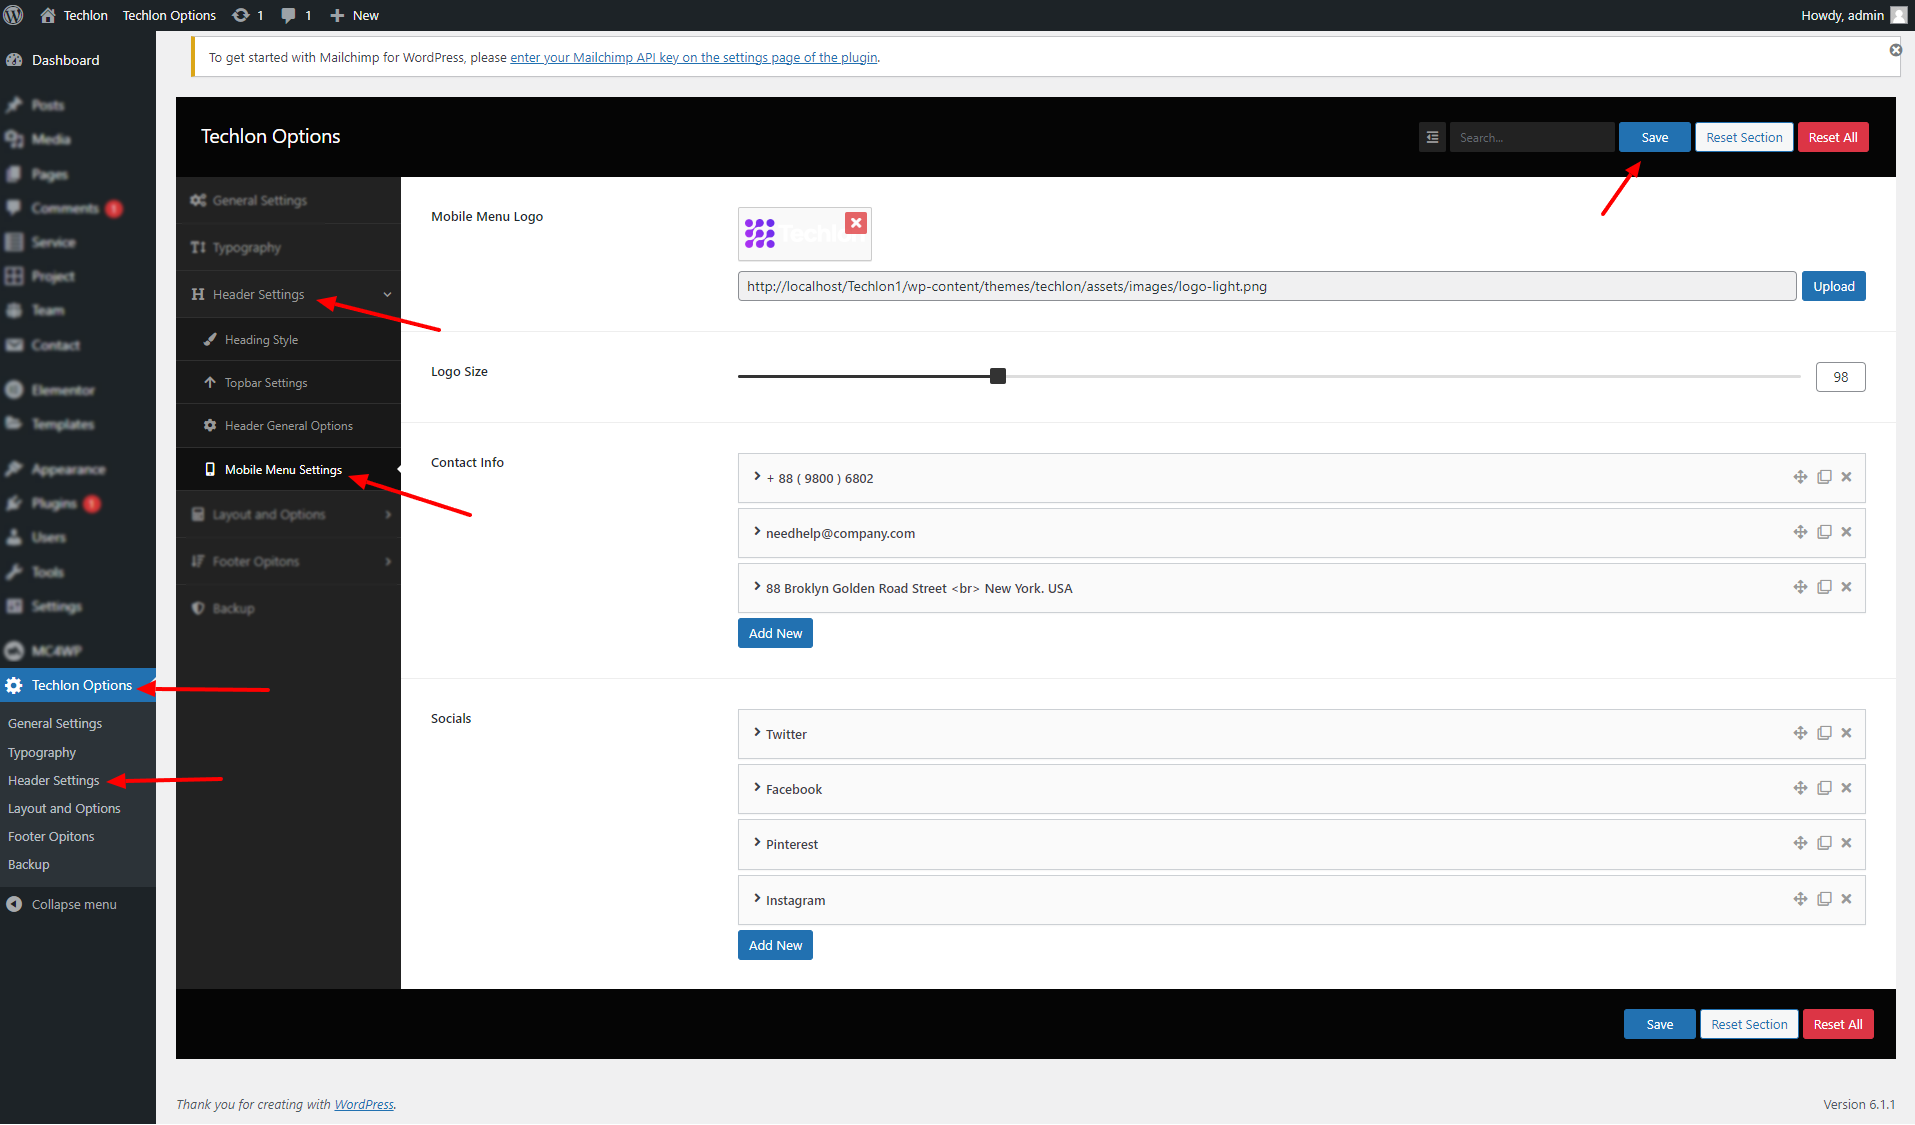
Mobile Menu Settings
wp-admin >> Techlon Options >> Header Settings >> Mobile Menu Settings
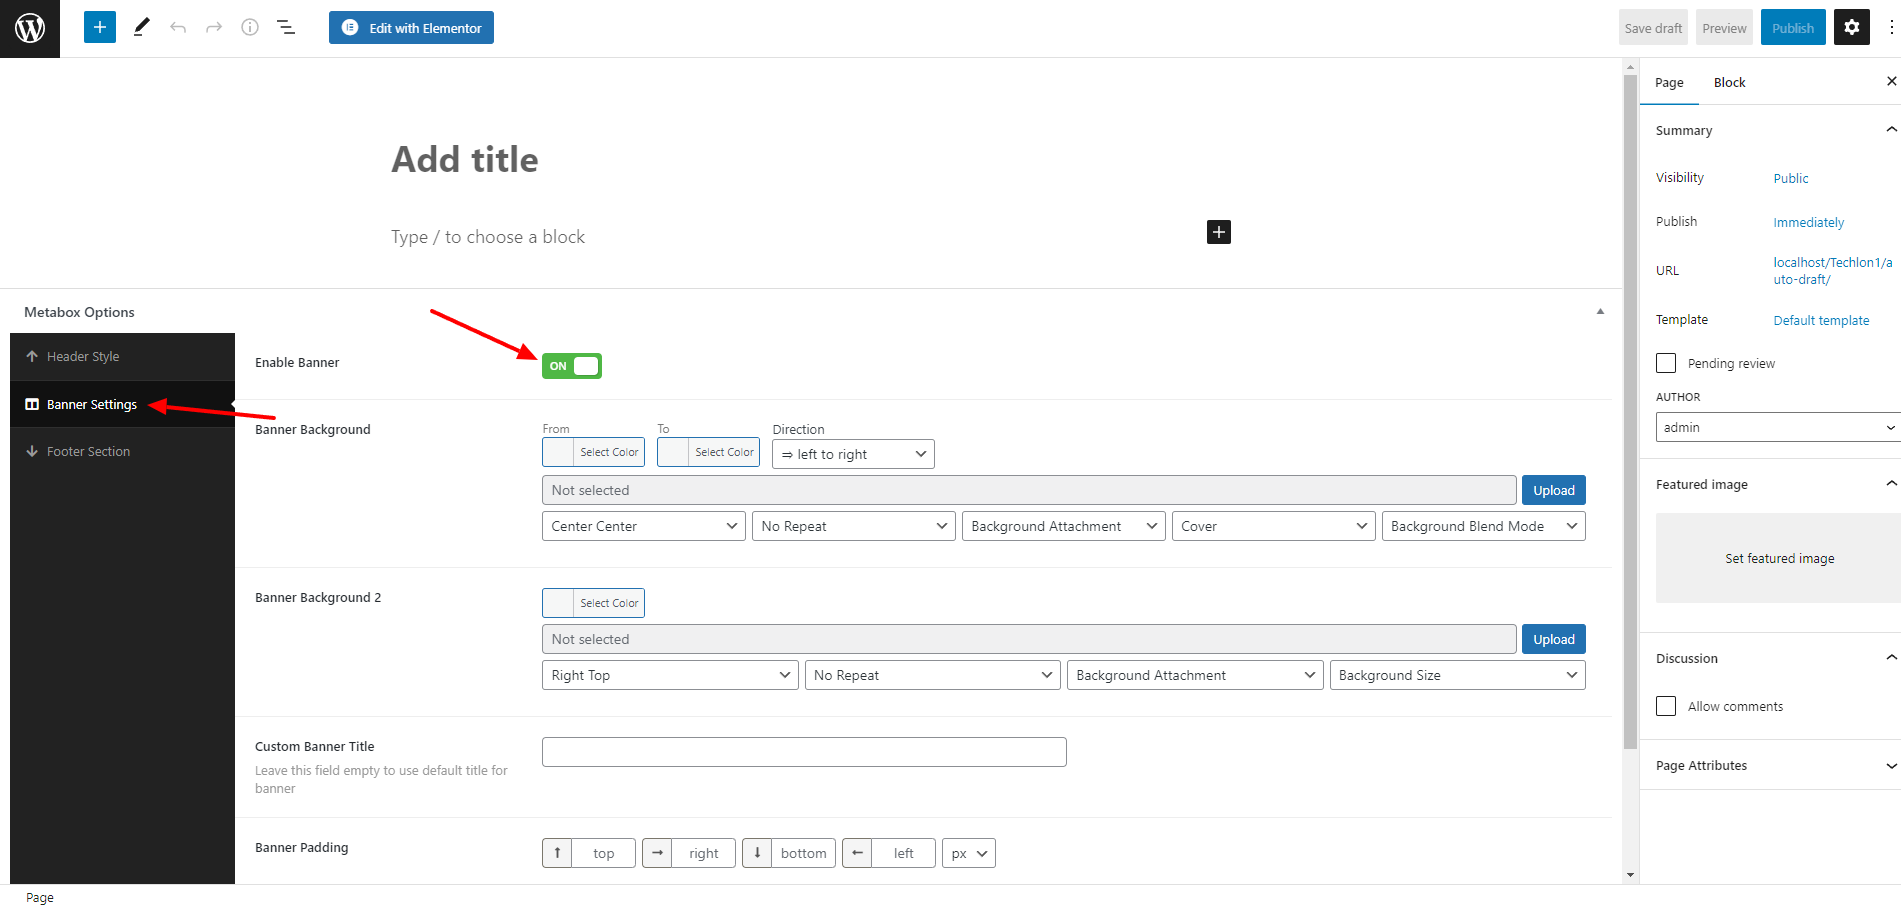
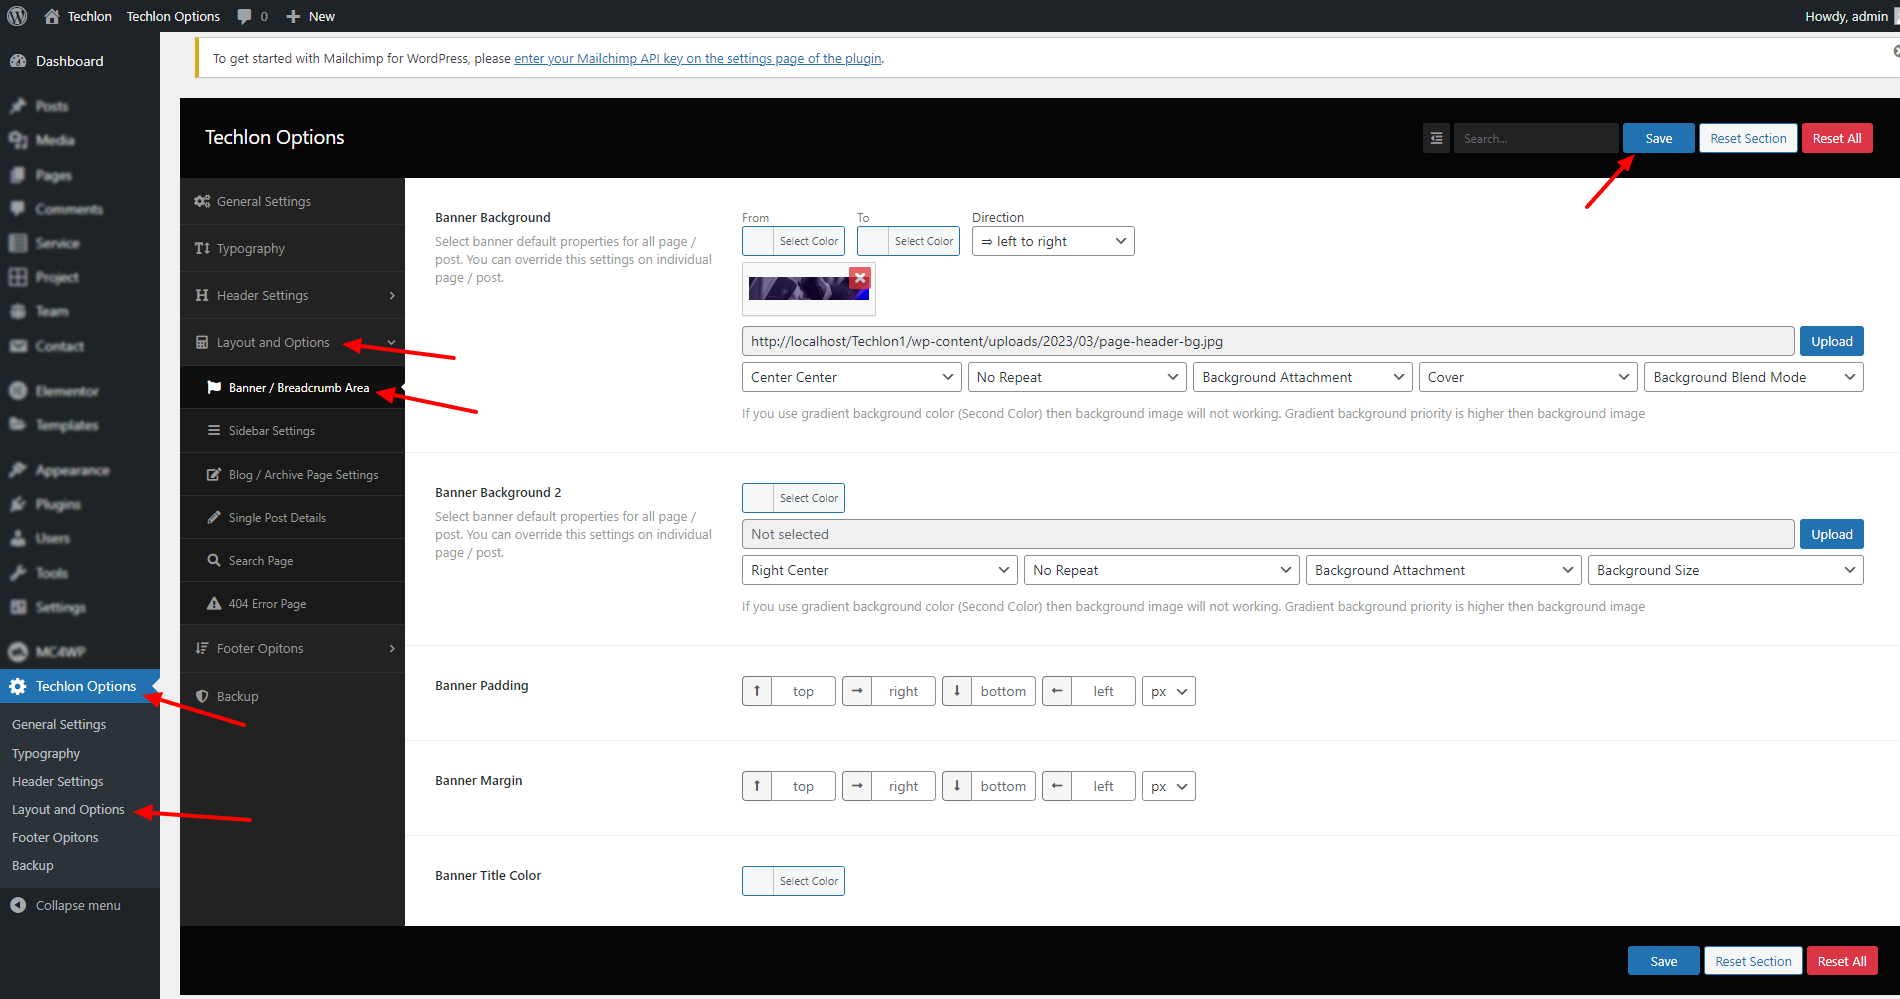
Banner Settings
wp-admin >> Techlon Options >> Layout and Options >> Banner Breadcrumb Area
Sidebar Settings
wp-admin >> Techlon Options >> Layout and Options >> Sidebar Settings

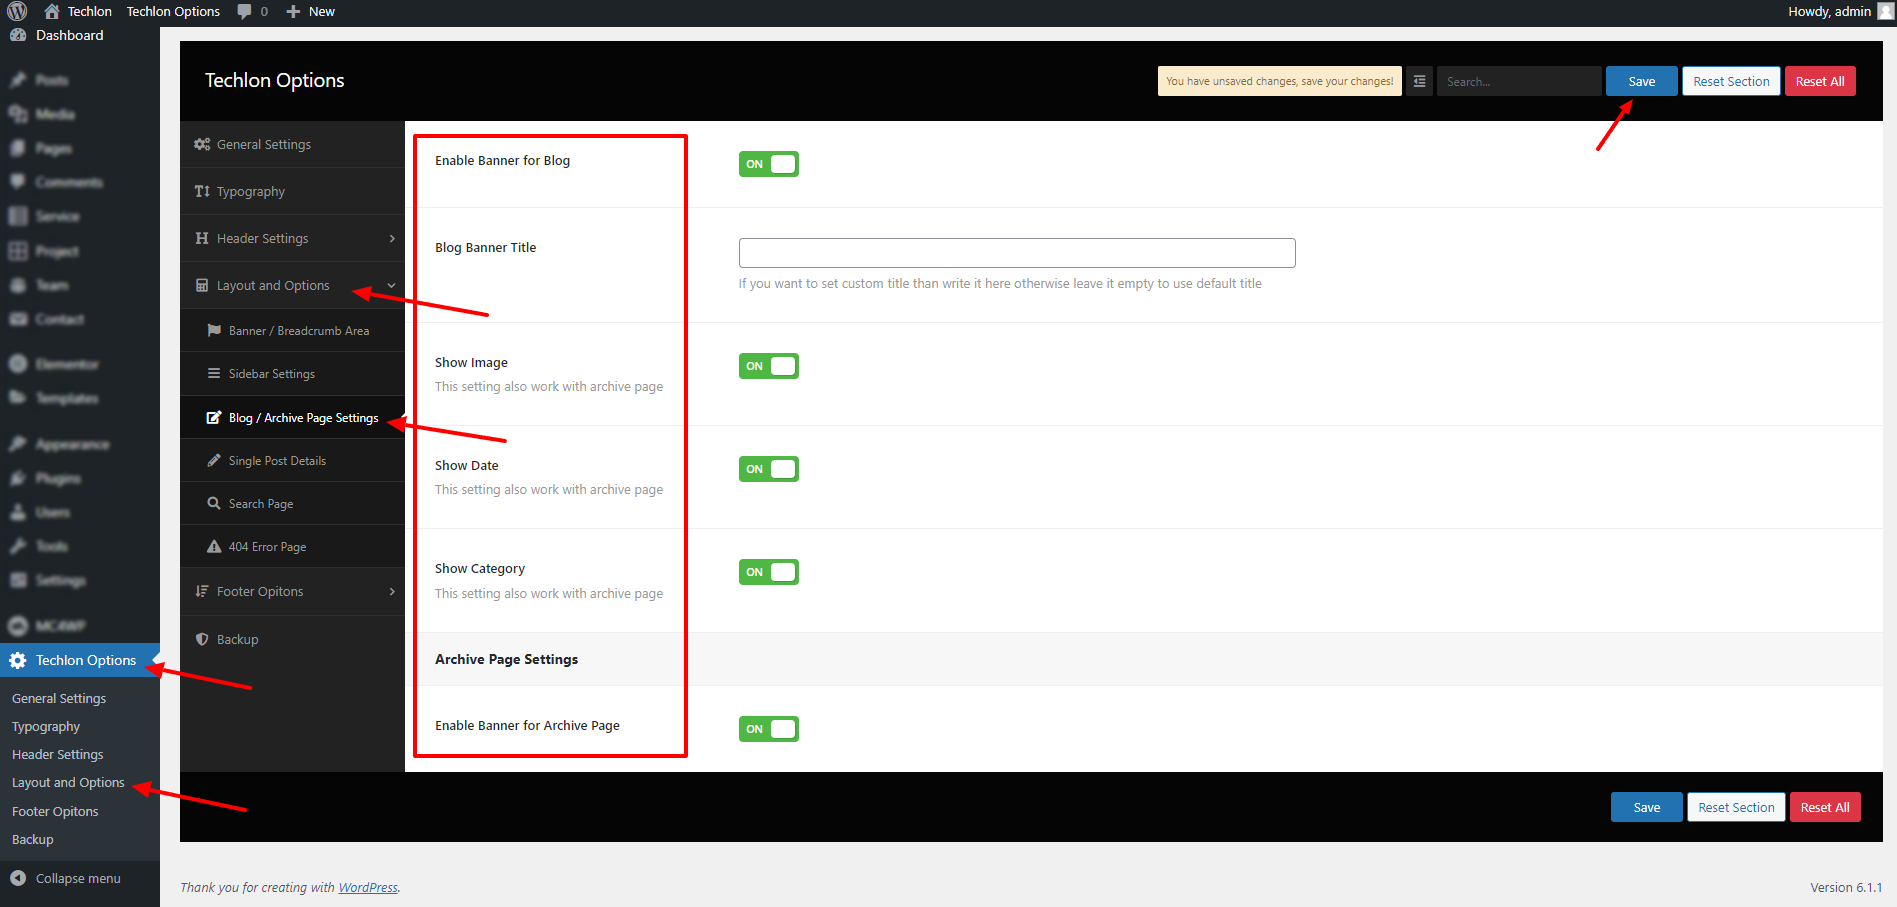
Blog/ Archive Page Settings
wp-admin >> Techlon Options >> Layout and Options >> Blog/ Archive Page Settings
Single Post Details Settings
wp-admin >> Techlon Options >> Layout and Options >> Single Post Details

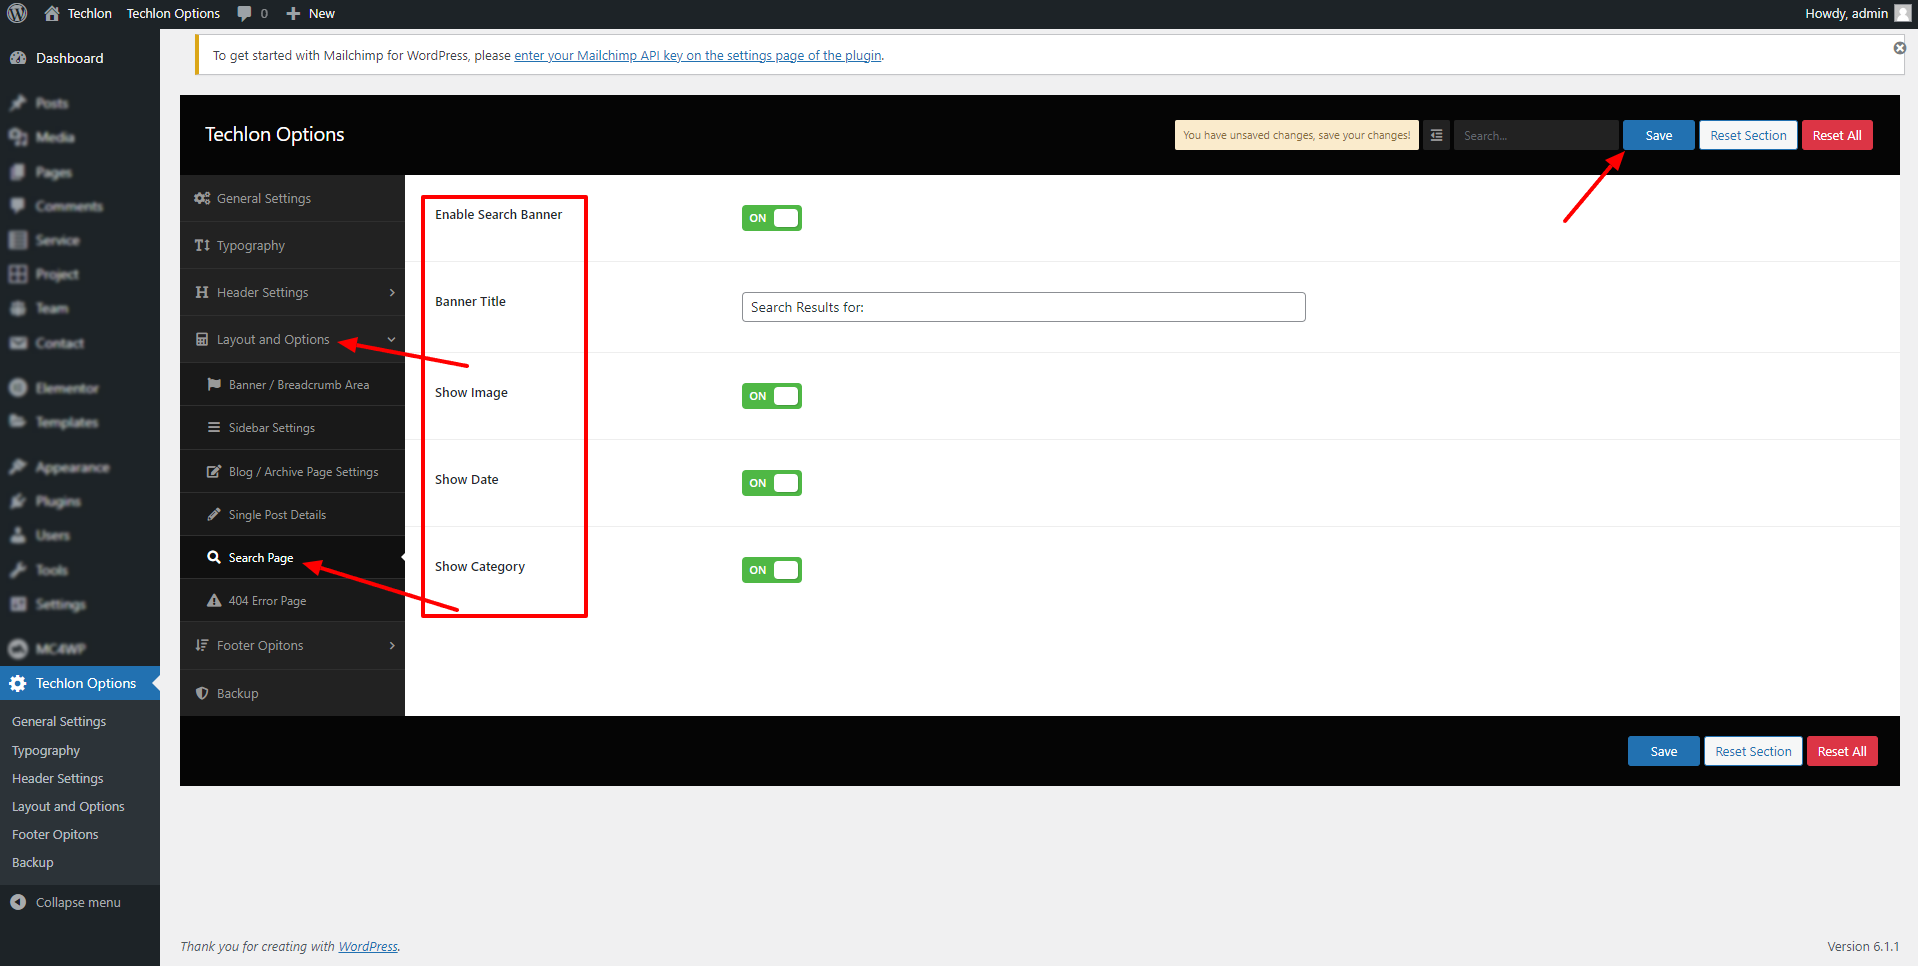
Search Page Settings
wp-admin >> Techlon Options >> Layout and Options >> Search Page Settings
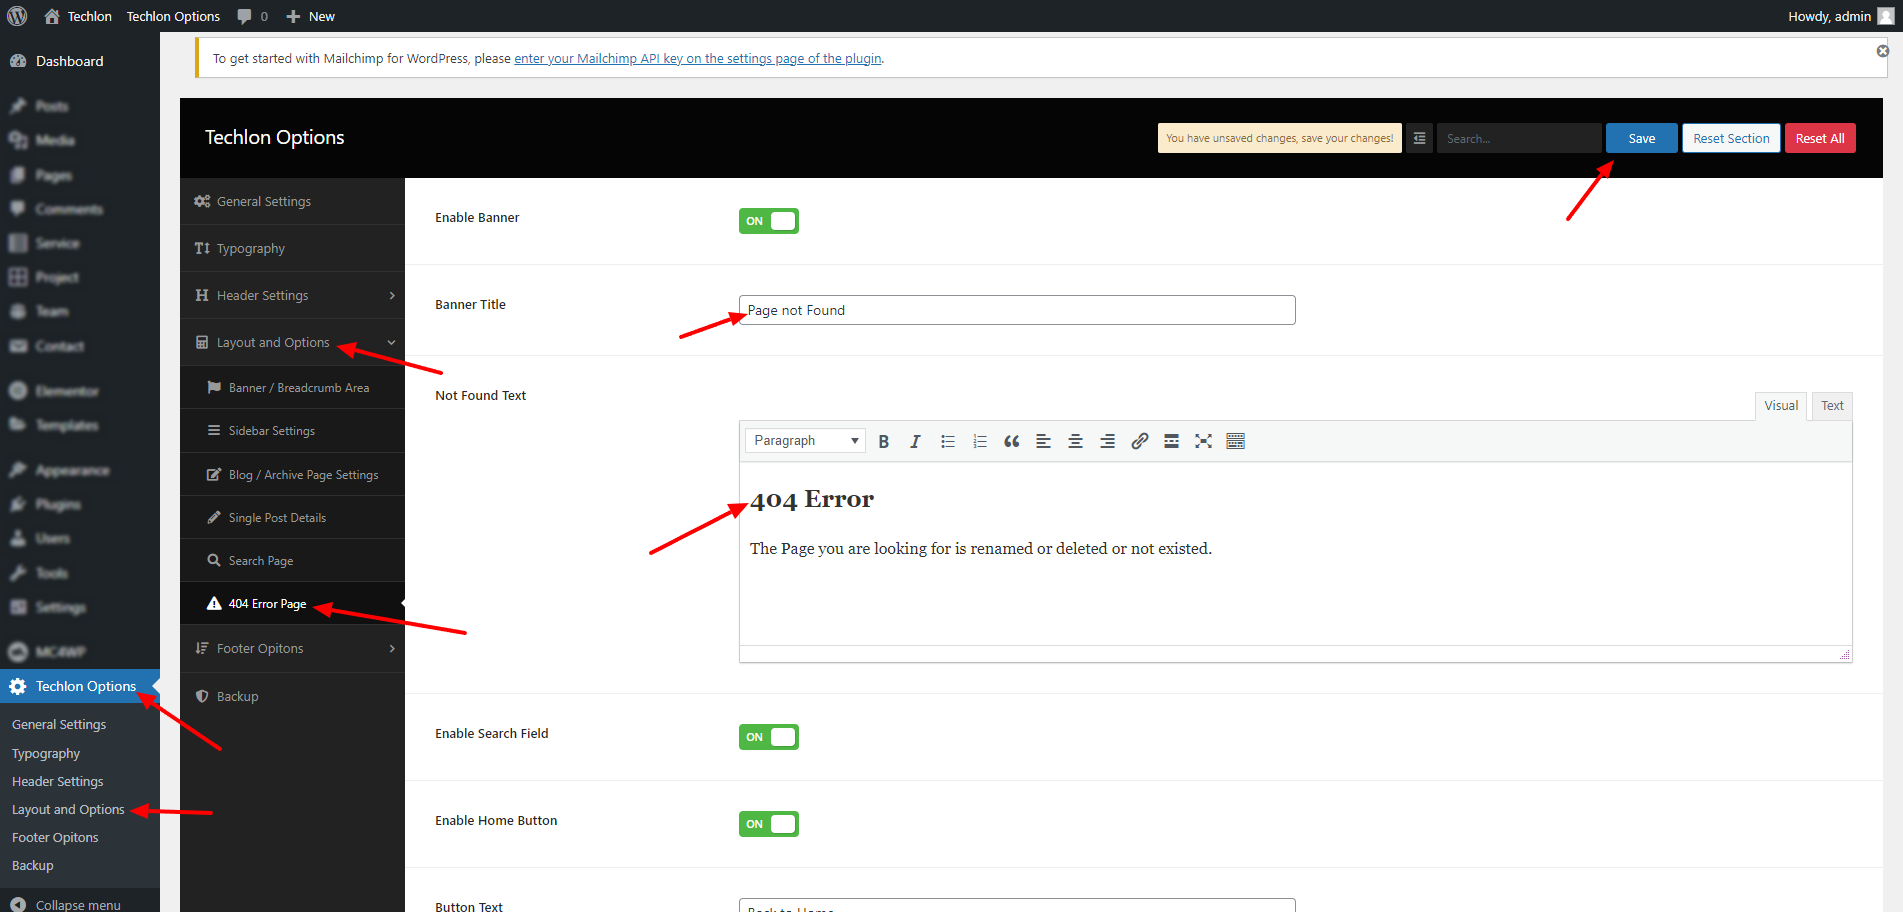
Error 404 Page Settings
wp-admin >> Techlon Options >> Layout and Options >> Error 404 Page Settings
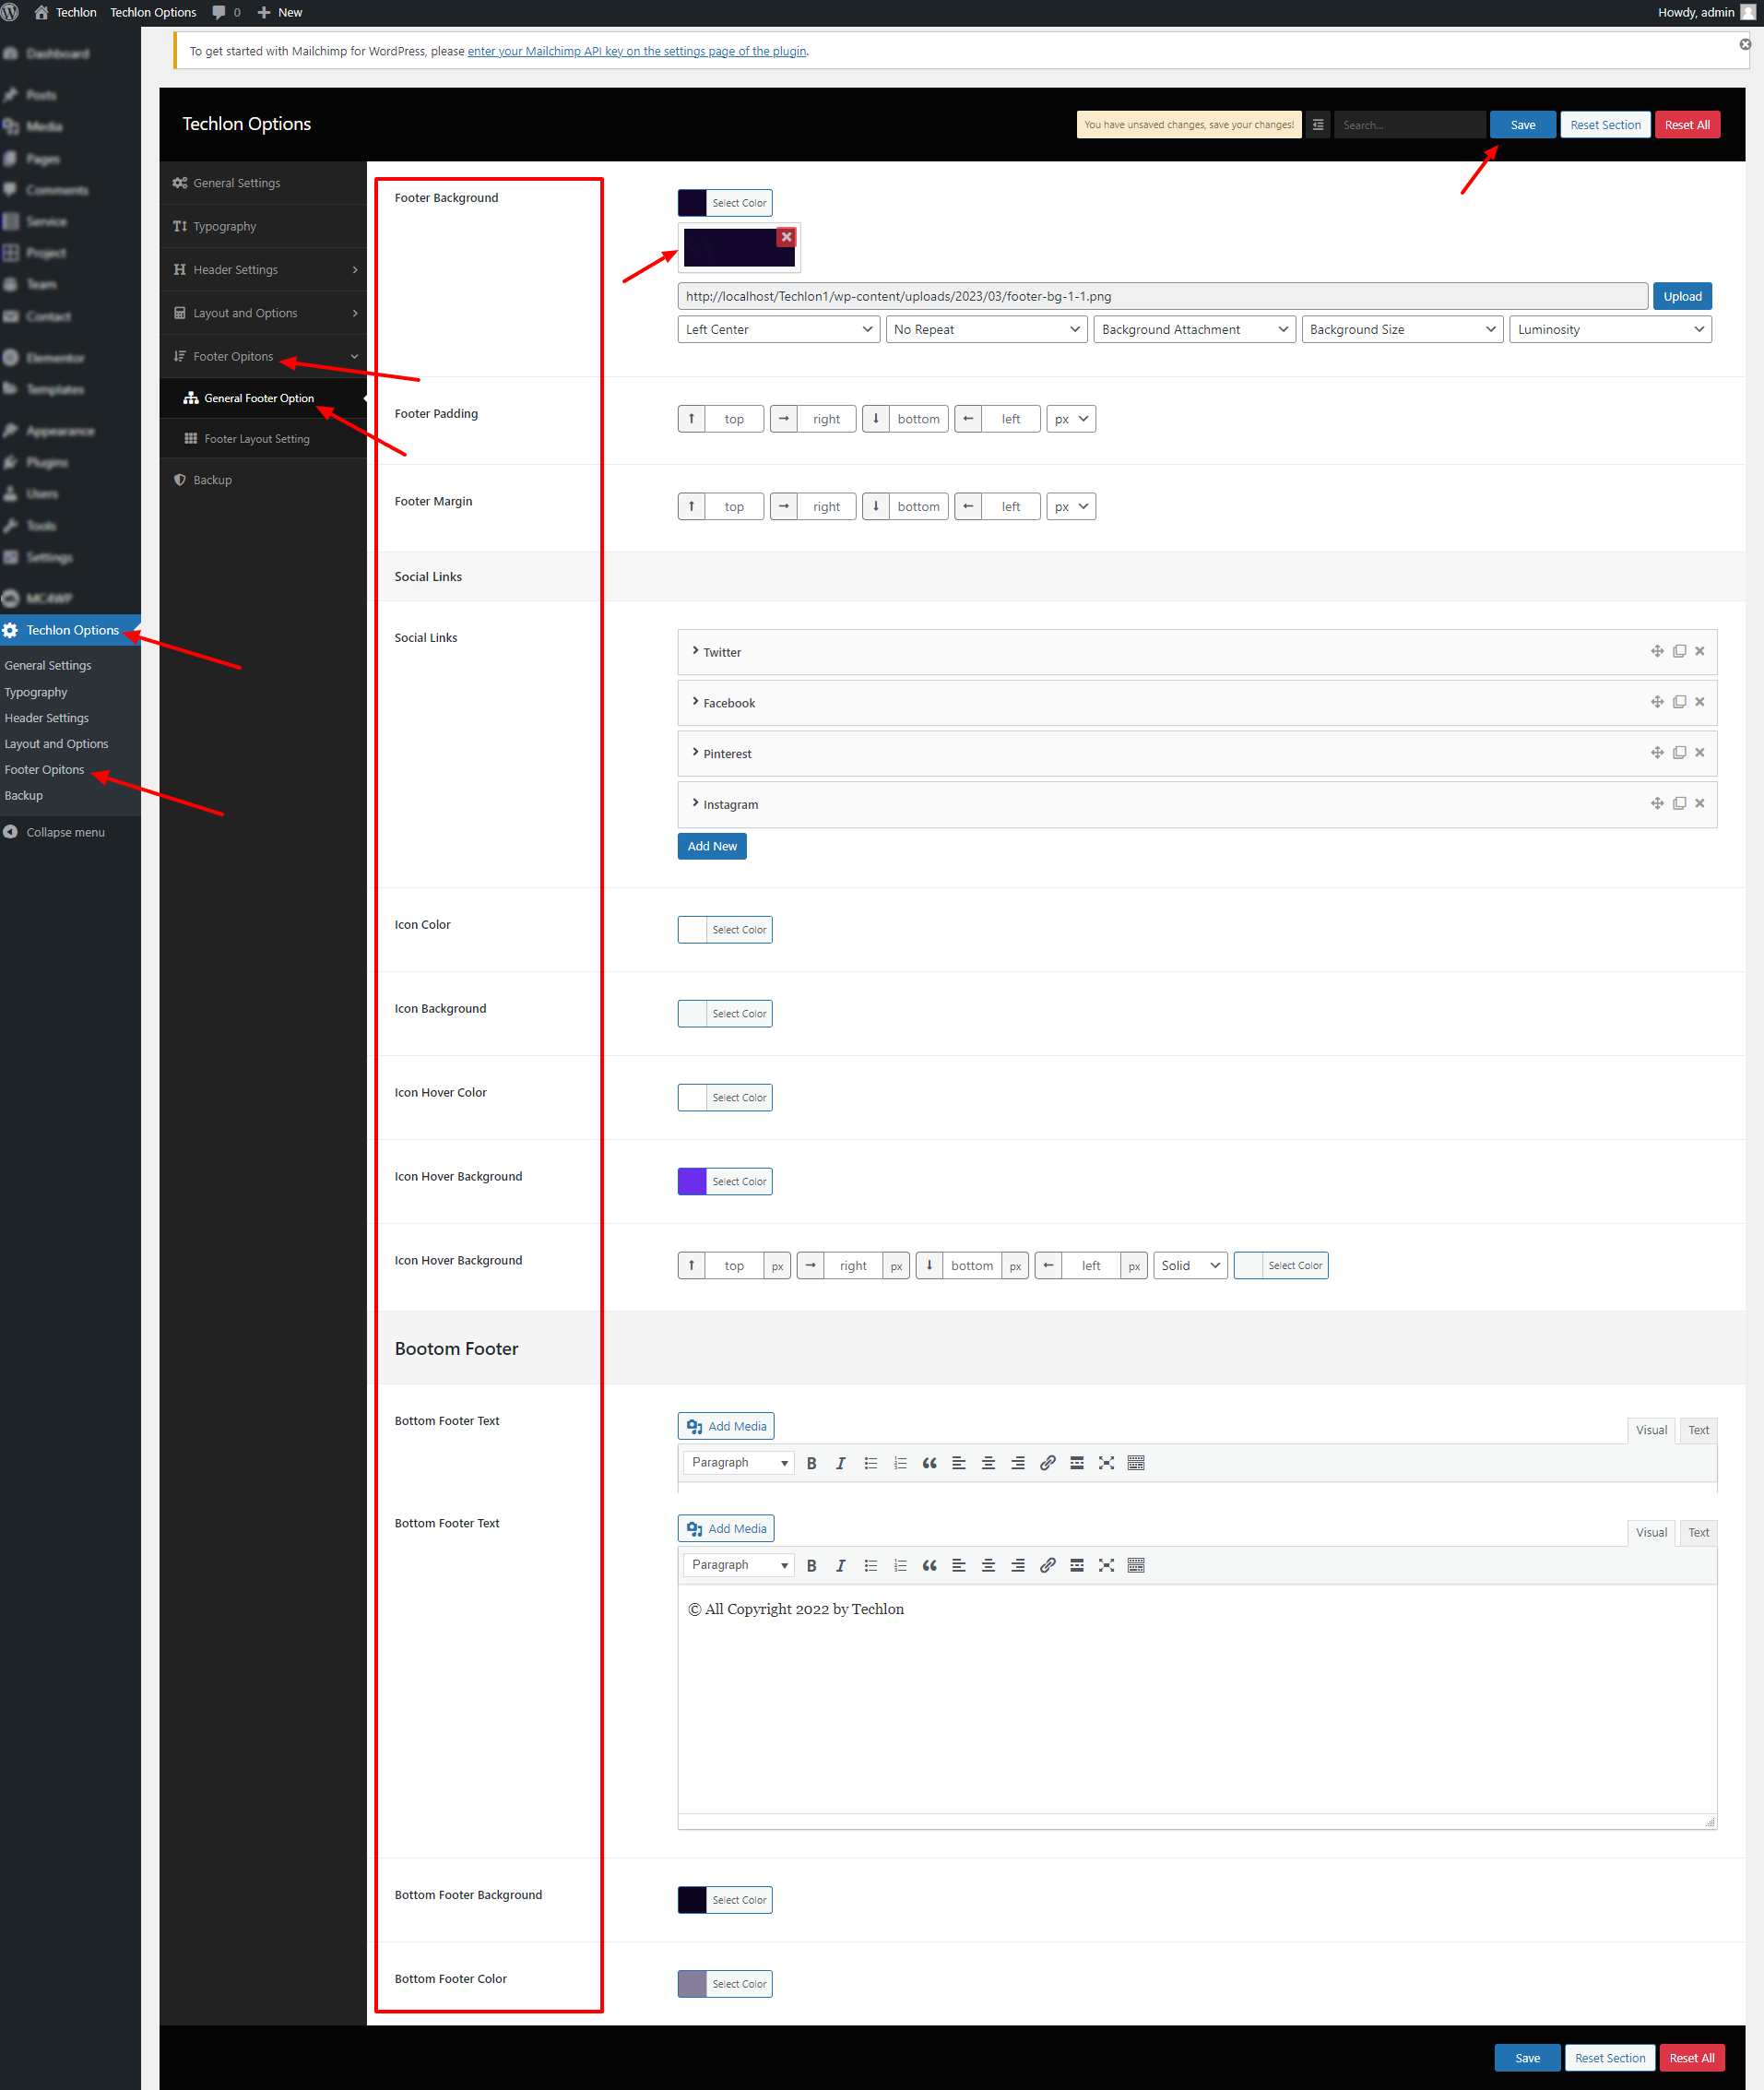
General Footer Settings
wp-admin >> Techlon Options >> Footer Options >> General Footer Options
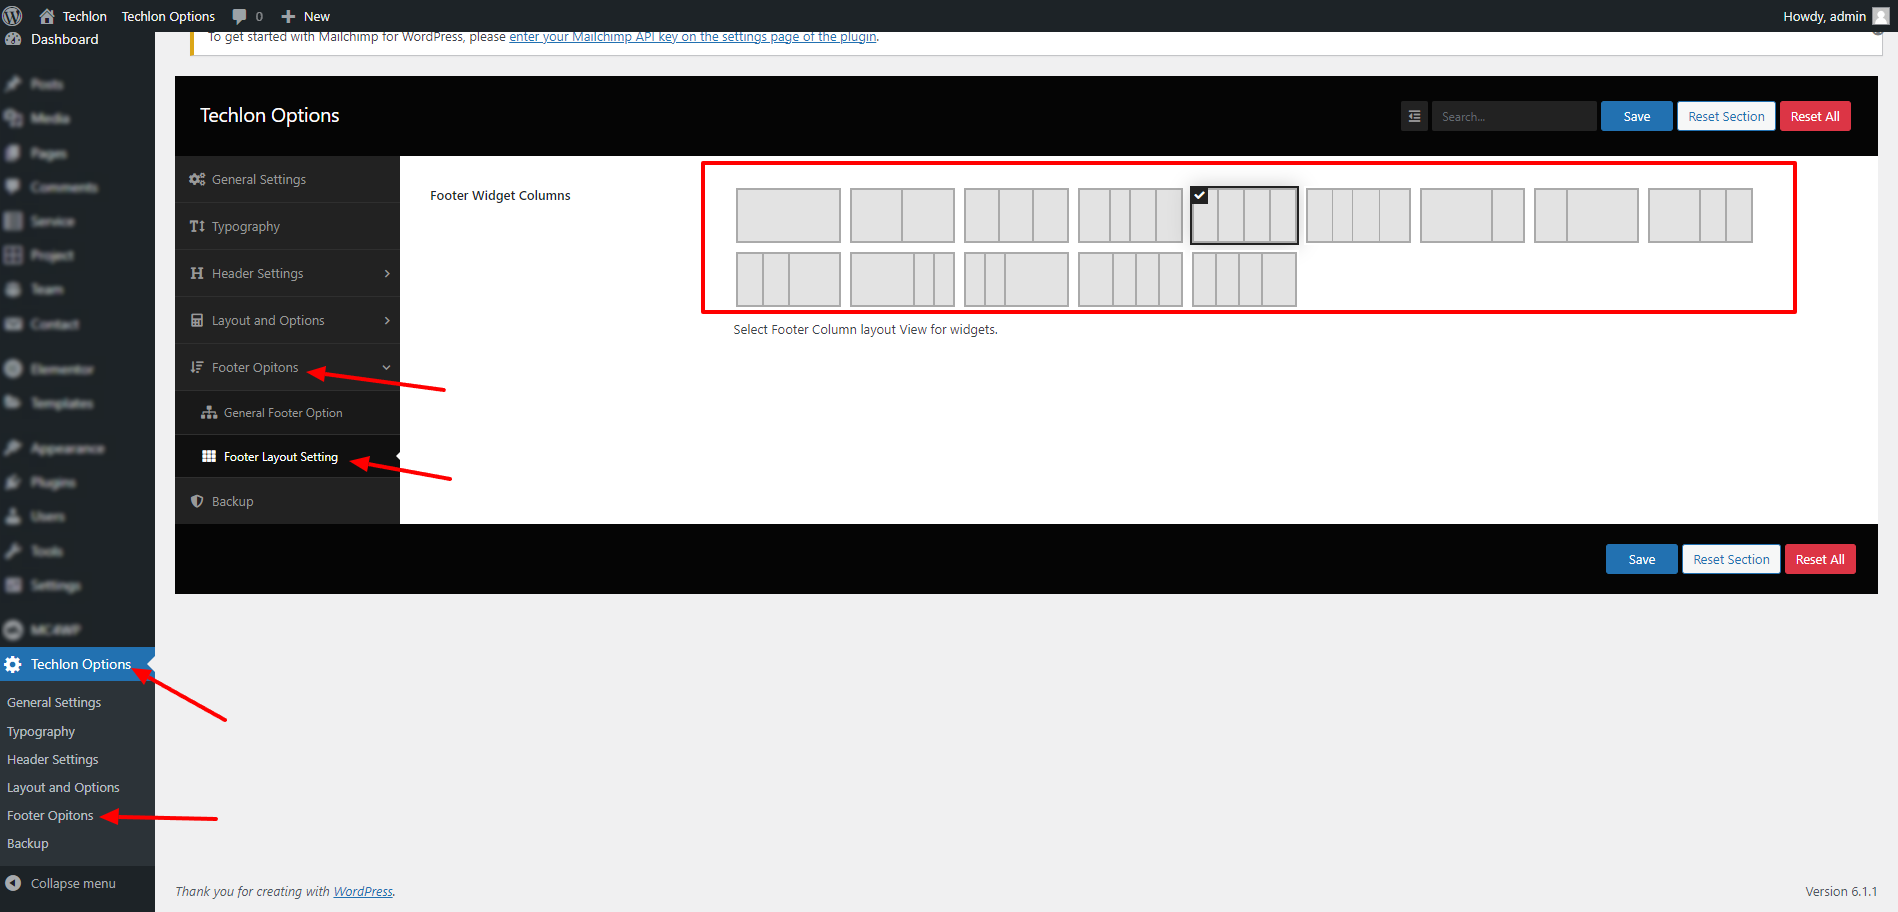
Footer Layout Settings
wp-admin >> Techlon Options >> Footer Options >> Footer Layout Options
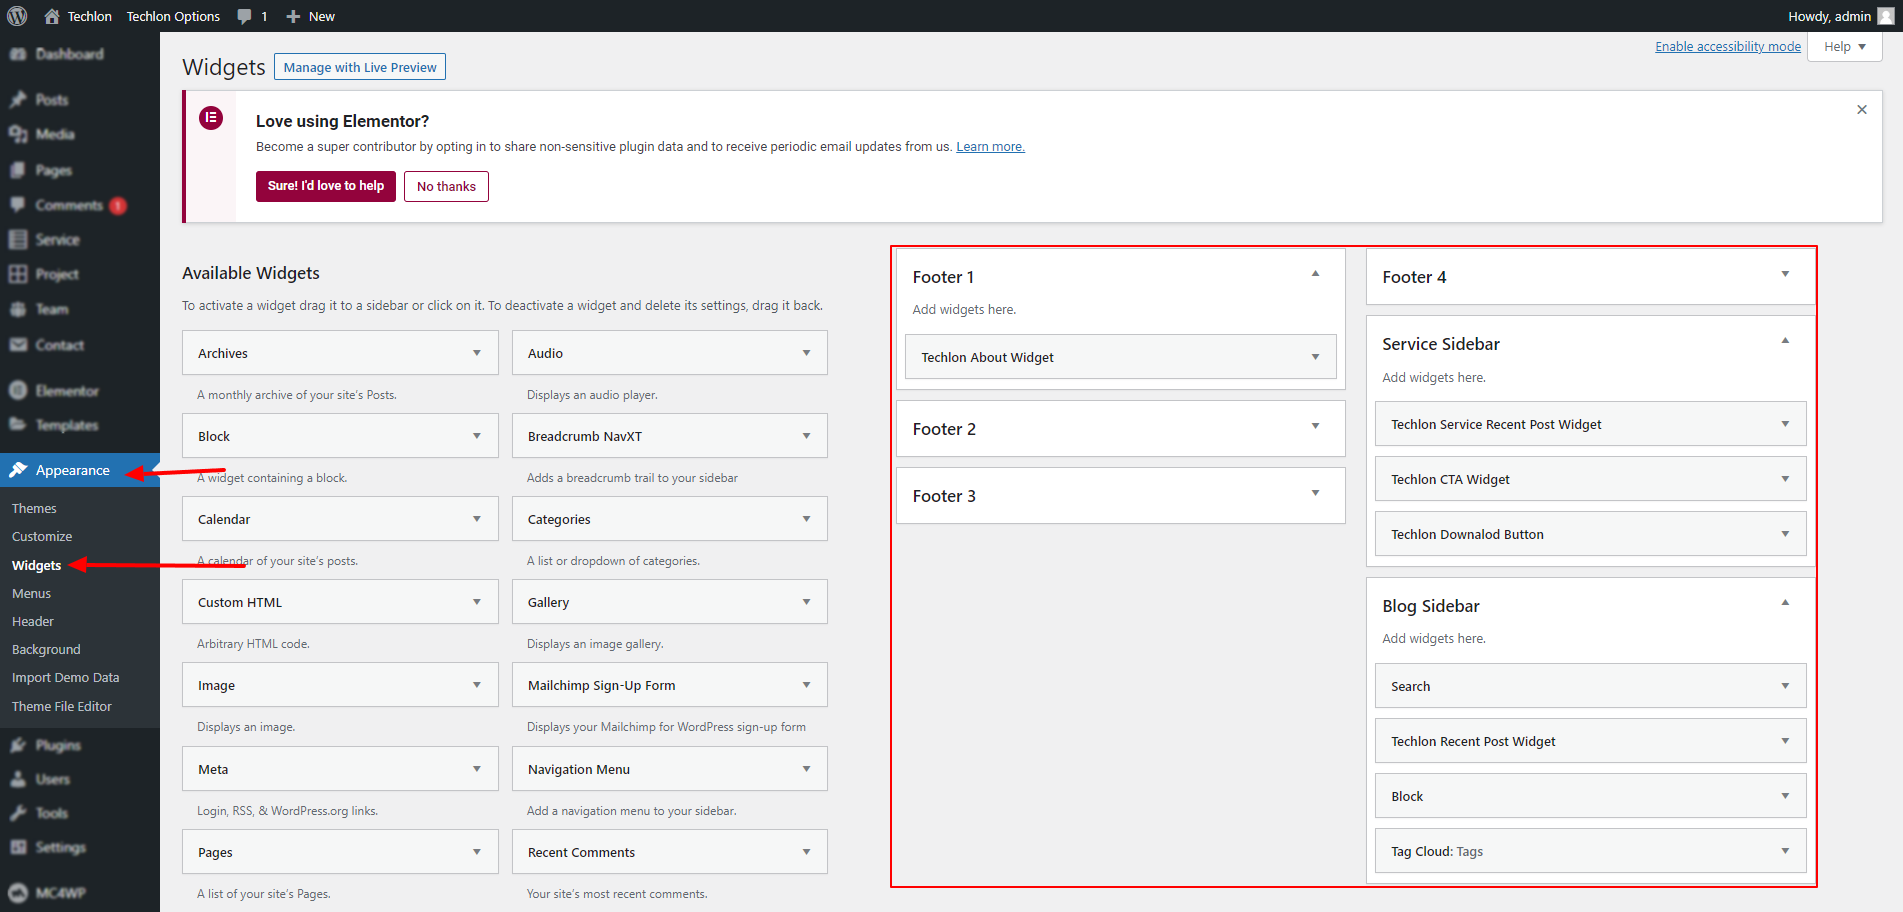
Widget Settings
wp-admin >> Appearance >> Widget
Elementor
Drag and drop element to add Section and create page and custom post type
Custom Elementor Section
Drag and Drop a custom elementor sections` from left sidebar.
You can even search for widget from text bar.
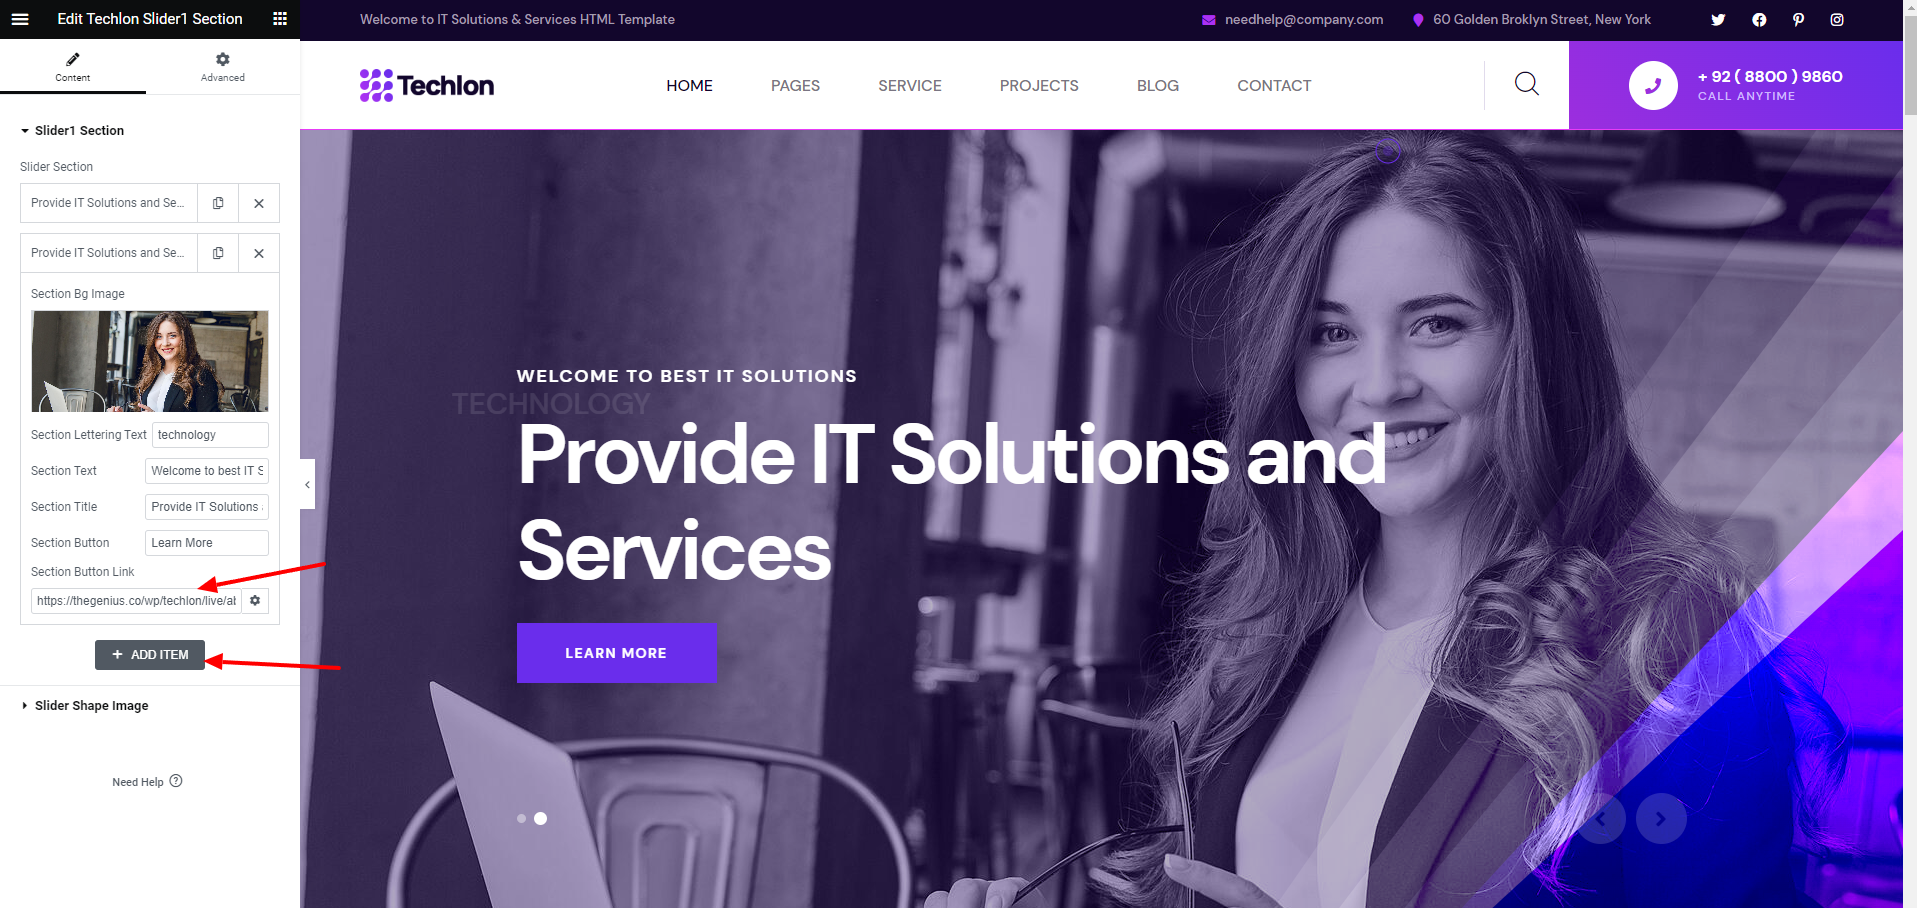
Techlon Slider1
Add a beautiful slider to your website home page.
Techlon Slider2
Add a beautiful slider to your website home page.

Techlon Slider3
Add a beautiful slider to your website home page.

Techlon Step
With this Section you can add authors image,and title.

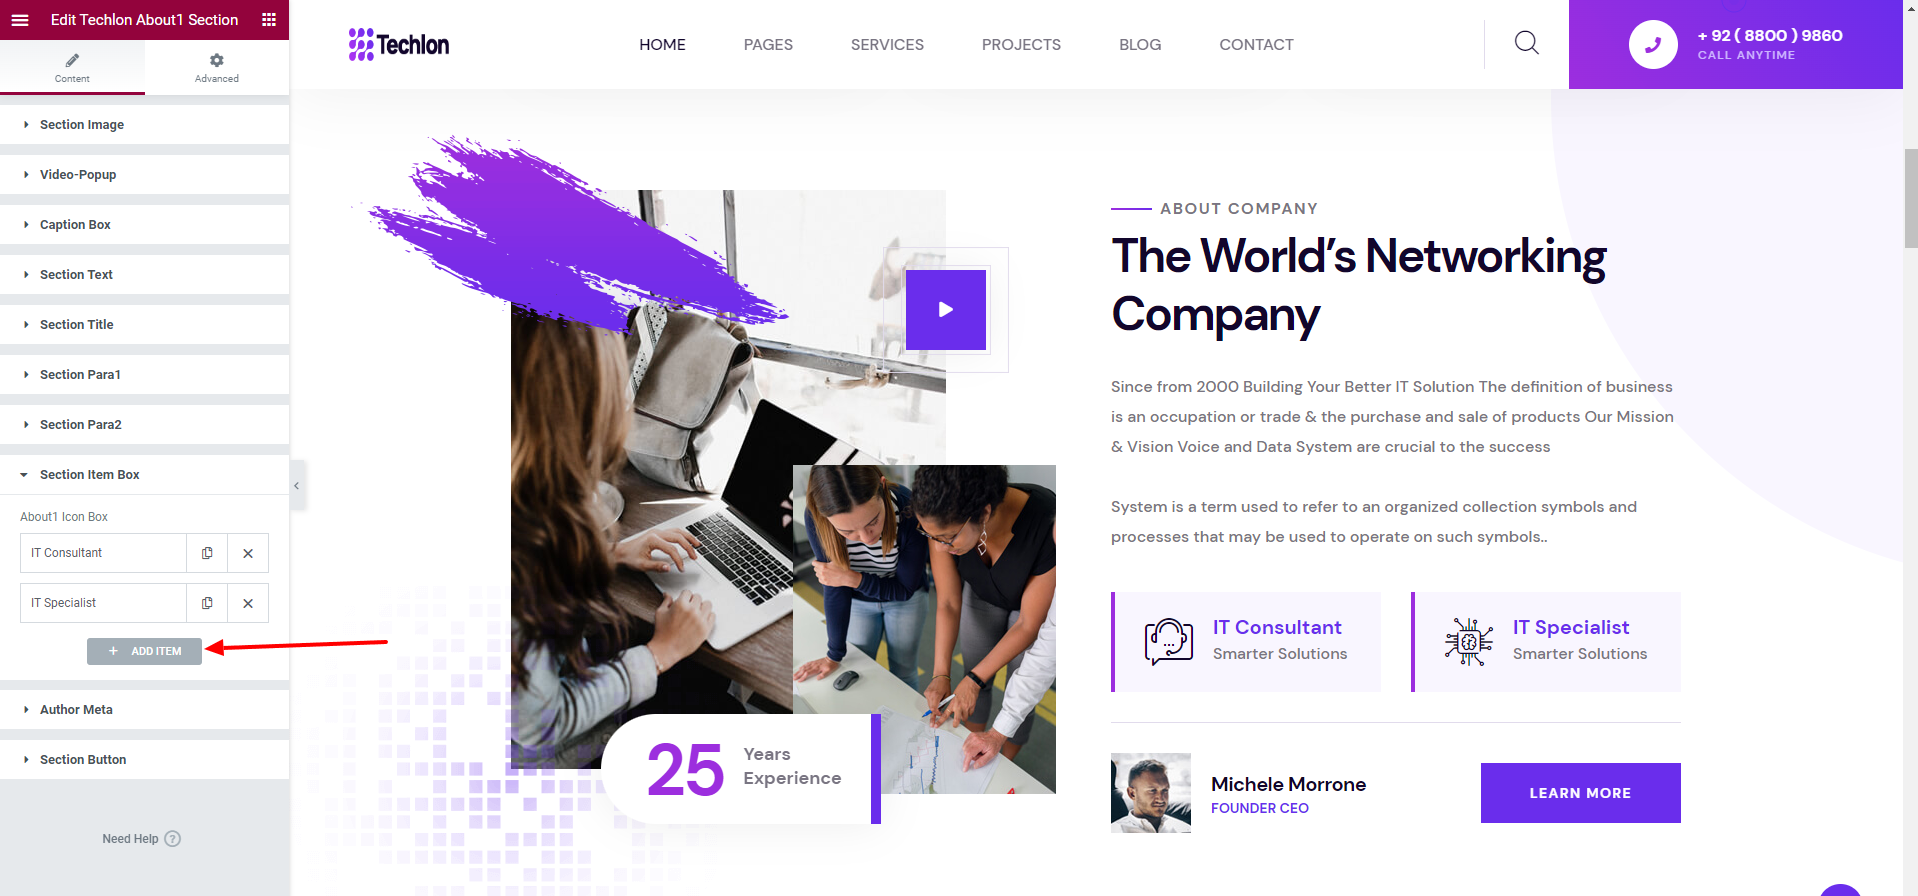
Techlon About1
This Section will show title, Image ,item-box and button from your site.
Give Title and link as you want. It will Reflect in output.
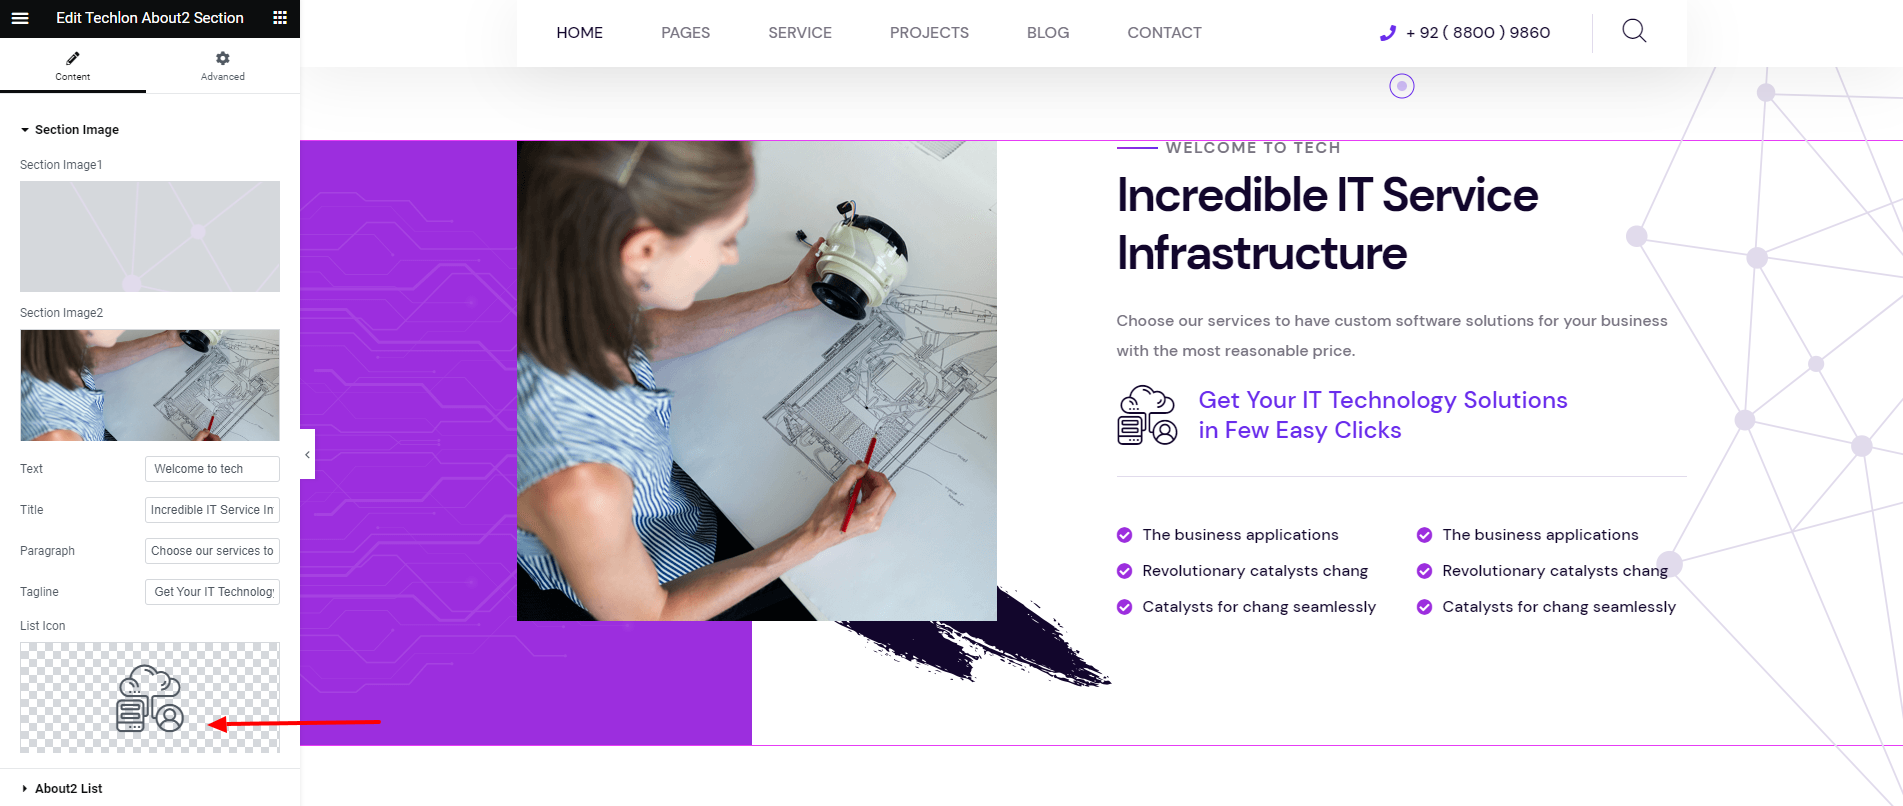
Techlon About2
This Section will show title, Image ,icon and button from your site.
Give Title and link as you want. It will Reflect in output.
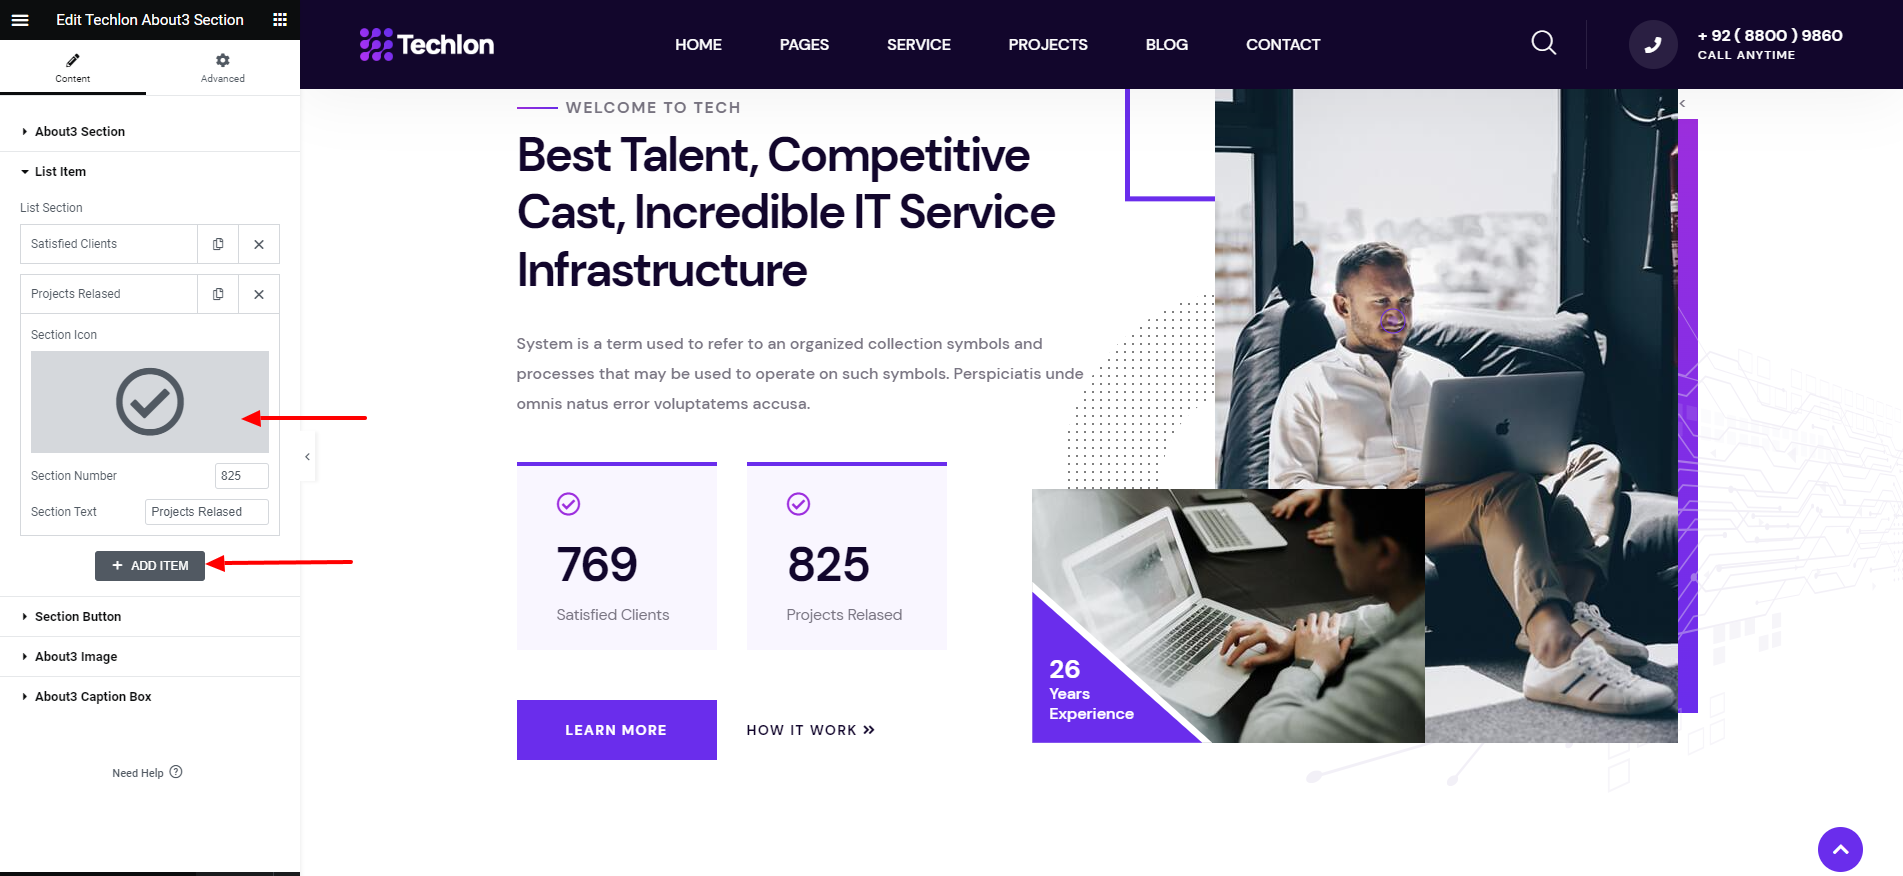
Techlon About3
This Section will show title, Image ,icon,number and button from your site.
Give Title and link as you want. It will Reflect in output.
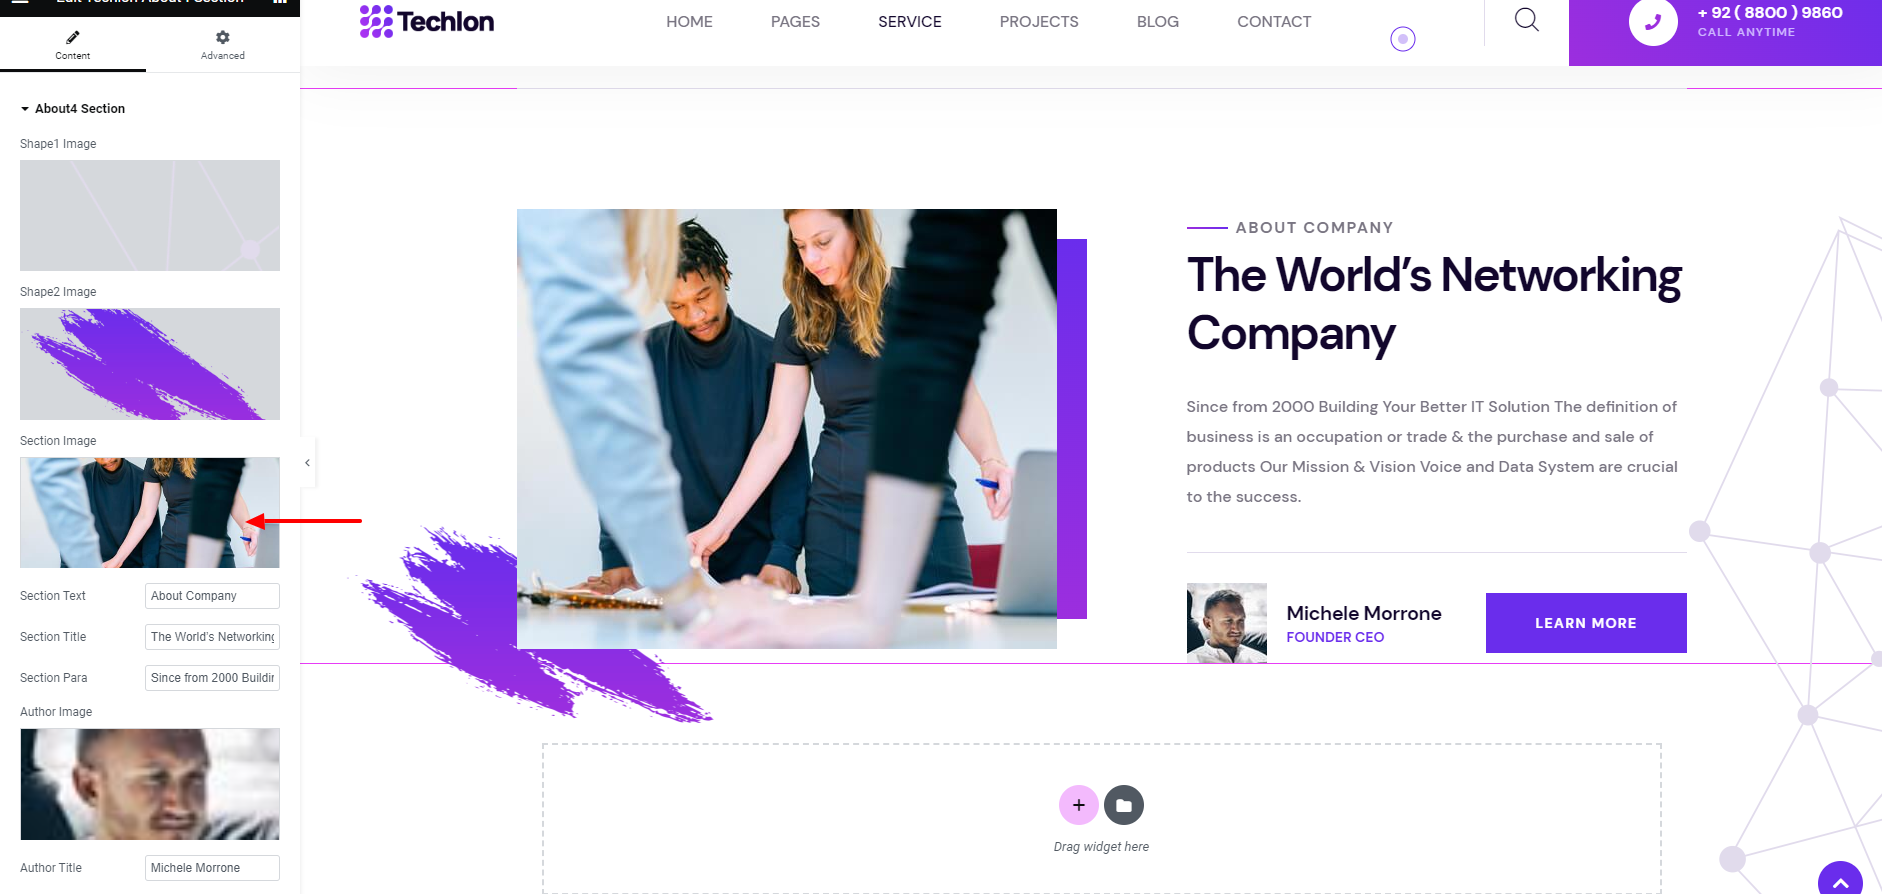
Techlon About4
This Section will show title, Image and button from your site.
Give Title and link as you want. It will Reflect in output.
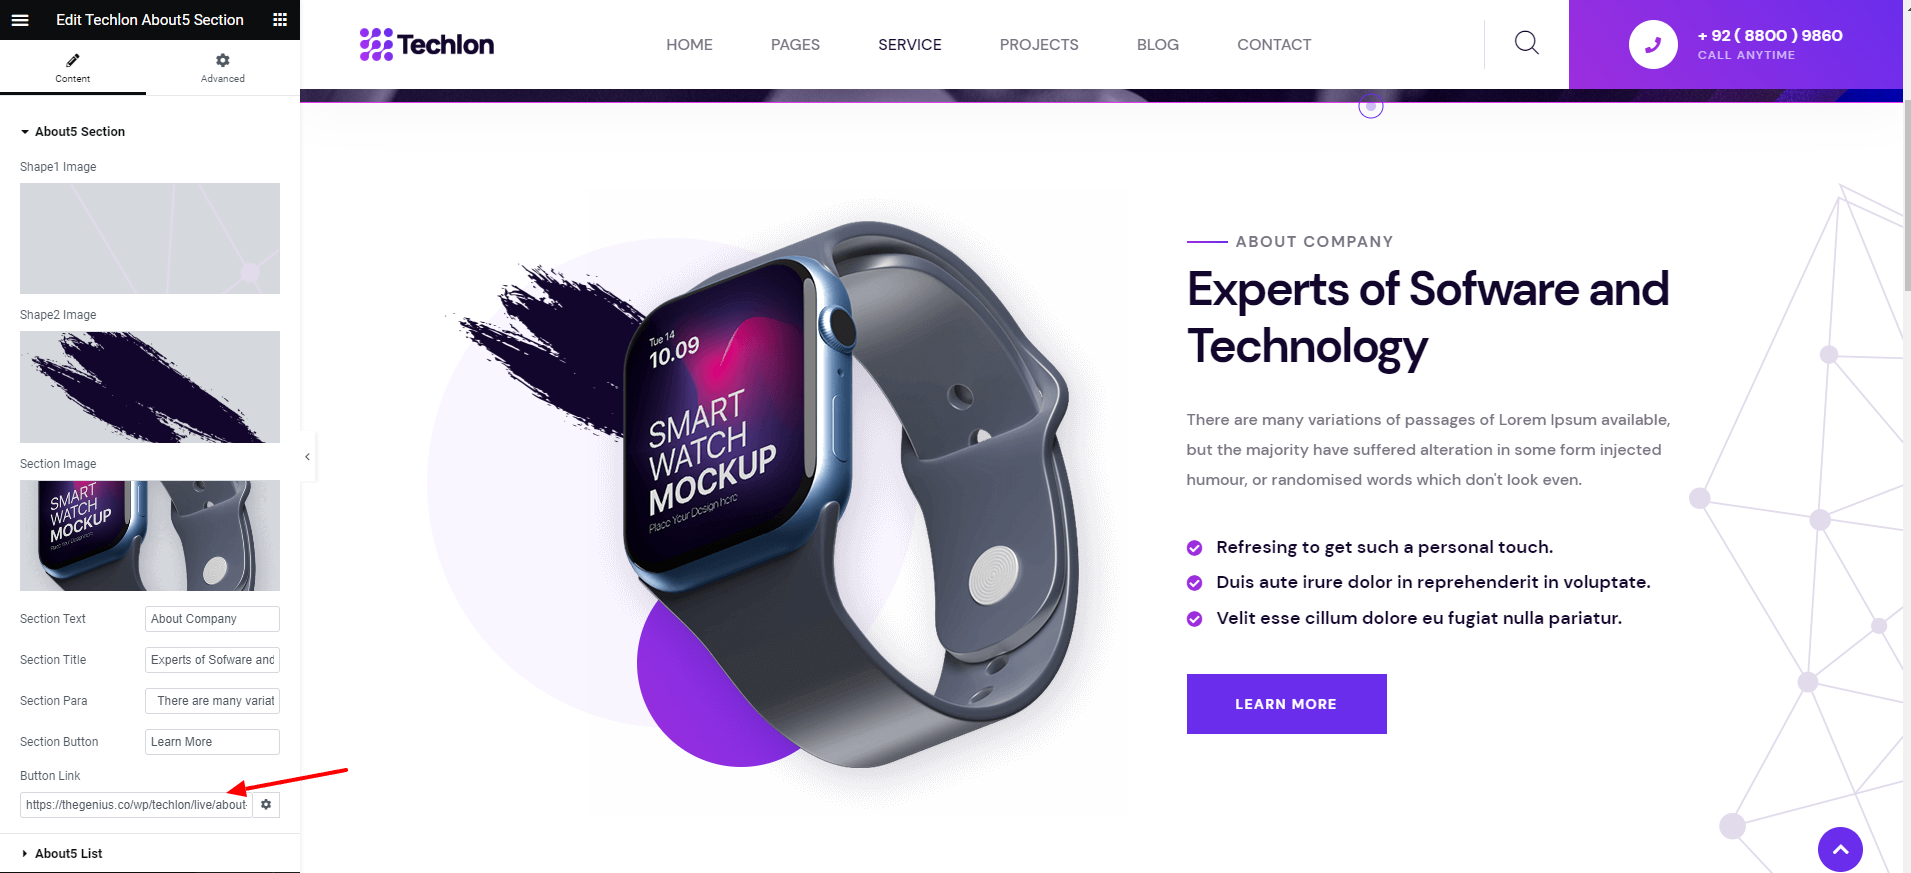
Techlon About5
This Section will show title, Image and button from your site.
Give Title and link as you want. It will Reflect in output.
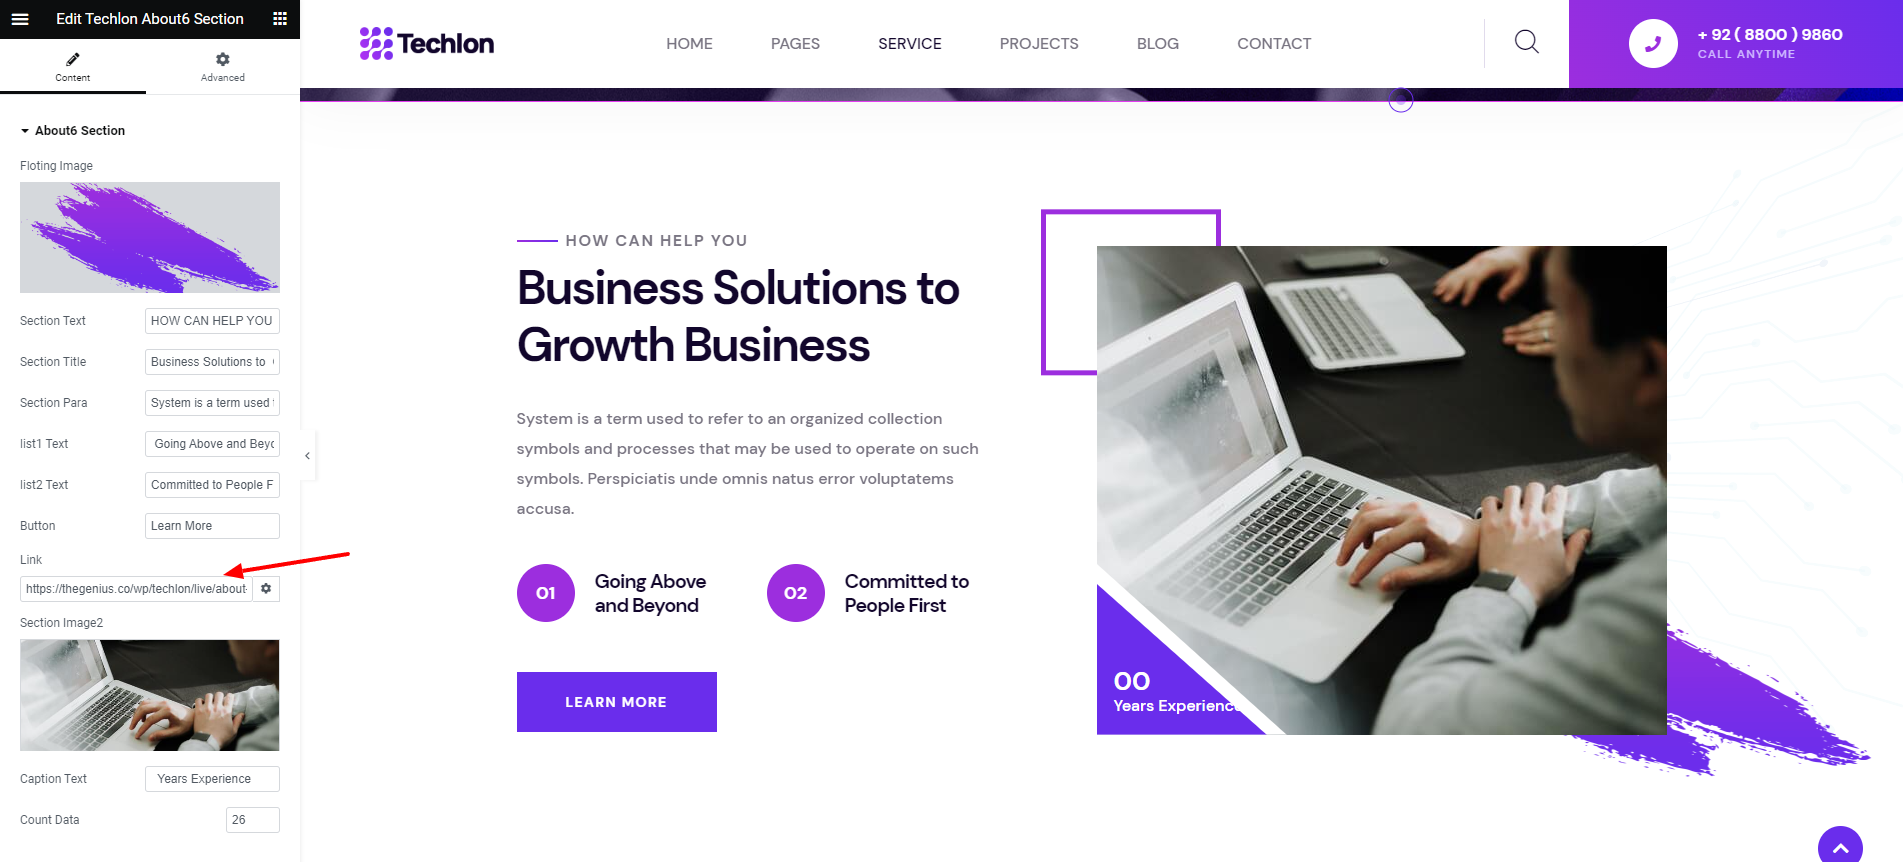
Techlon About6
This Section will show title, Image and button from your site.
Give Title and link as you want. It will Reflect in output.
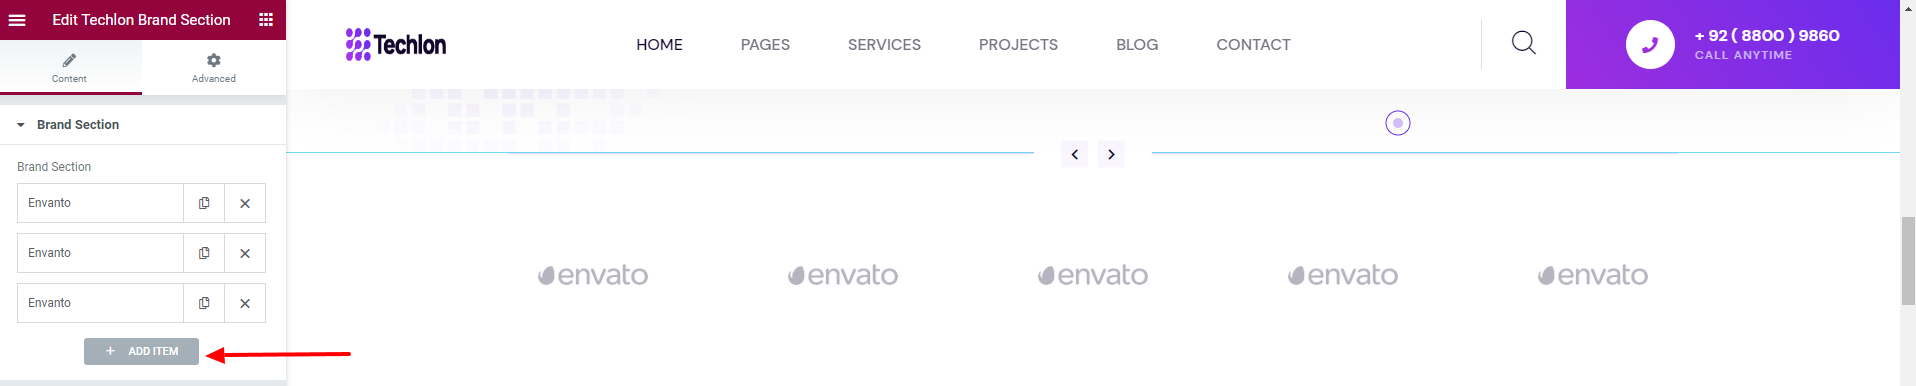
Techlon Brand1
It gives the client list and link to their site.
Choose Logo Image of your Client.
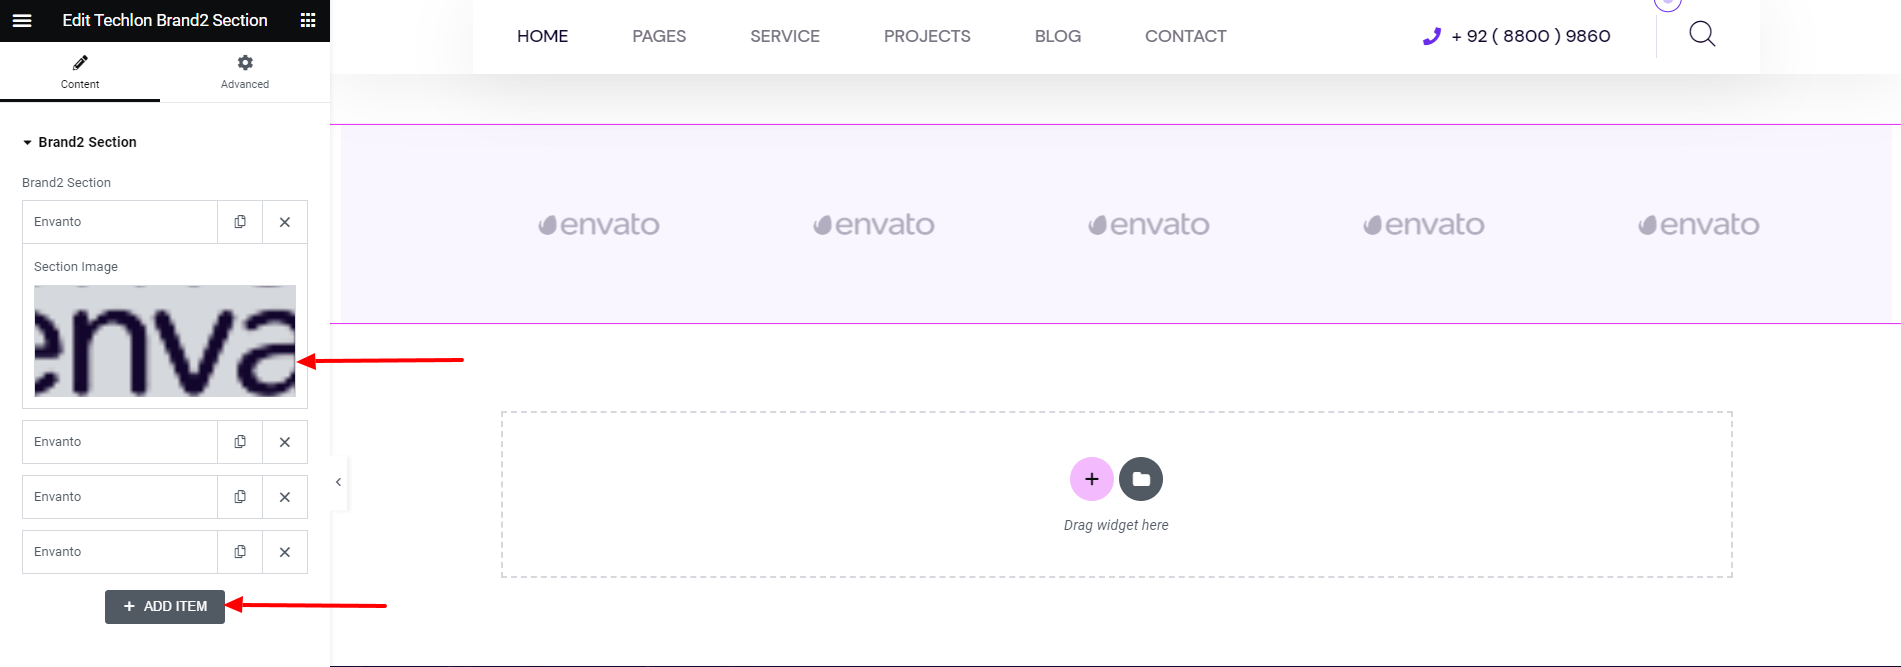
Techlon Brand2
It gives the client list and link to their site.
Choose Logo Image of your Client.
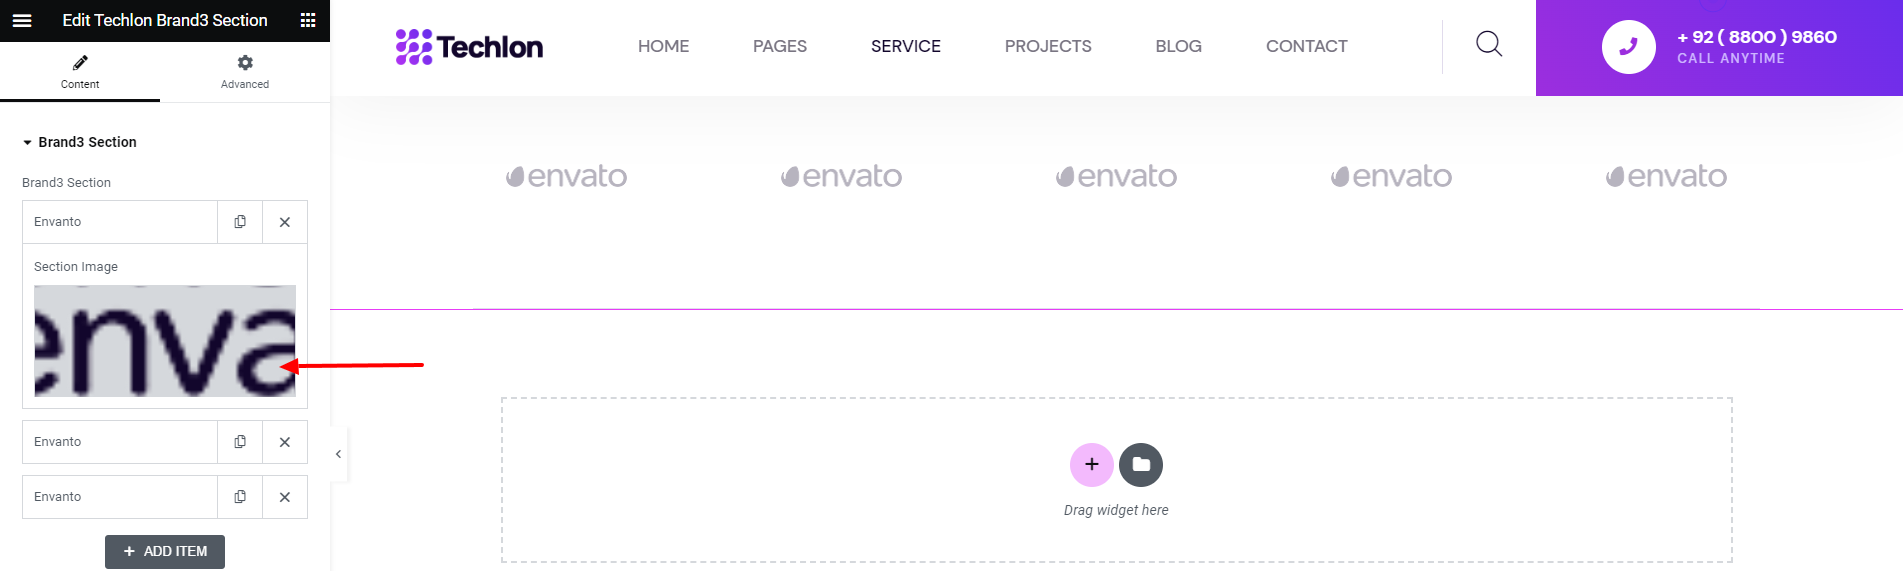
Techlon Brand3
It gives the client list and link to their site.
Choose Logo Image of your Client.
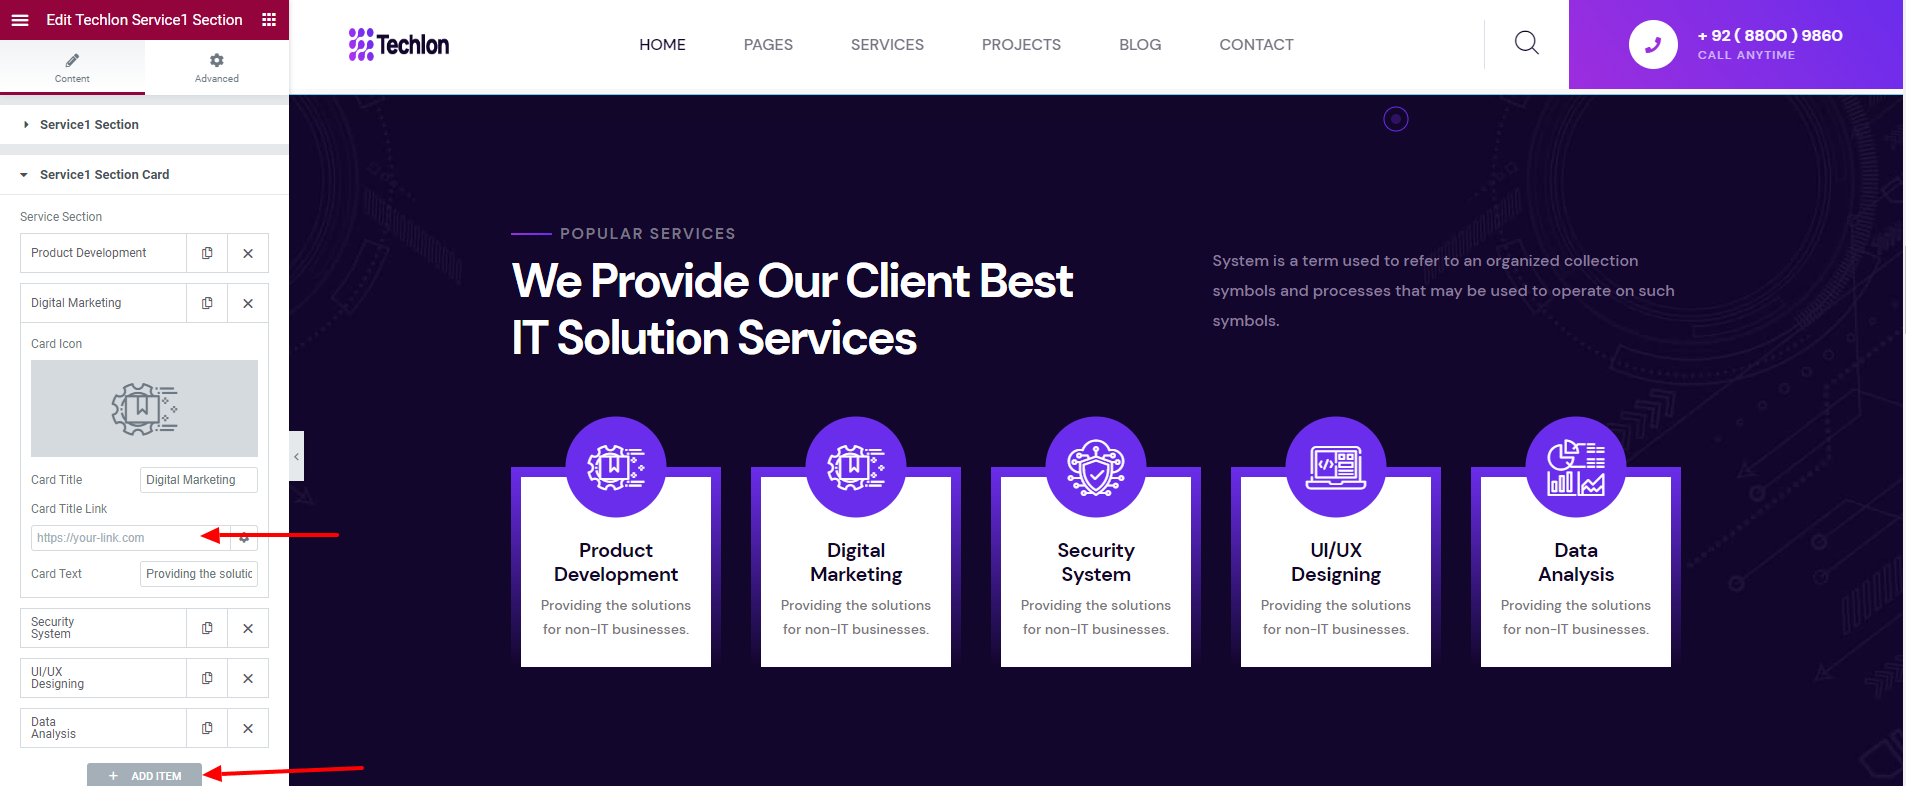
Techlon Service1
This Section shows all service posts from the website.
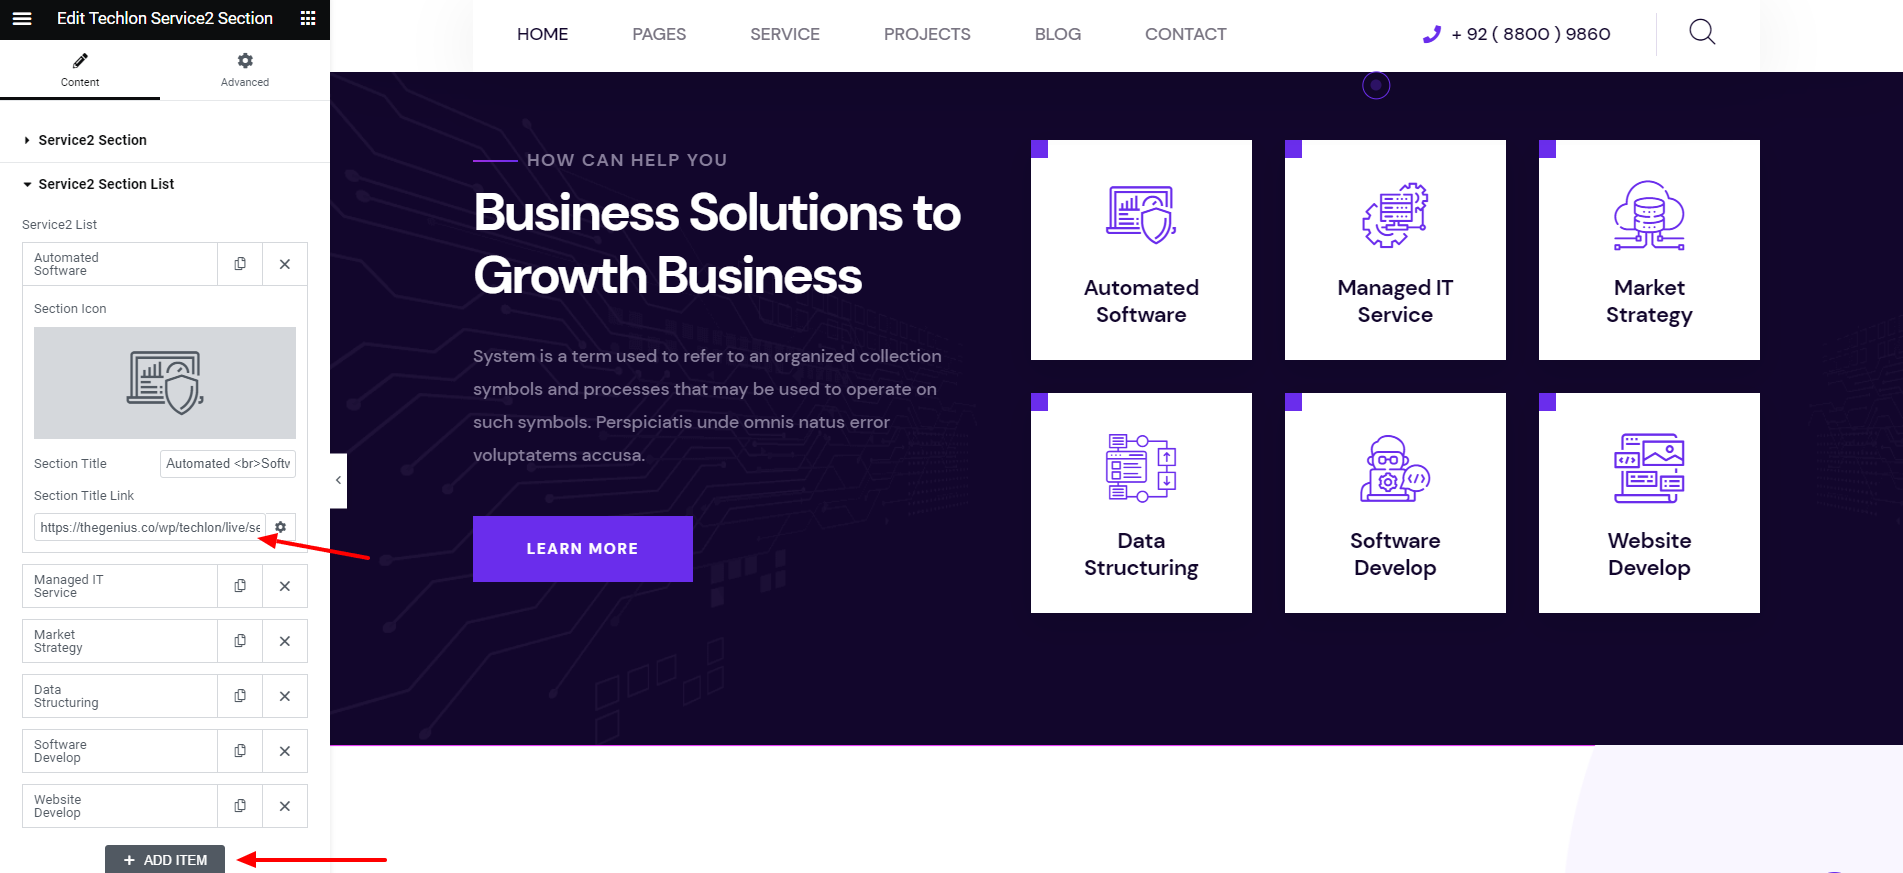
Techlon Service2
This Section shows all service posts from the website.
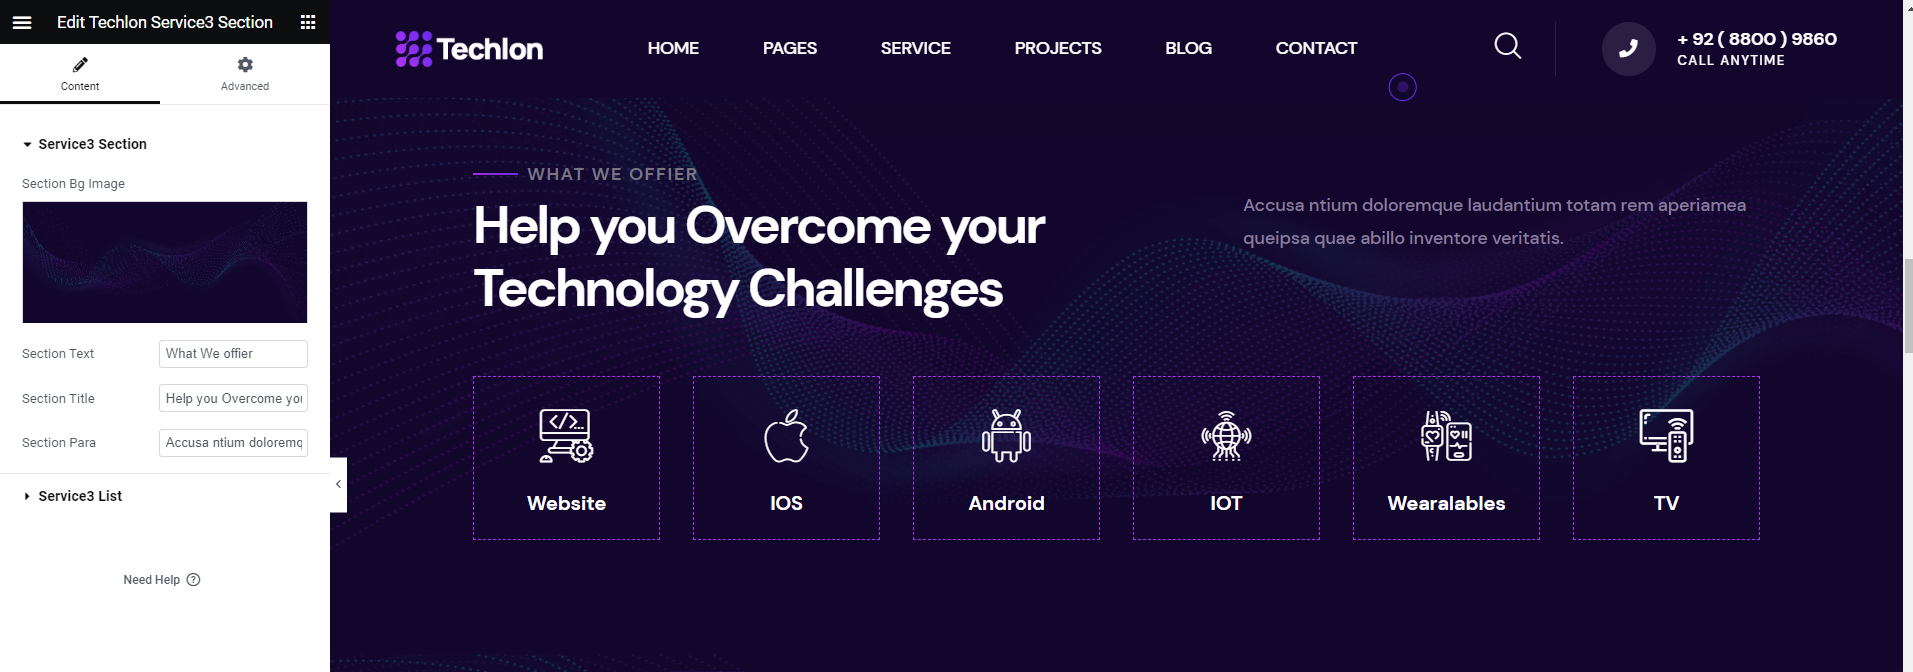
Techlon Service3
This Section shows all service posts from the website.
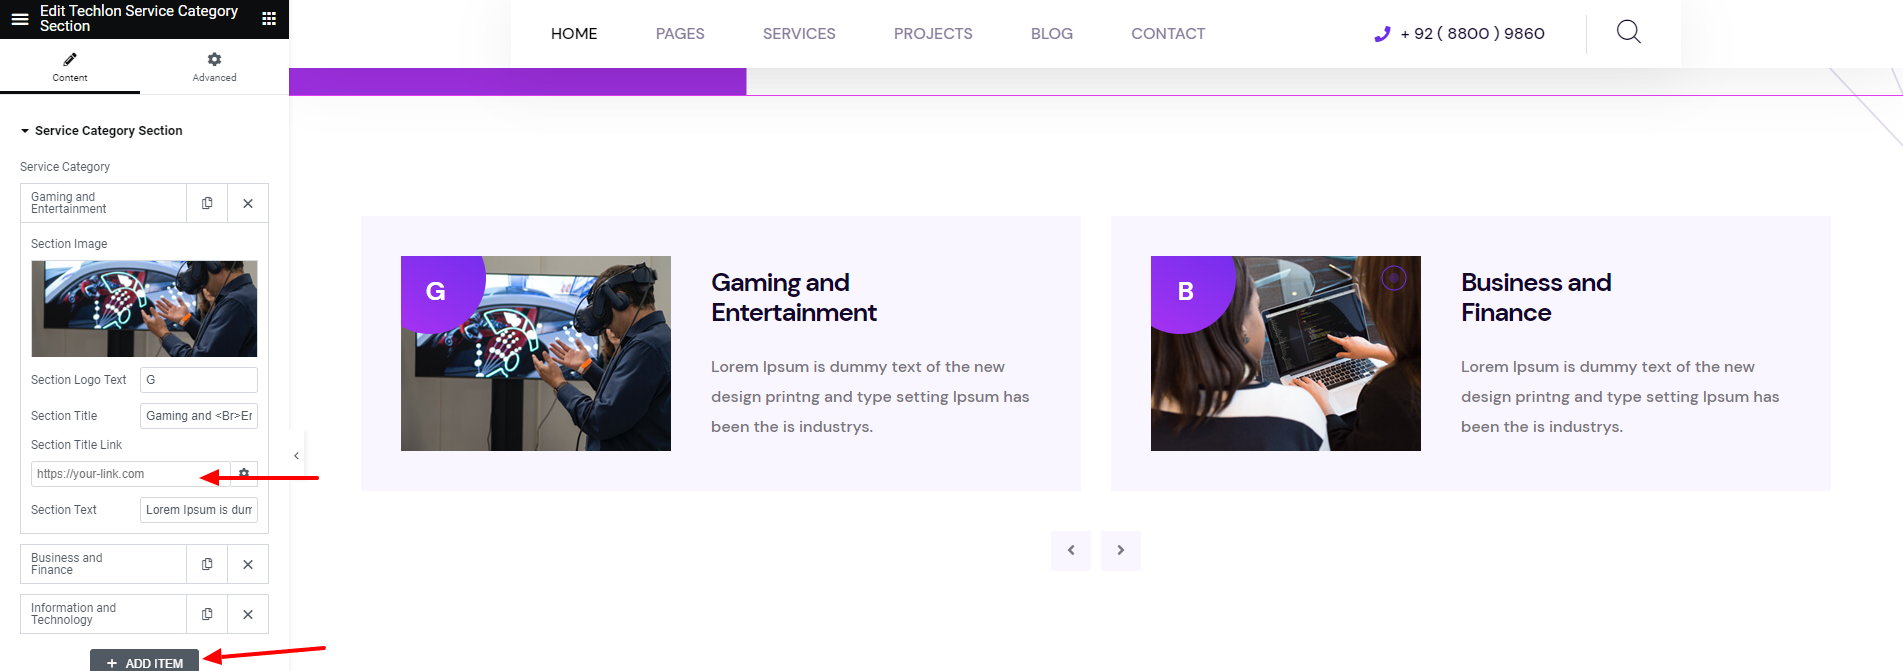
Techlon ServiceCategory
This Section will show title, Image and logo from your site.
This Section shows all service posts from the website.
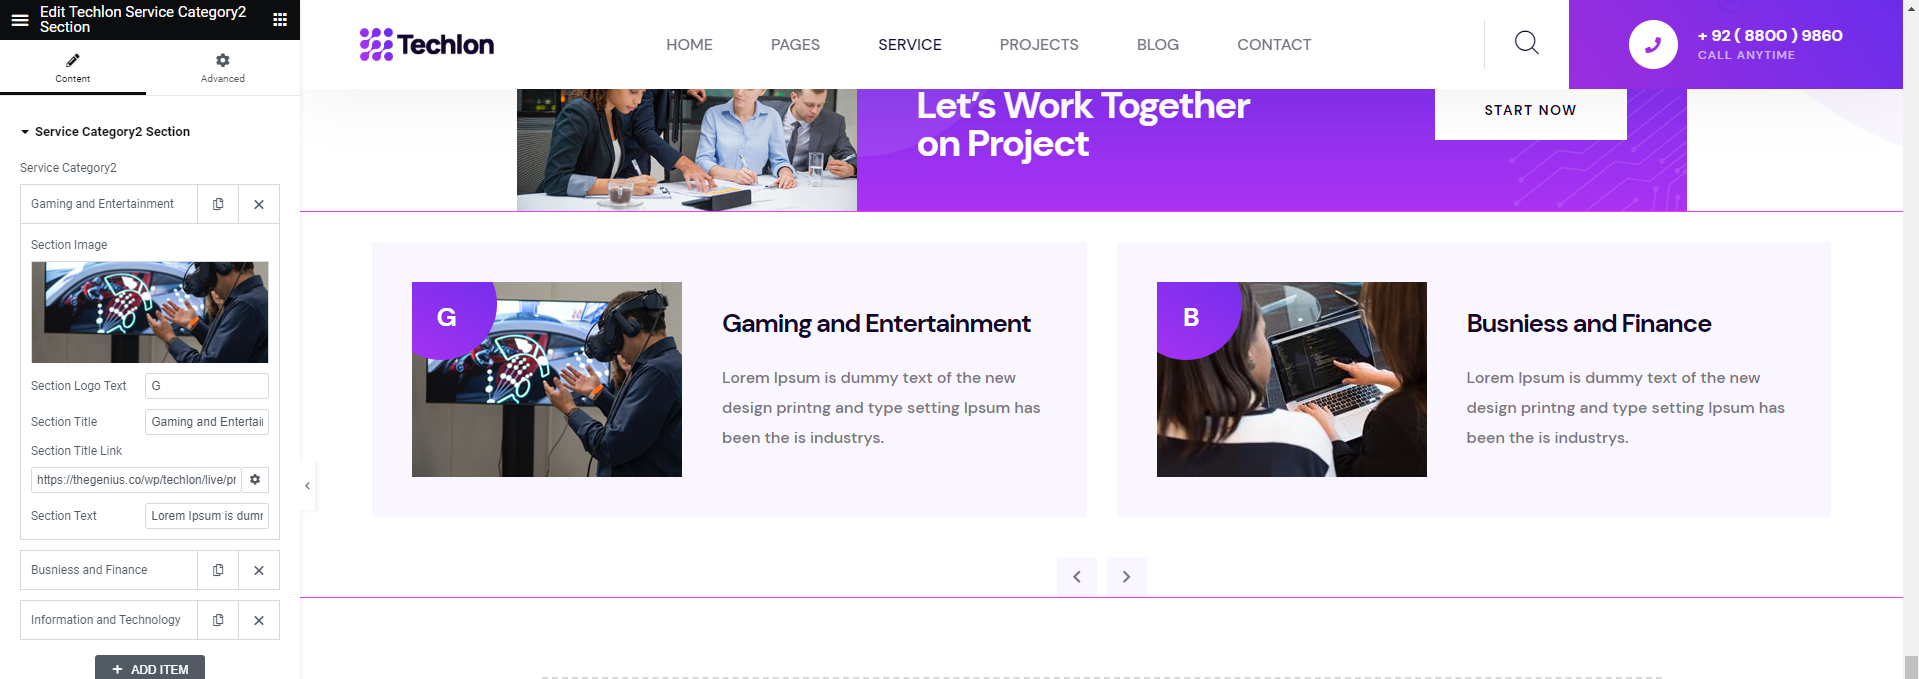
Techlon ServiceCategory2
This Section will show title, Image and logo from your site.
This Section shows all service posts from the website.
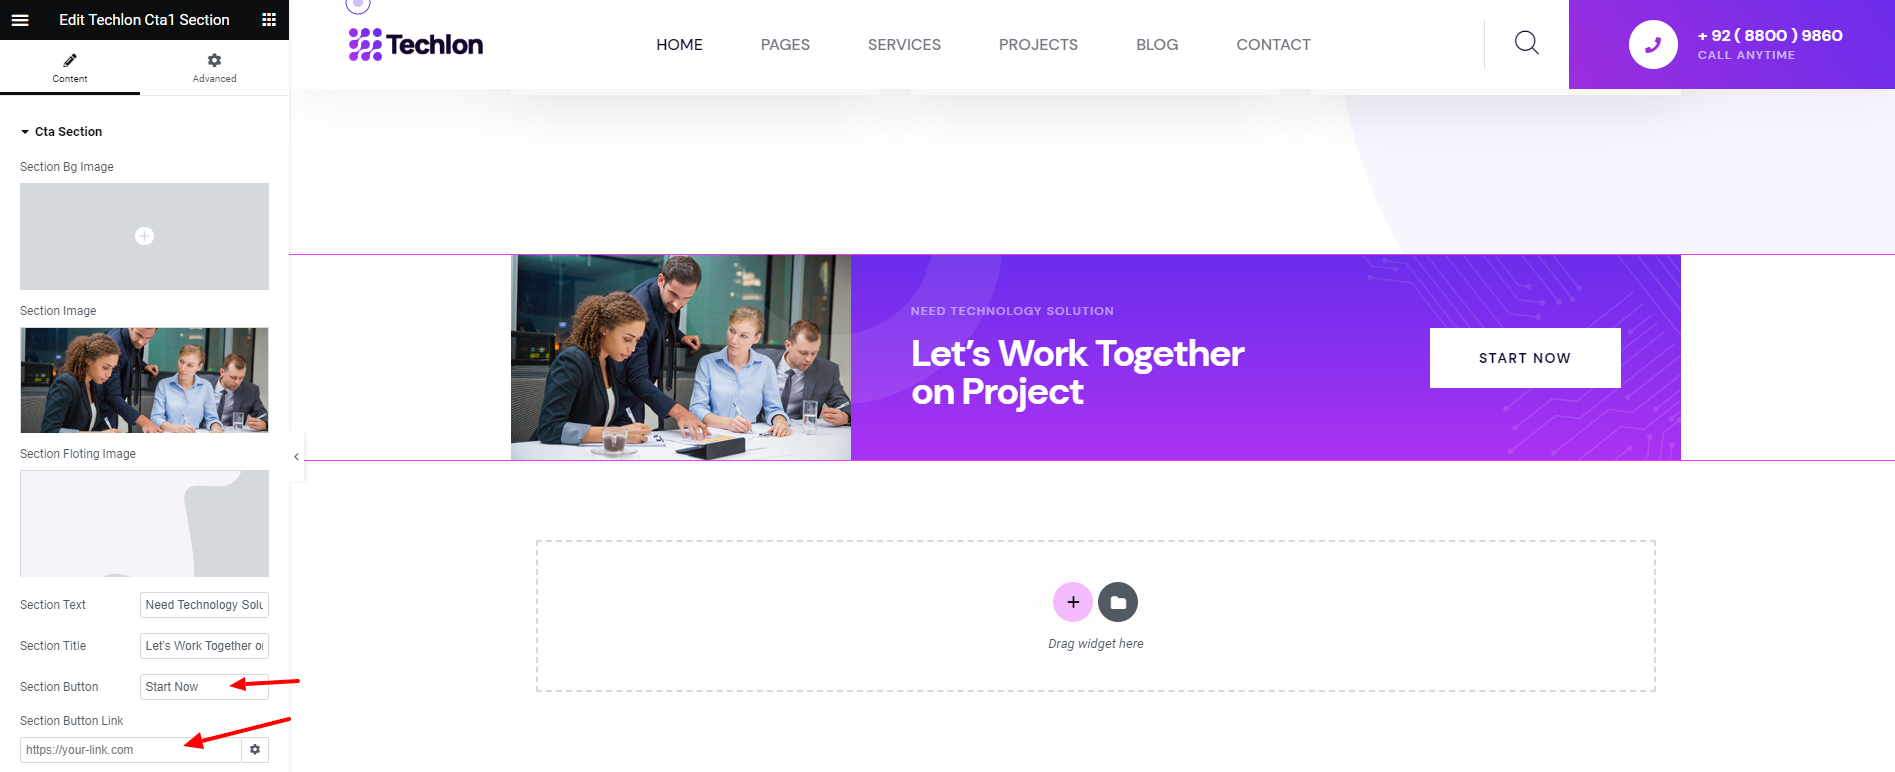
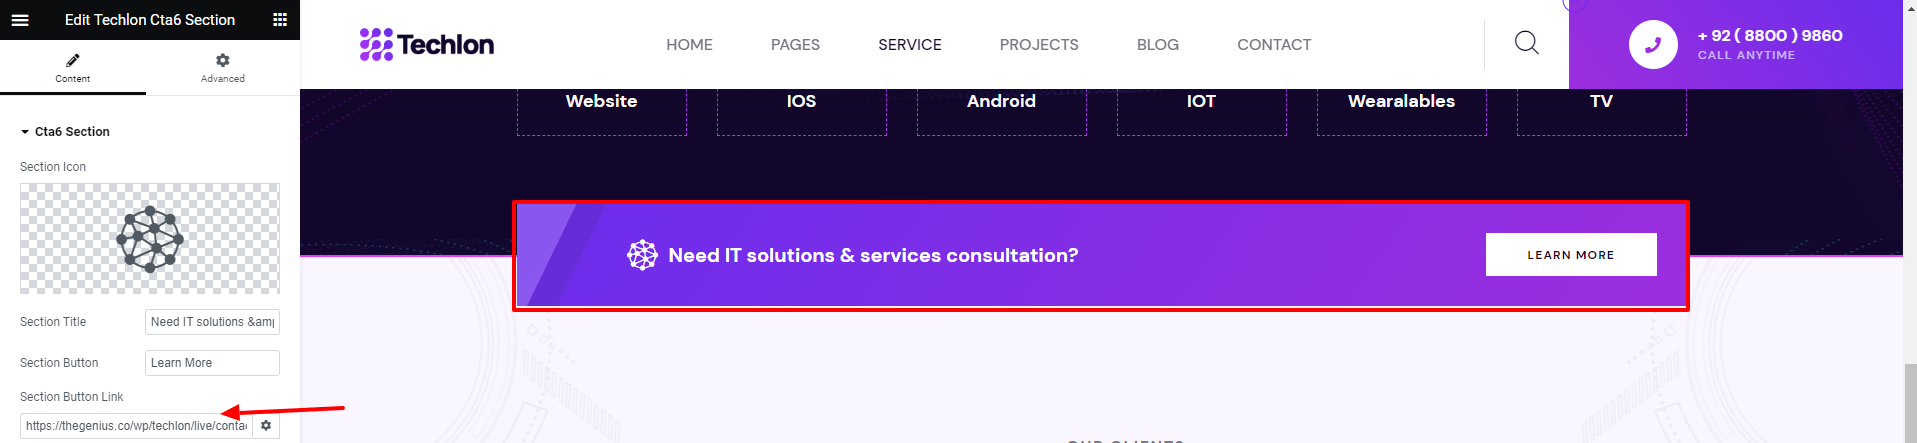
Techlon call to action1
It is used to give link for other page.
Give Title and link as you want. It will Reflect in output.
Techlon call to action2
It is used to give link for other page.
Give Title and link as you want. It will Reflect in output.

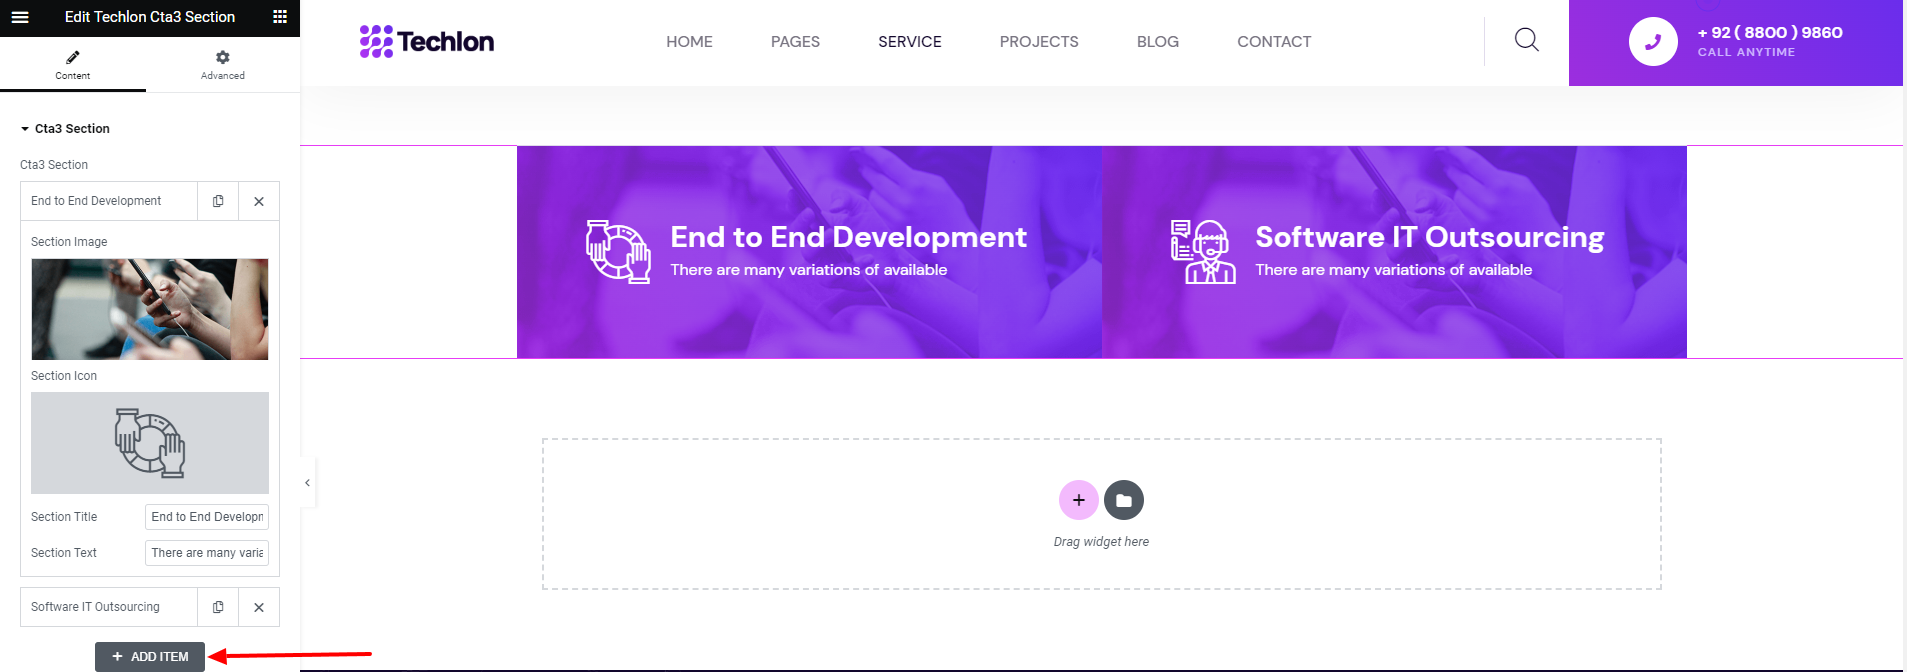
Techlon call to action3
This Section will show title, Image and icon from your site.
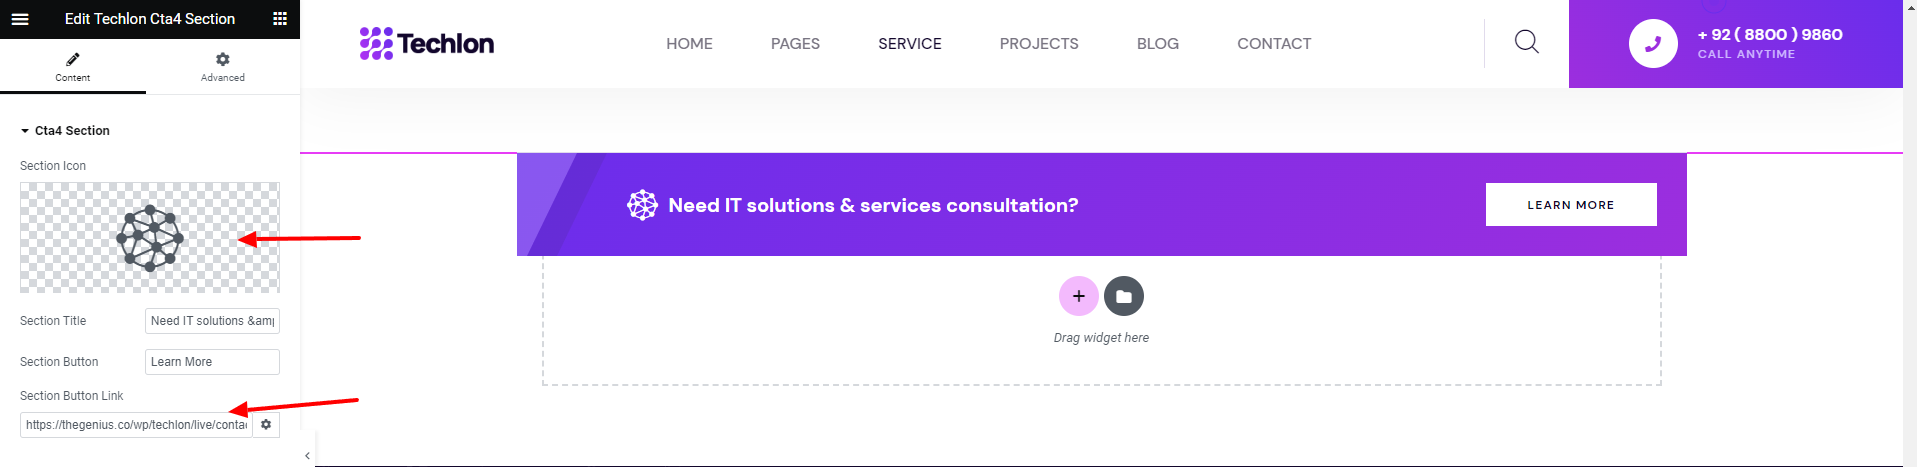
Techlon call to action4
It is used to give link for other page.
Give Title and link as you want. It will Reflect in output.
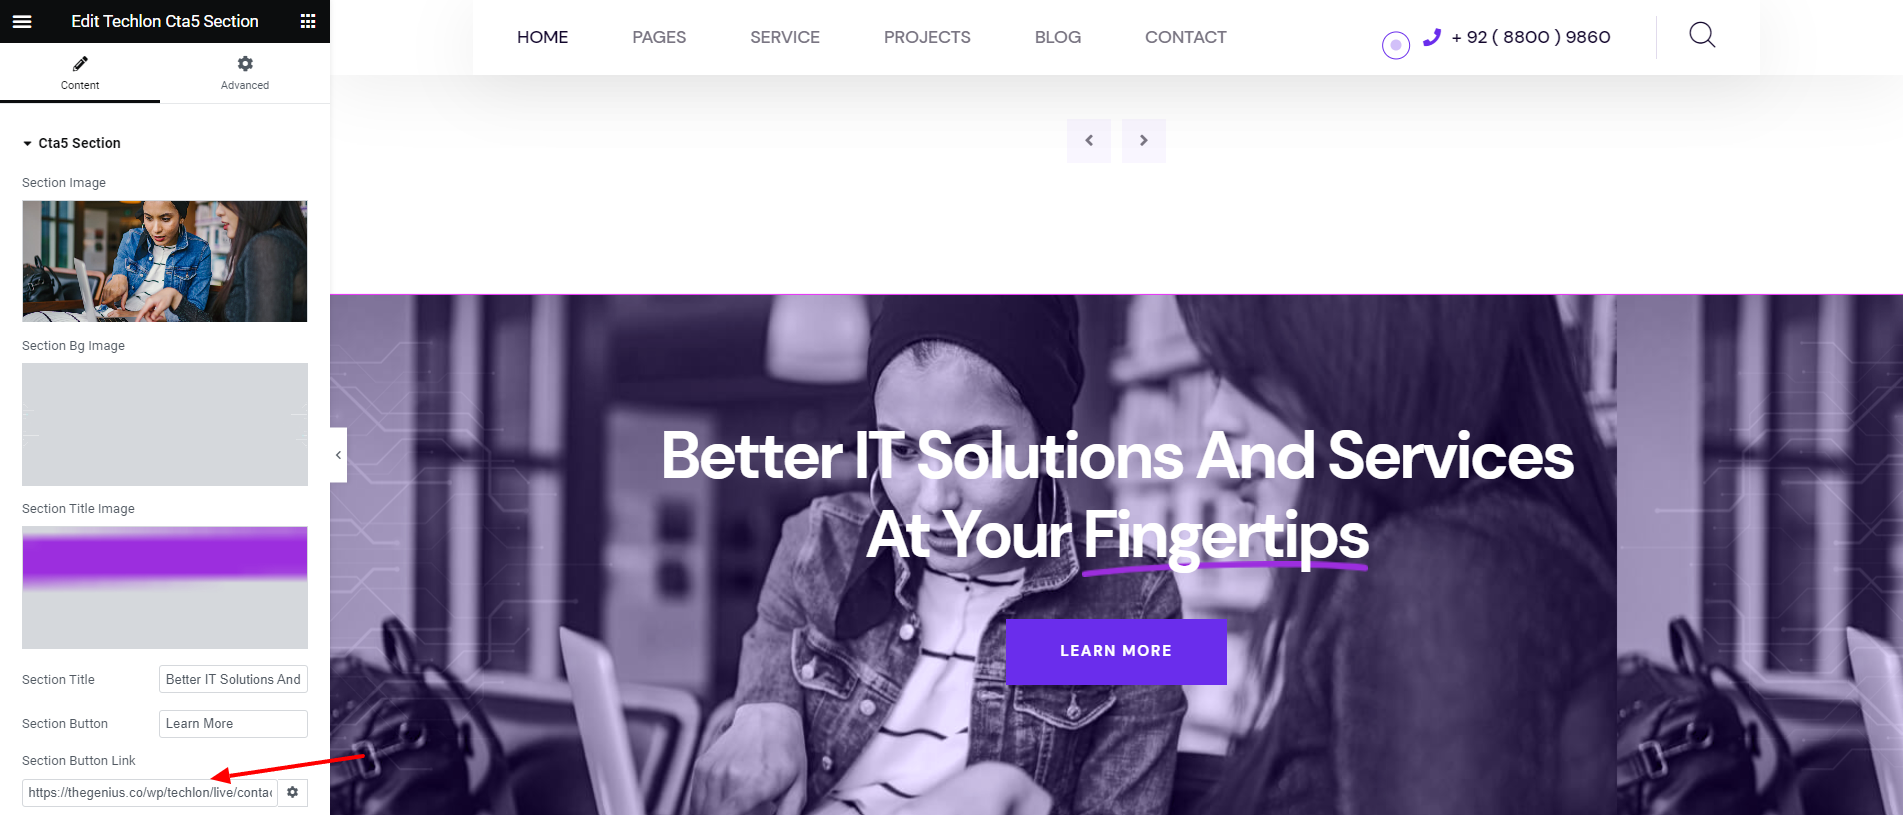
Techlon call to action5
It is used to give link for other page.
Give Title and link as you want. It will Reflect in output.
Techlon call to action6
It is used to give link for other page.
Give Title and link as you want. It will Reflect in output.
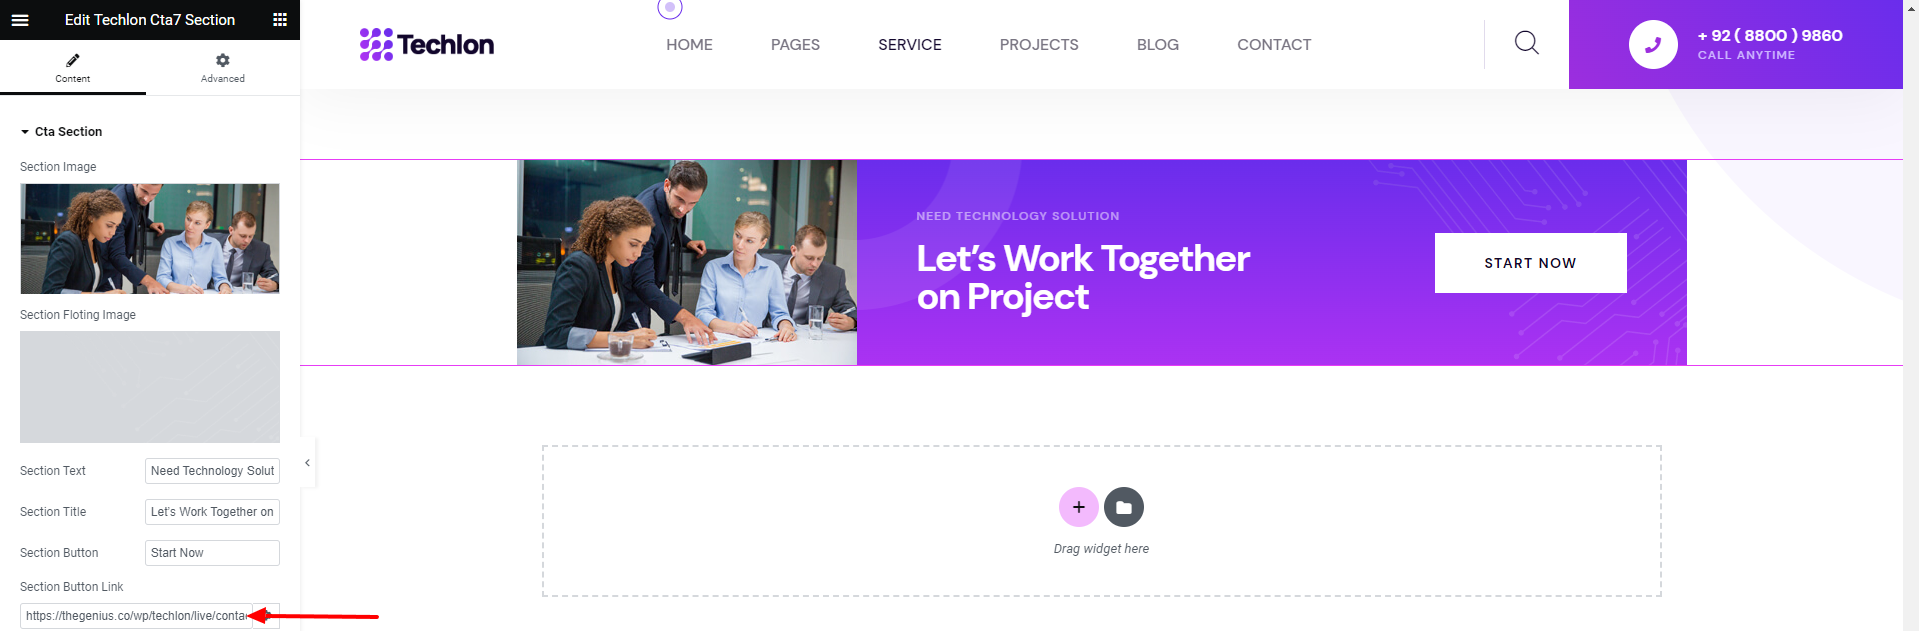
Techlon call to action7
It is used to give link for other page.
Give Title and link as you want. It will Reflect in output.
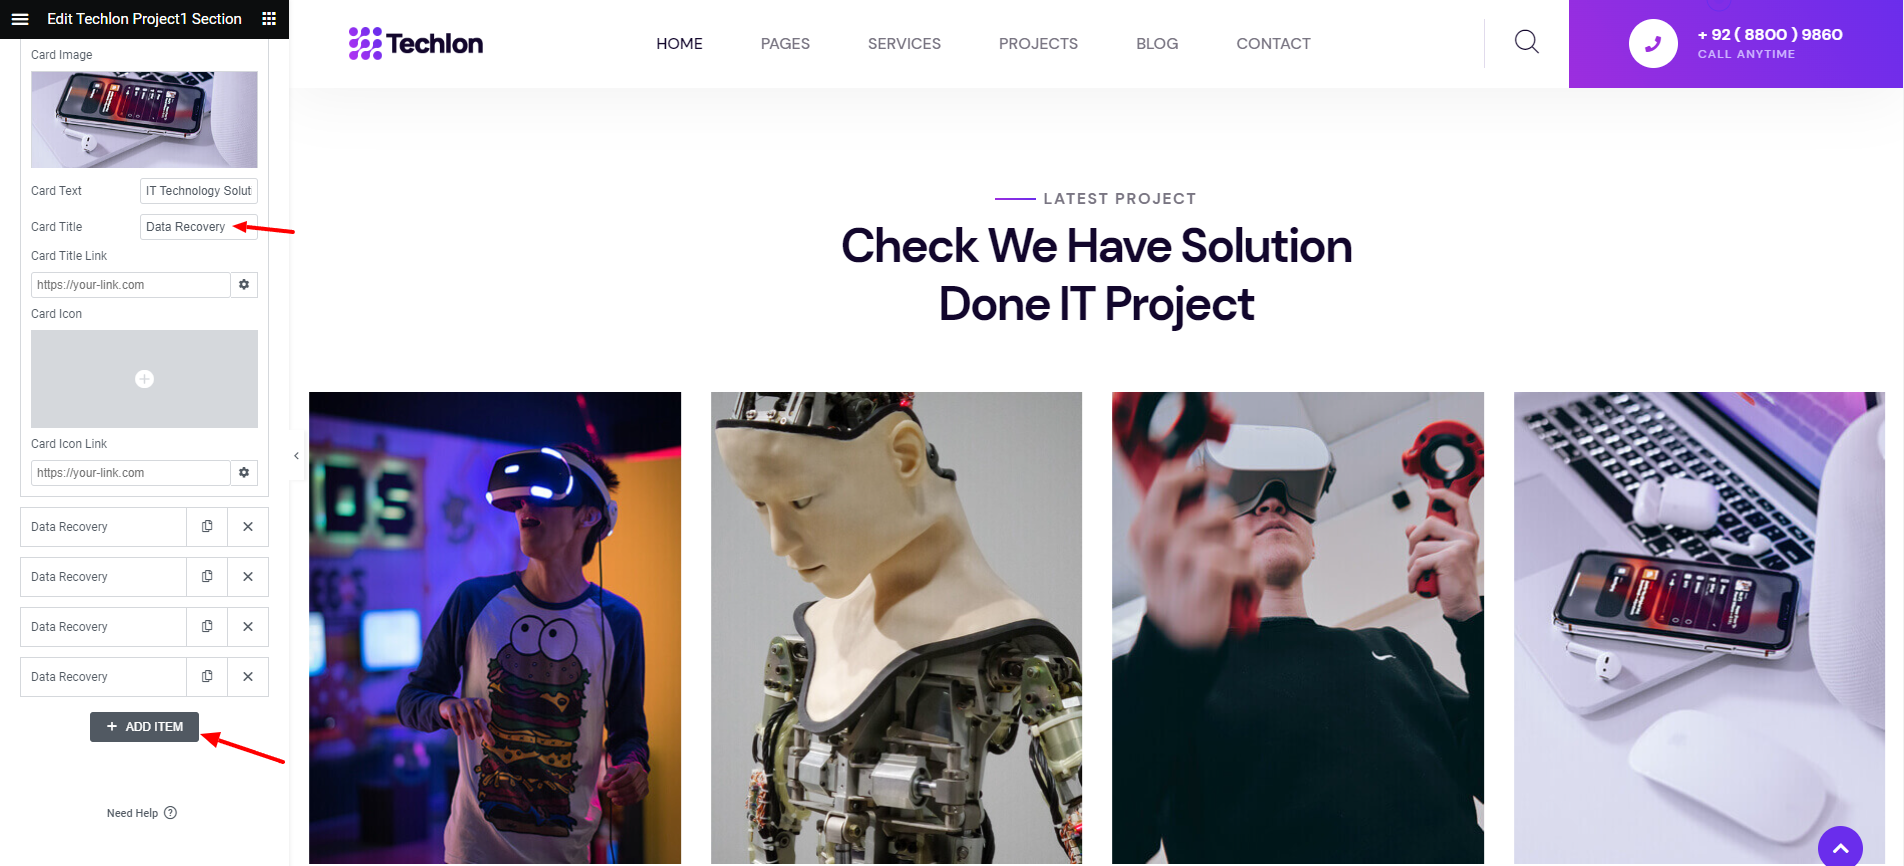
Techlon Project1
This Section shows all the projects of your site.
It has multiple options like slider etc.
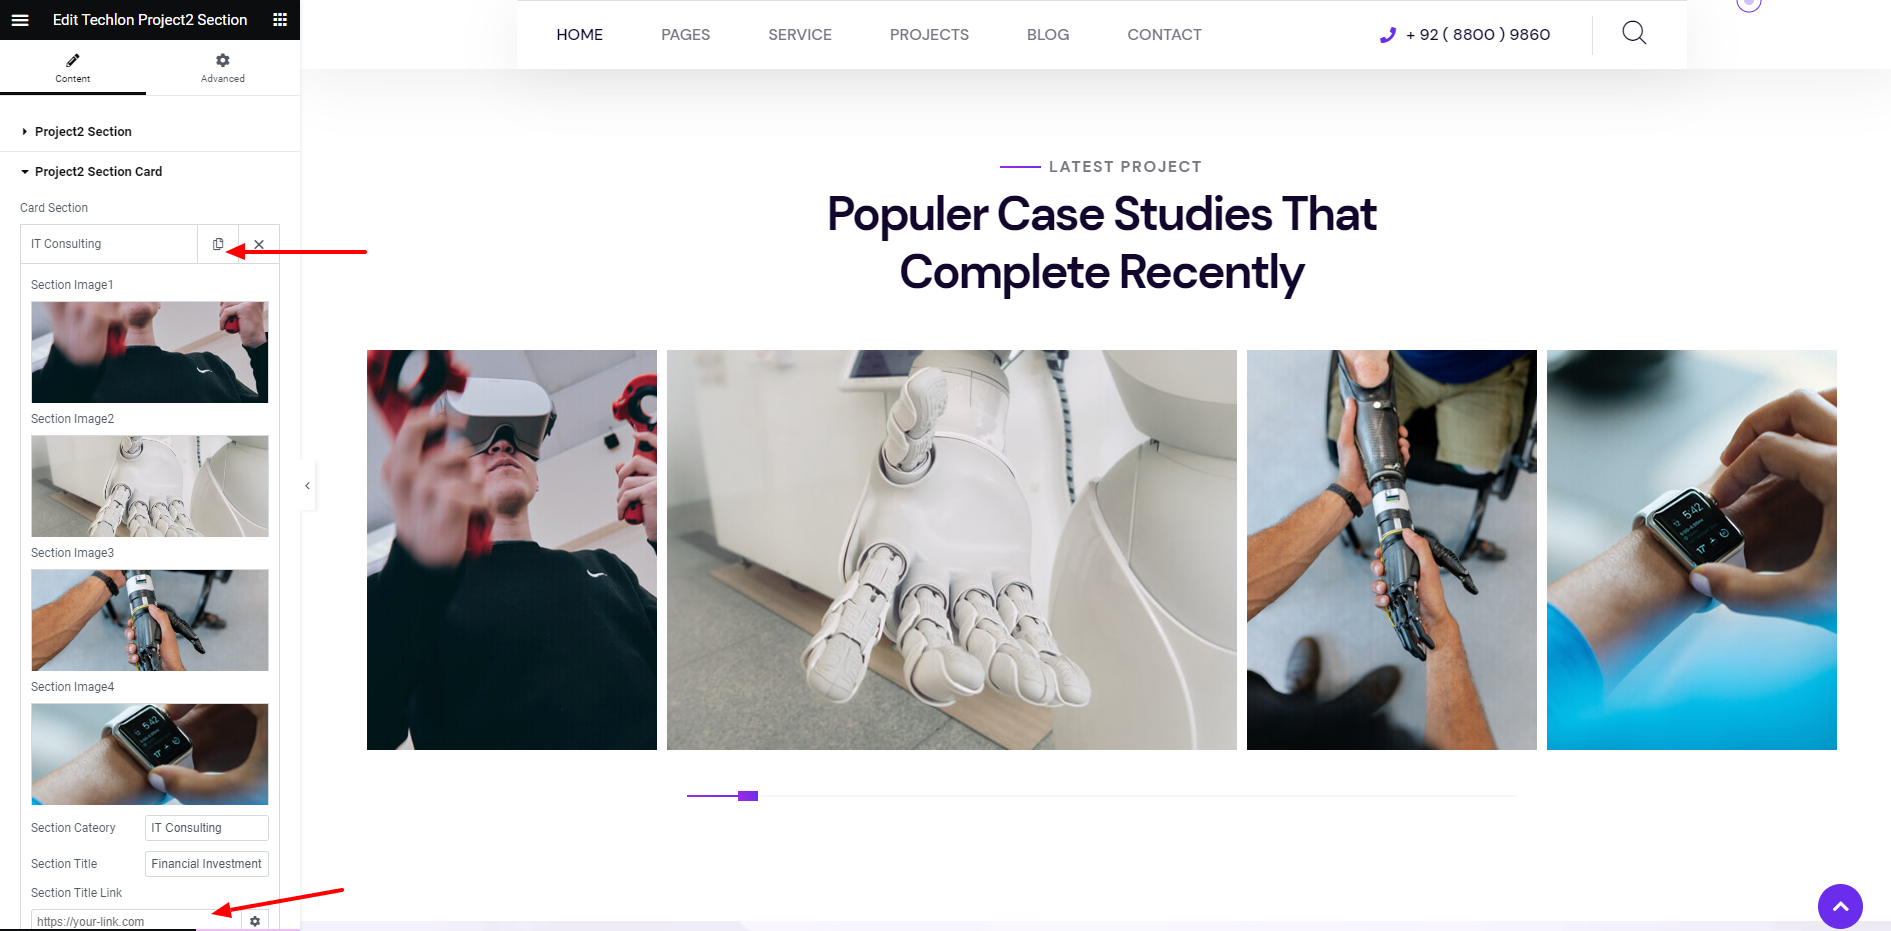
Techlon Project2
This Section shows all the projects of your site.
It has multiple options like slider etc.
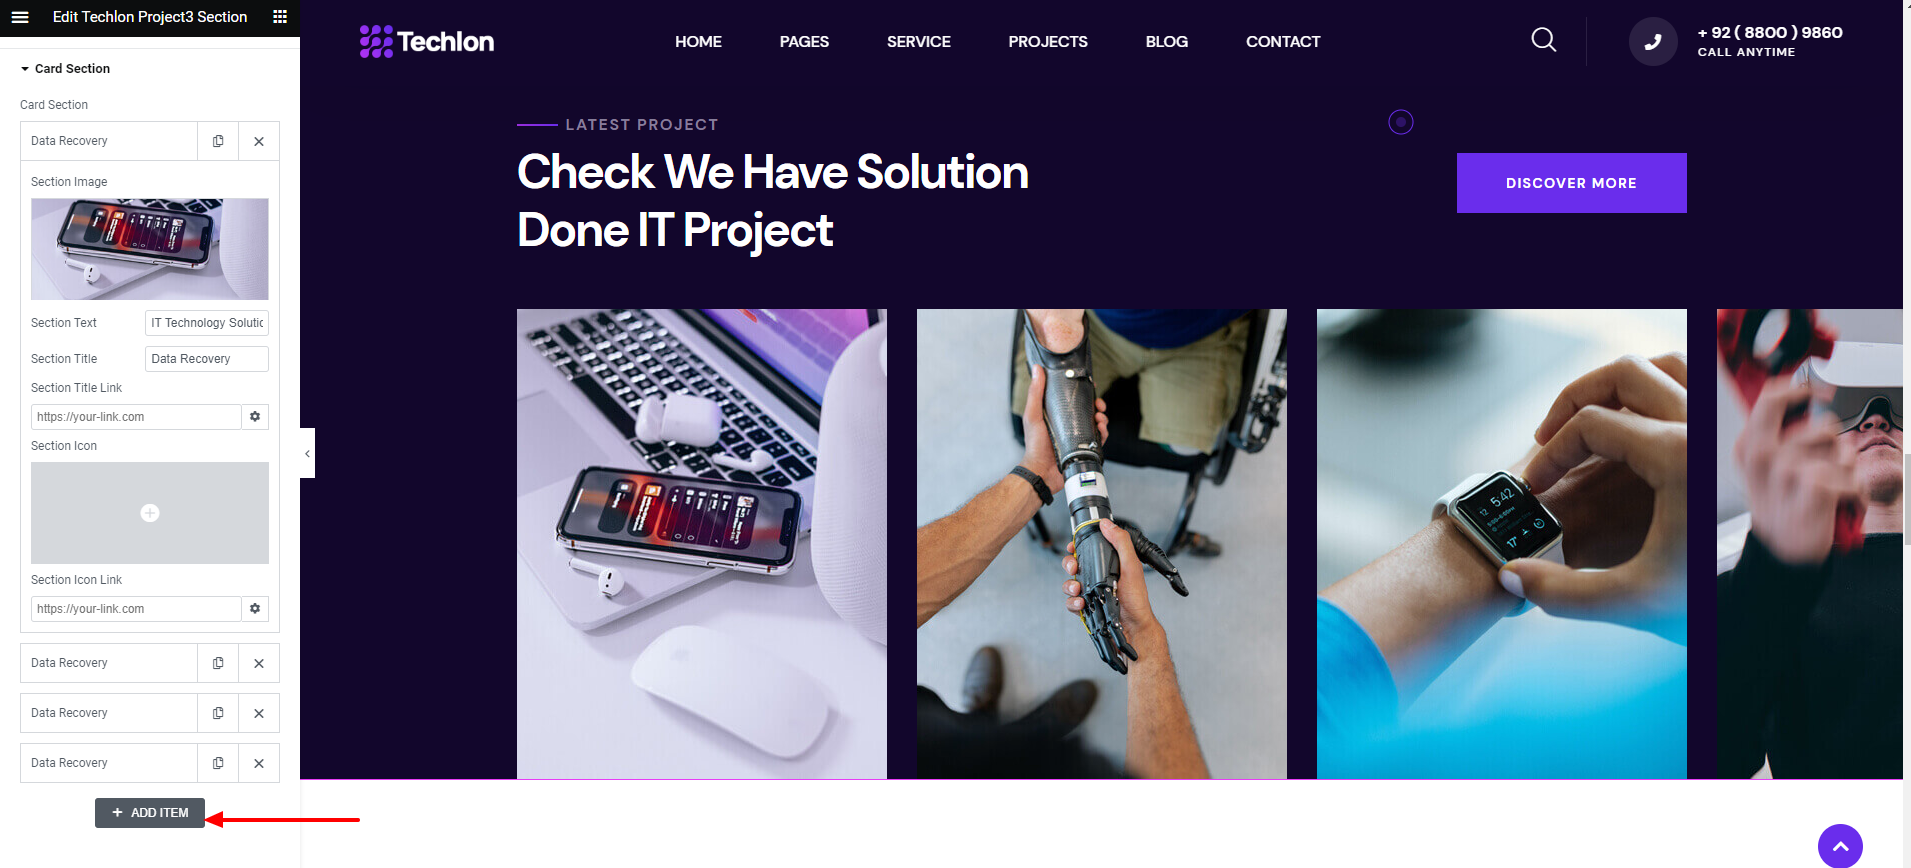
Techlon Project3
This Section shows all the projects of your site.
It has multiple options like slider etc.
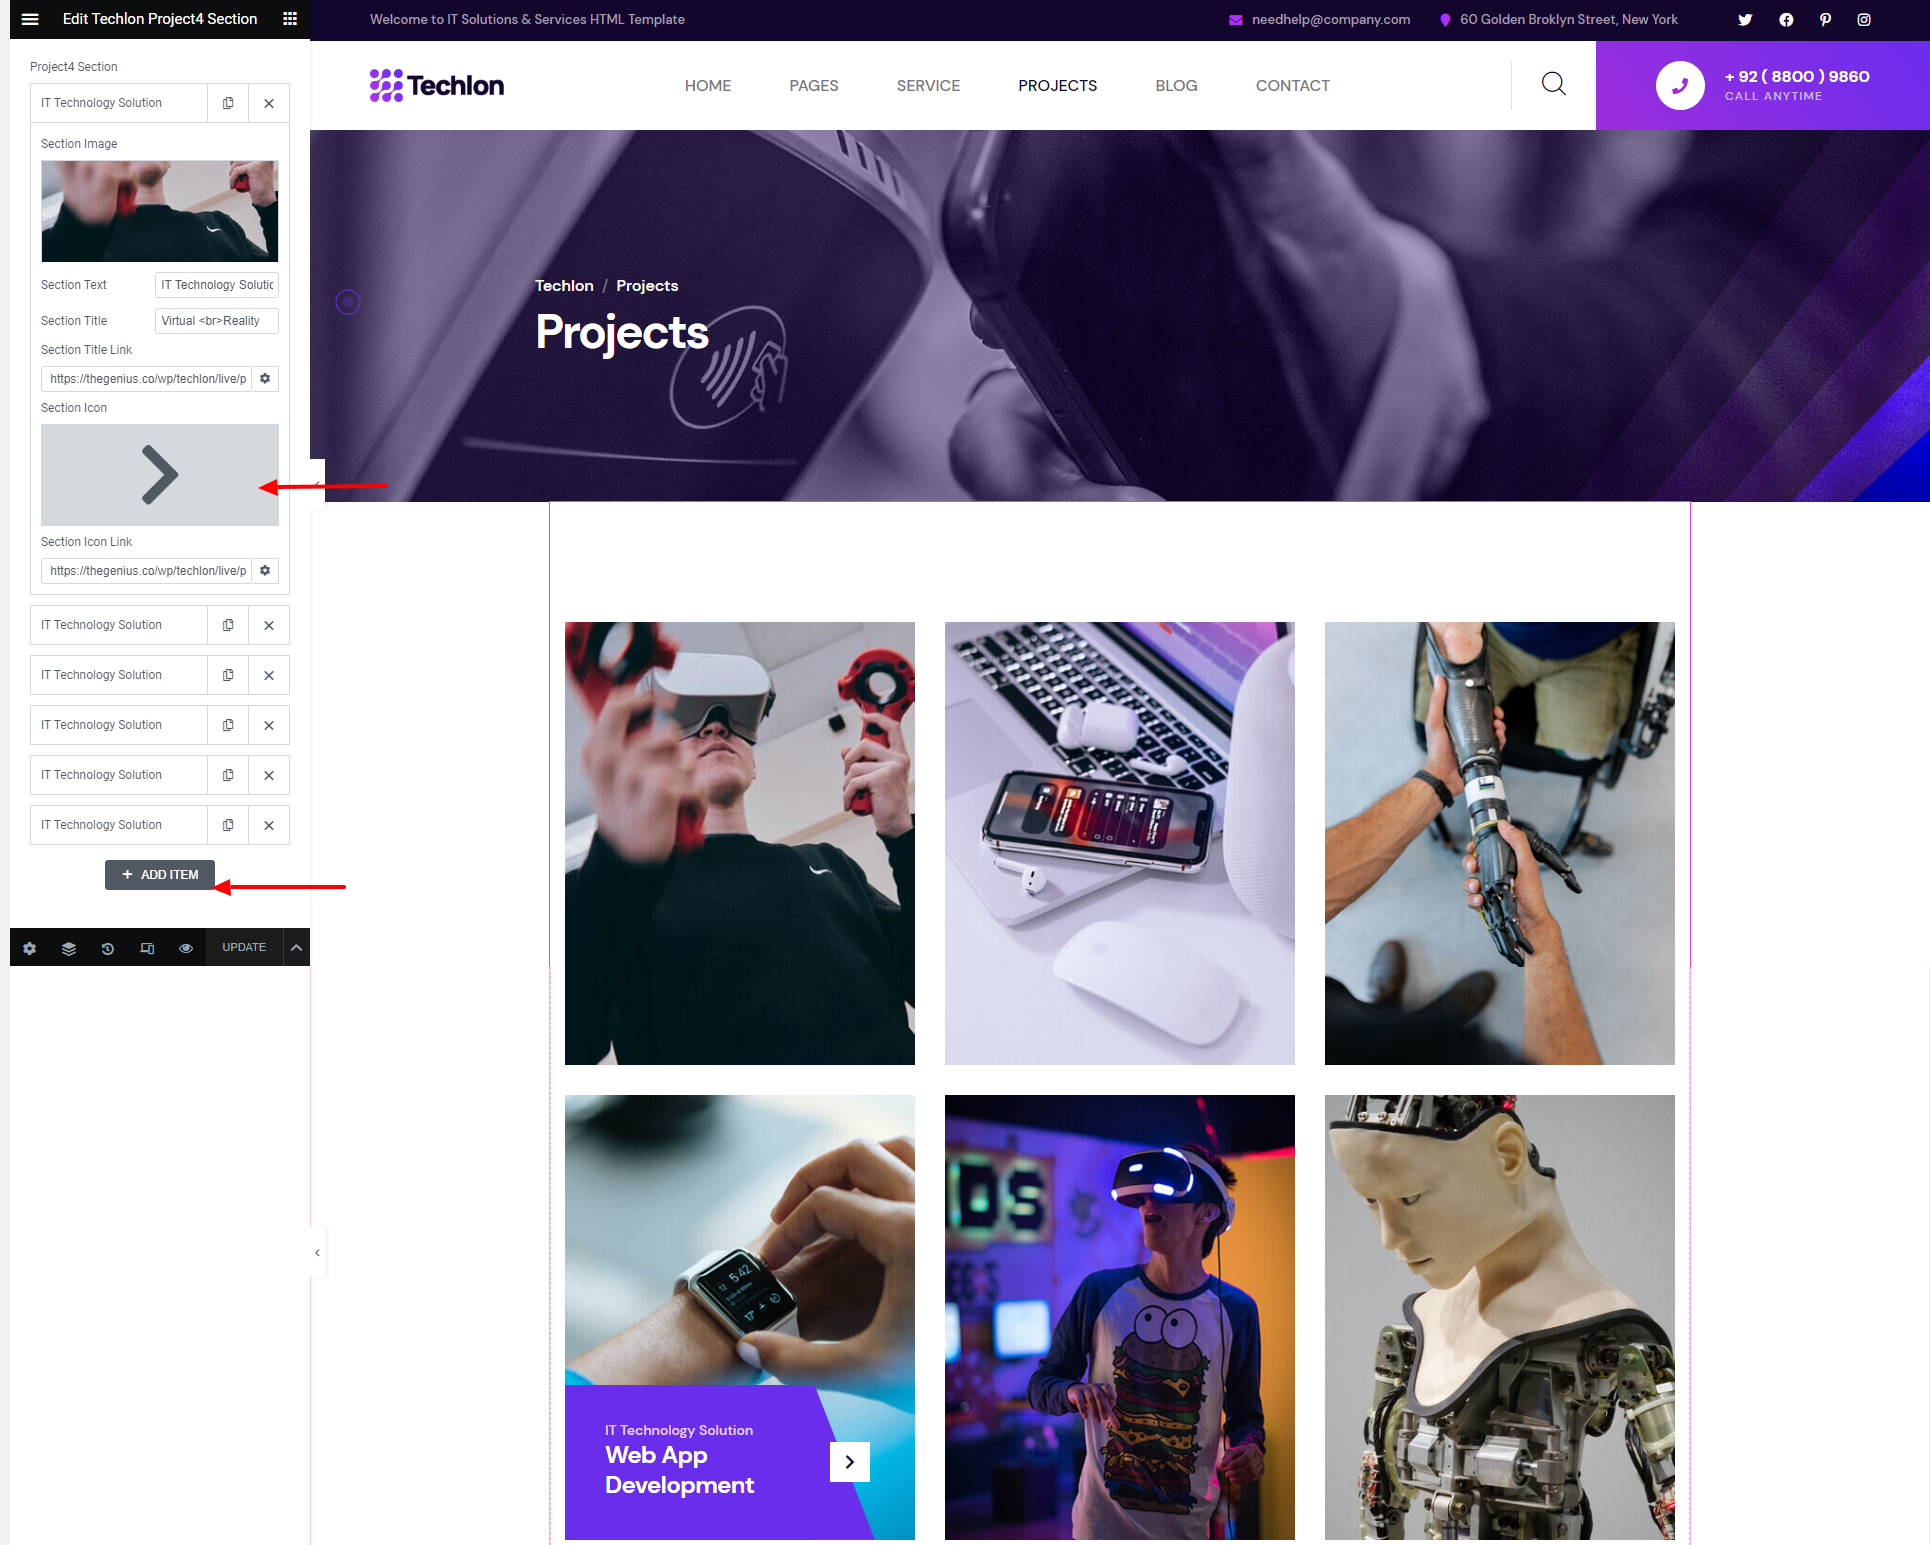
Techlon Project4
This Section shows all the projects of your site.
It has multiple options like slider etc.
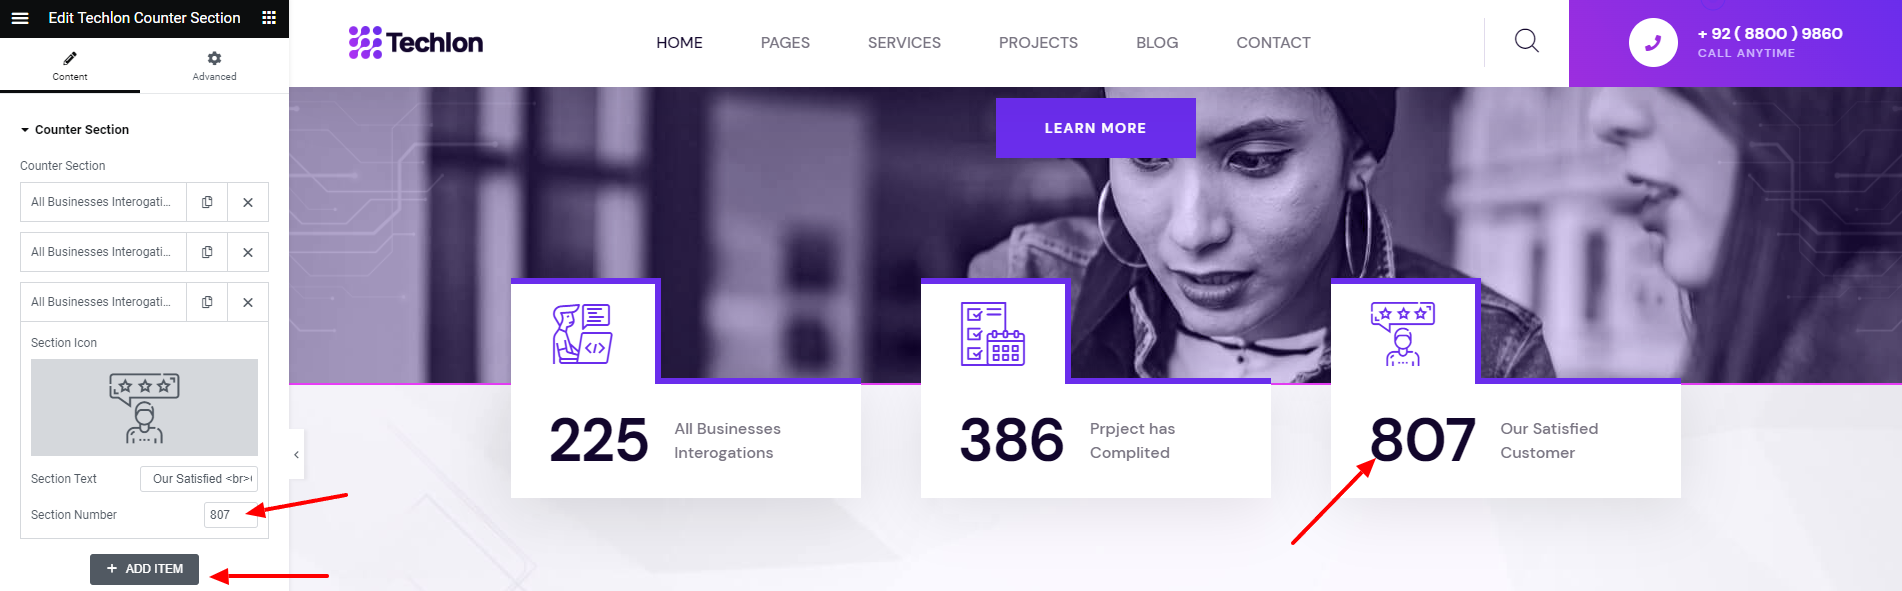
Techlon Counter
Add Enter number and title to the Counter List
Techlon Testimonial1
To show reviews from people, use this Testimonial widget.
It has multiple options like button, slider etc.

Techlon Testimonial2
To show reviews from people, use this Testimonial widget.
It has multiple options like rating, slider etc.

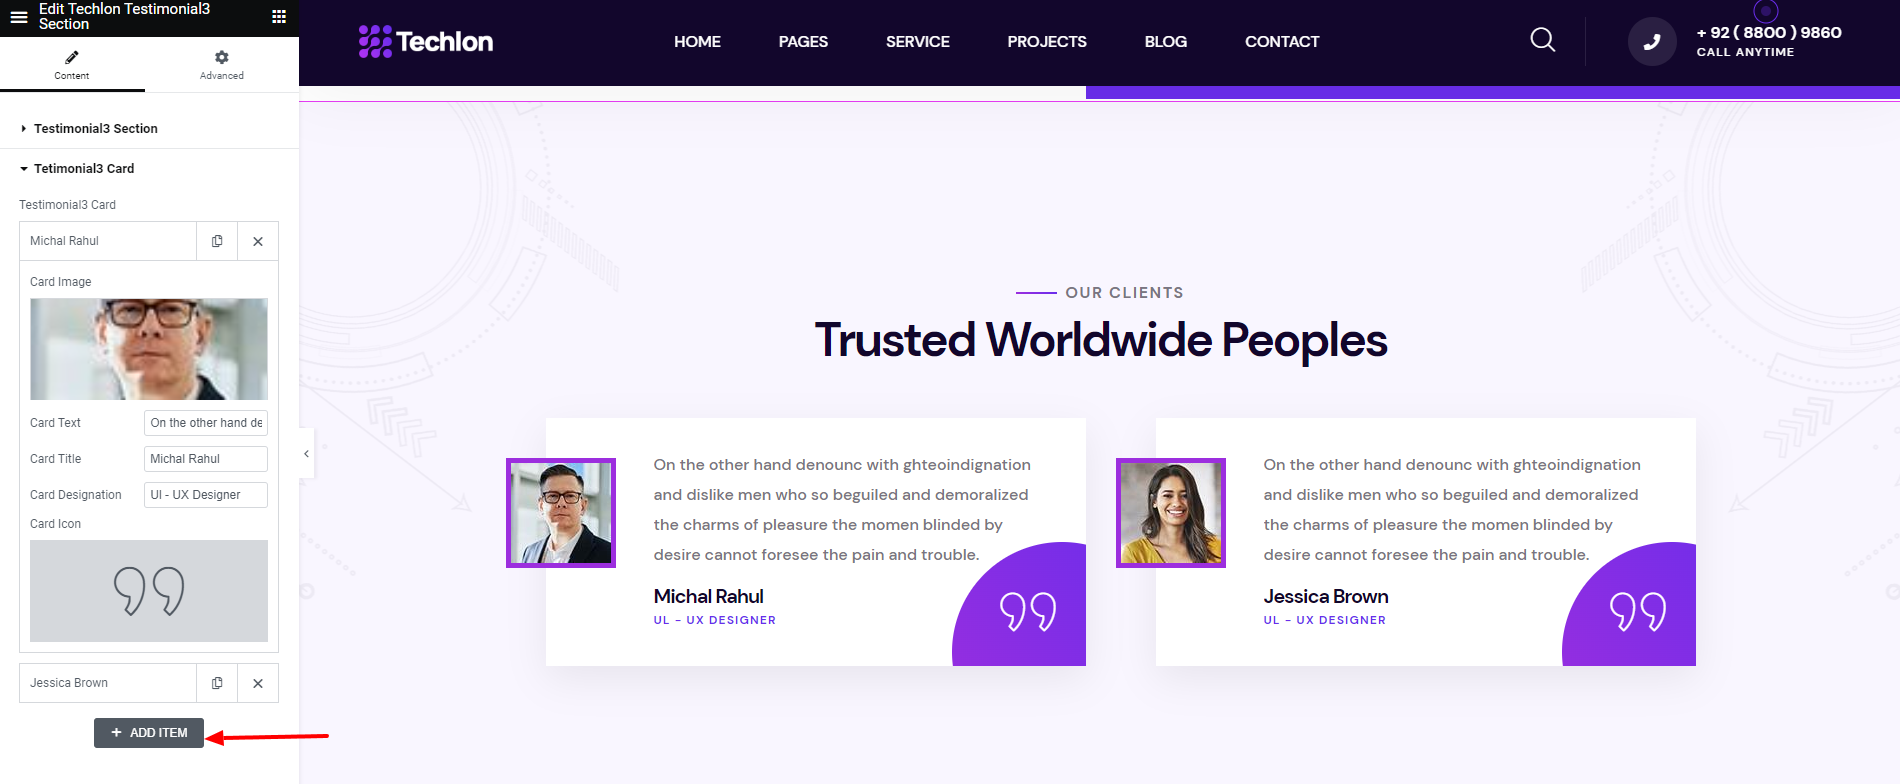
Techlon Testimonial3
To show reviews from people, use this Testimonial widget.
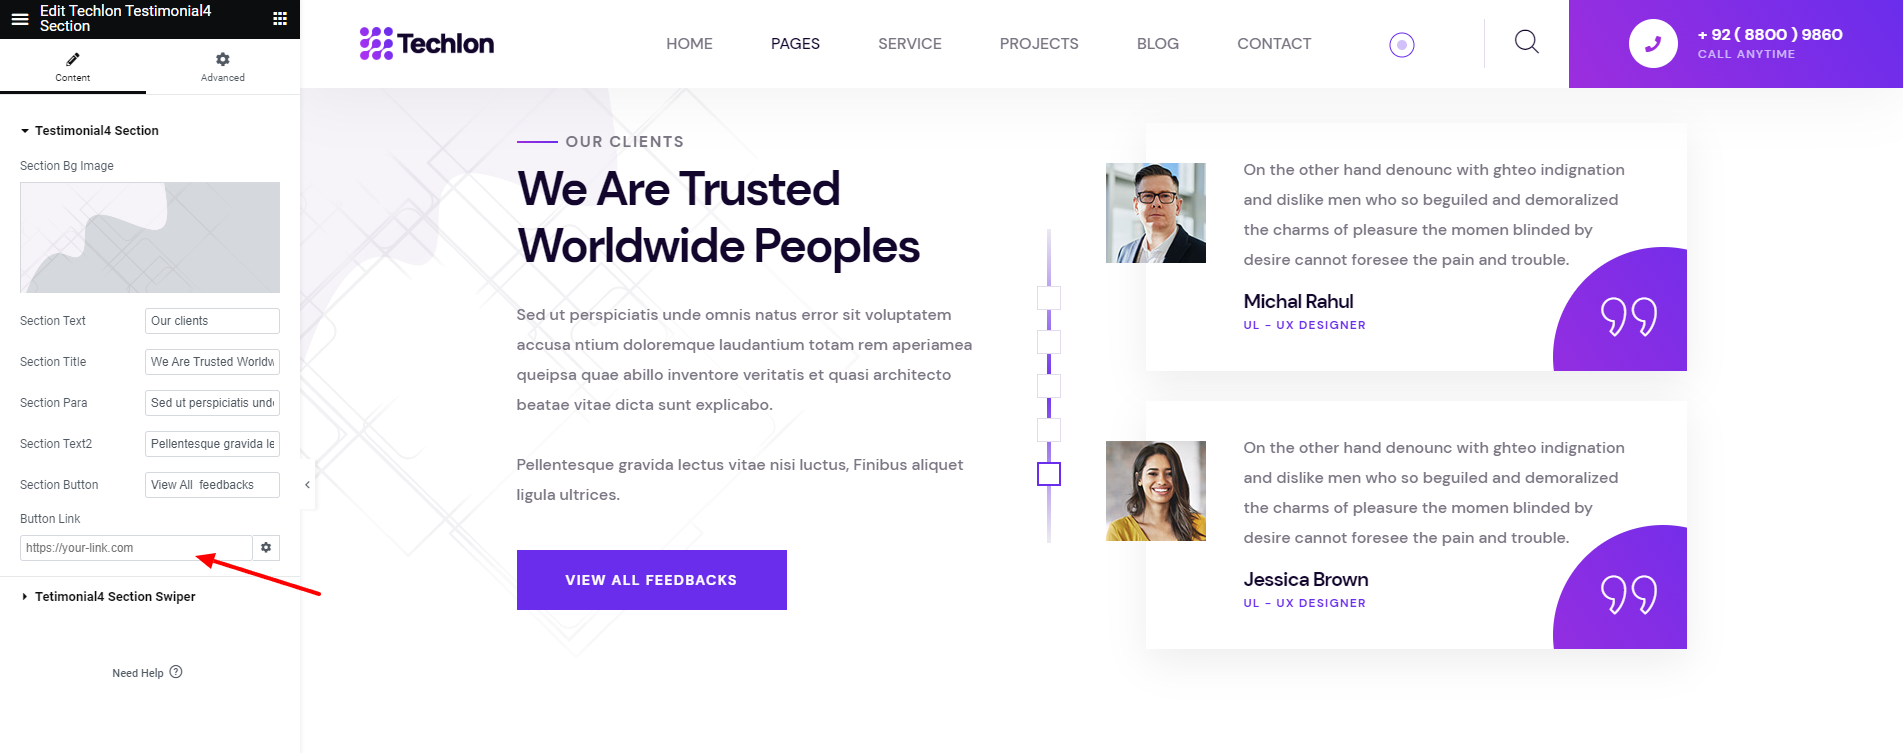
Techlon Testimonial4
To show reviews from people, use this Testimonial widget.
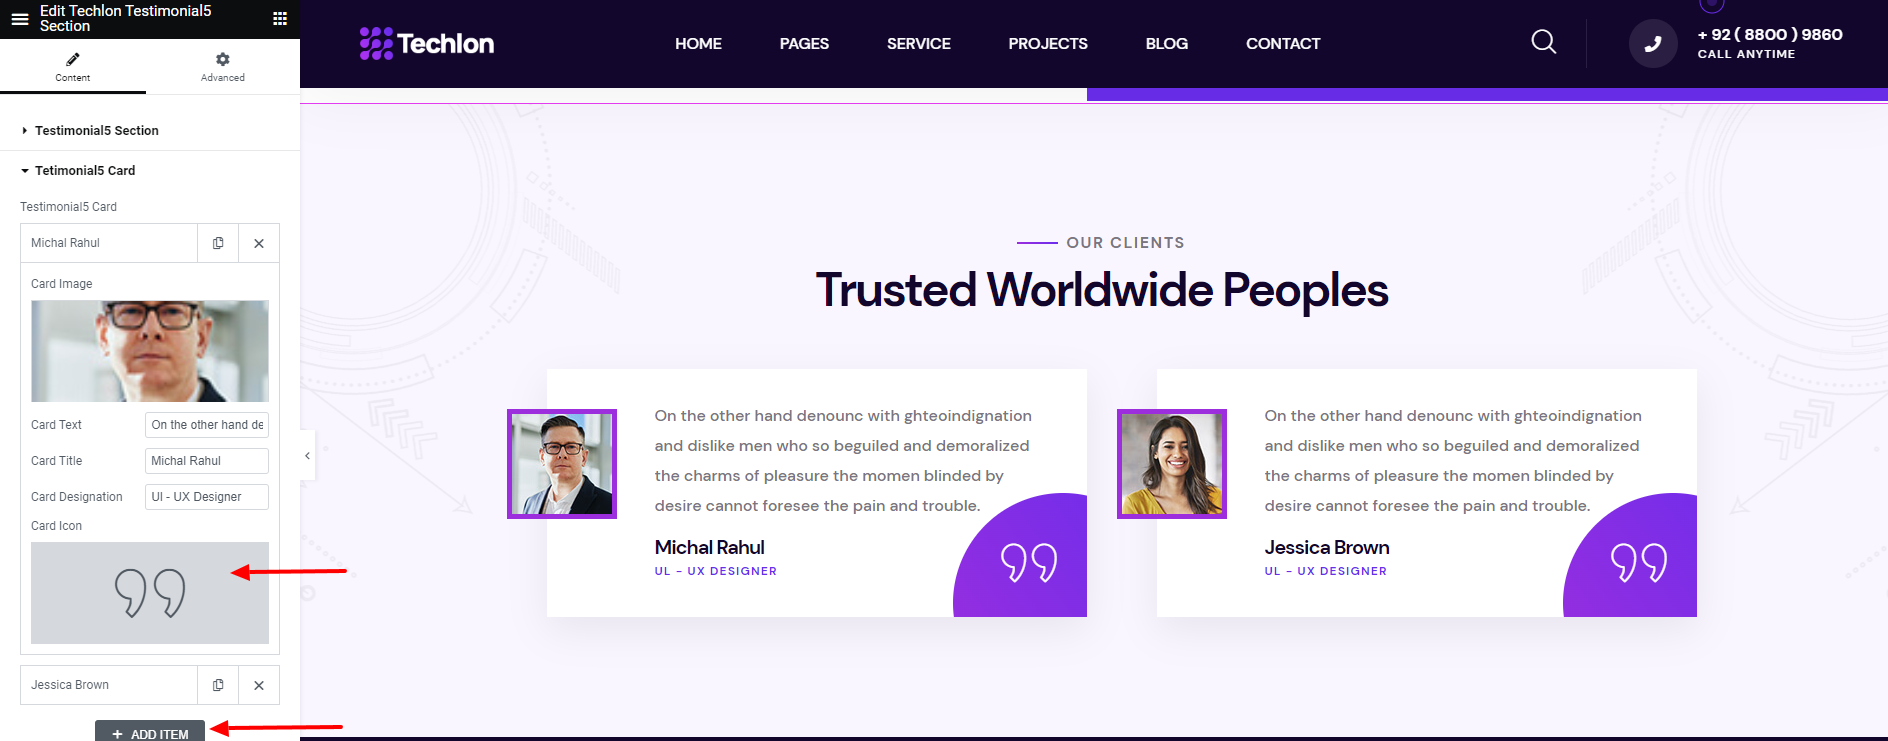
Techlon Testimonial5
To show reviews from people, use this Testimonial widget.
Techlon Team1
This Section shows the team members along with their social sites

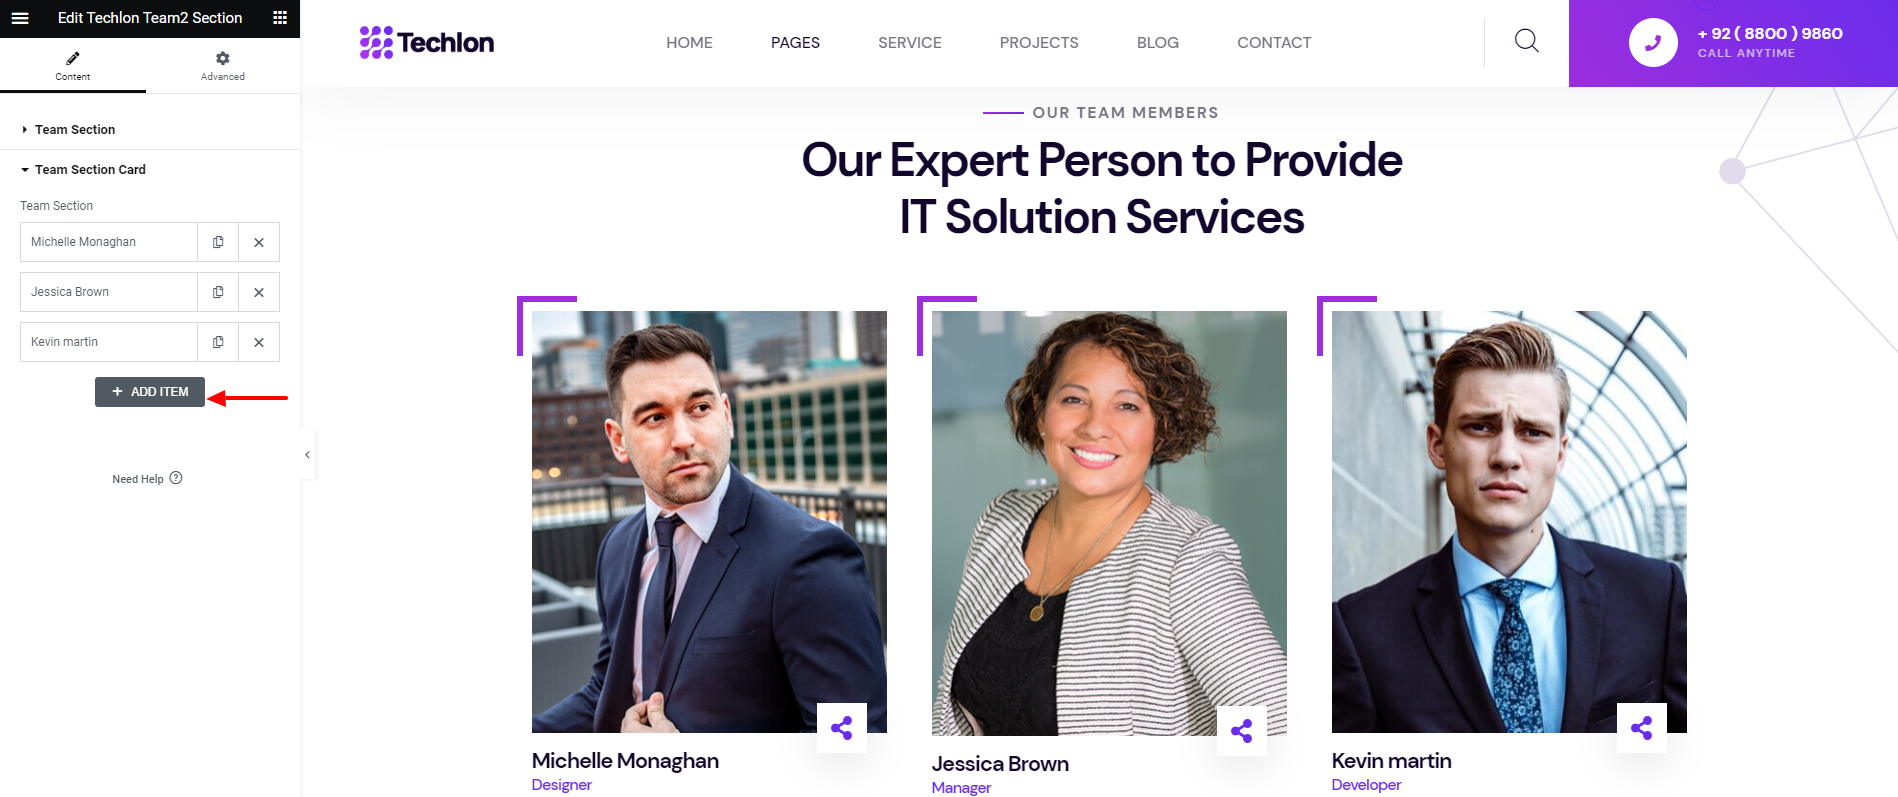
Techlon Team2
This Section shows the team members along with their social sites
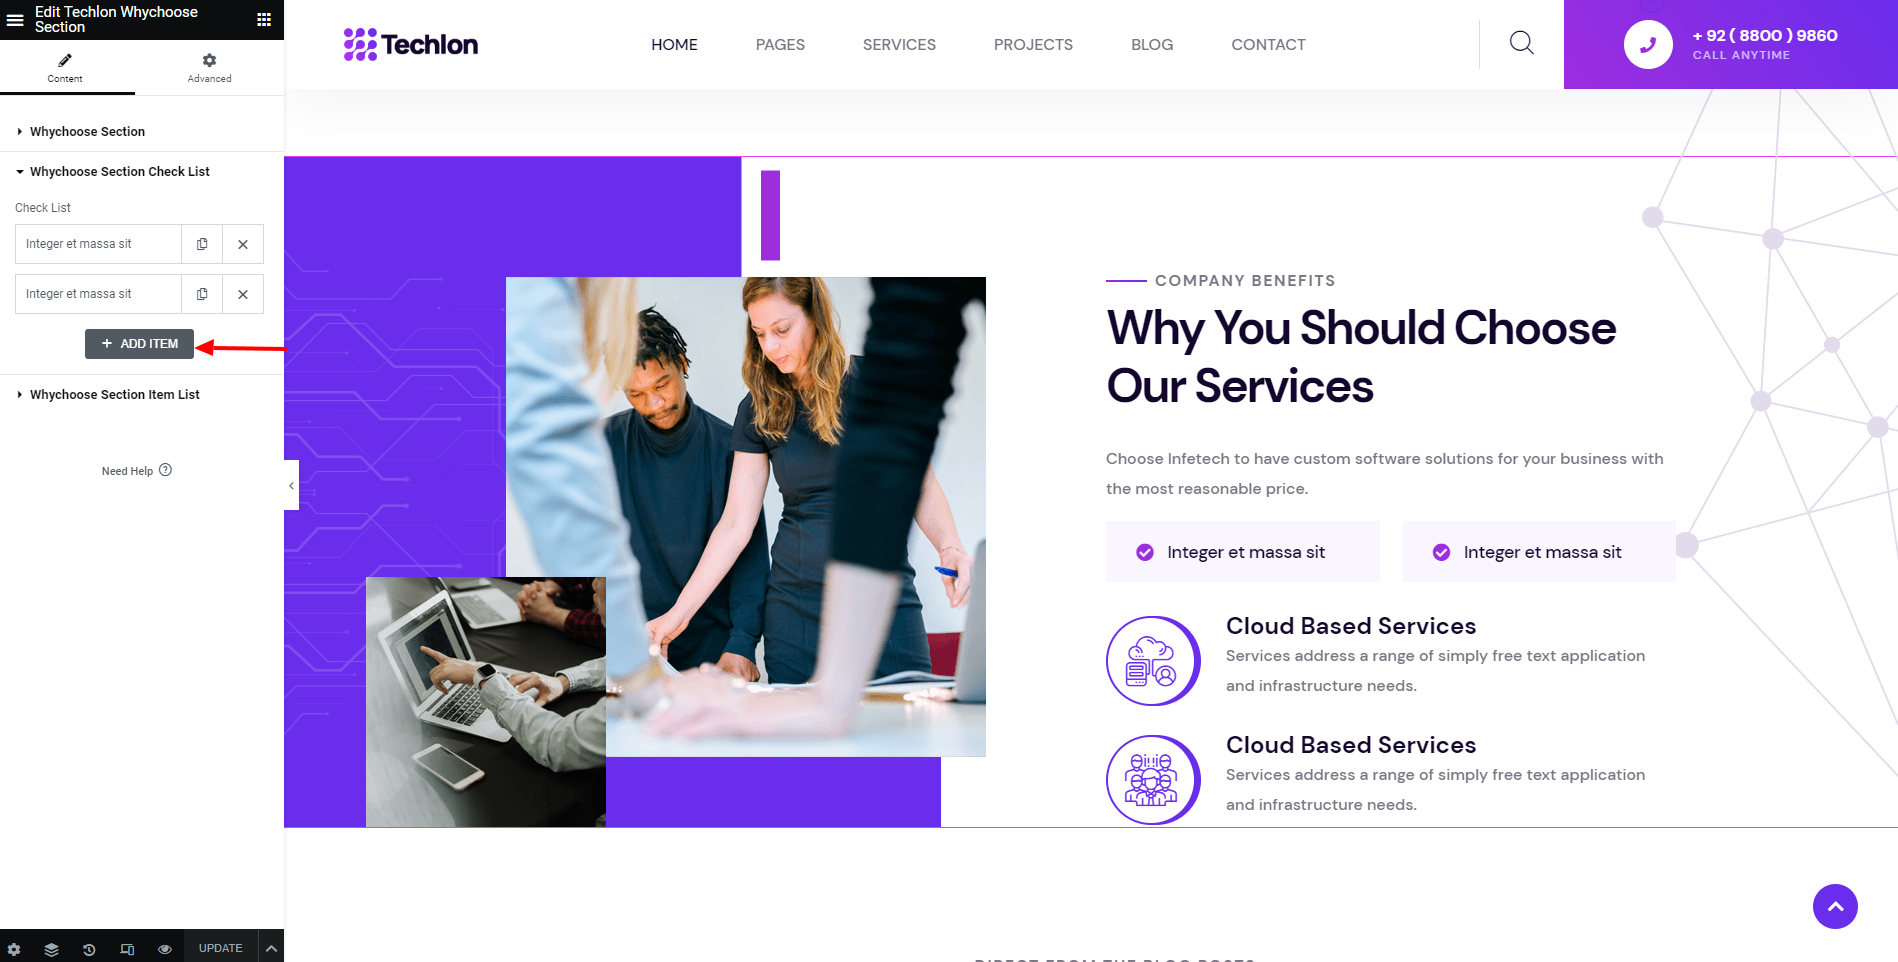
Techlon WhyChoose
This Section will show title, Image and button from your site.
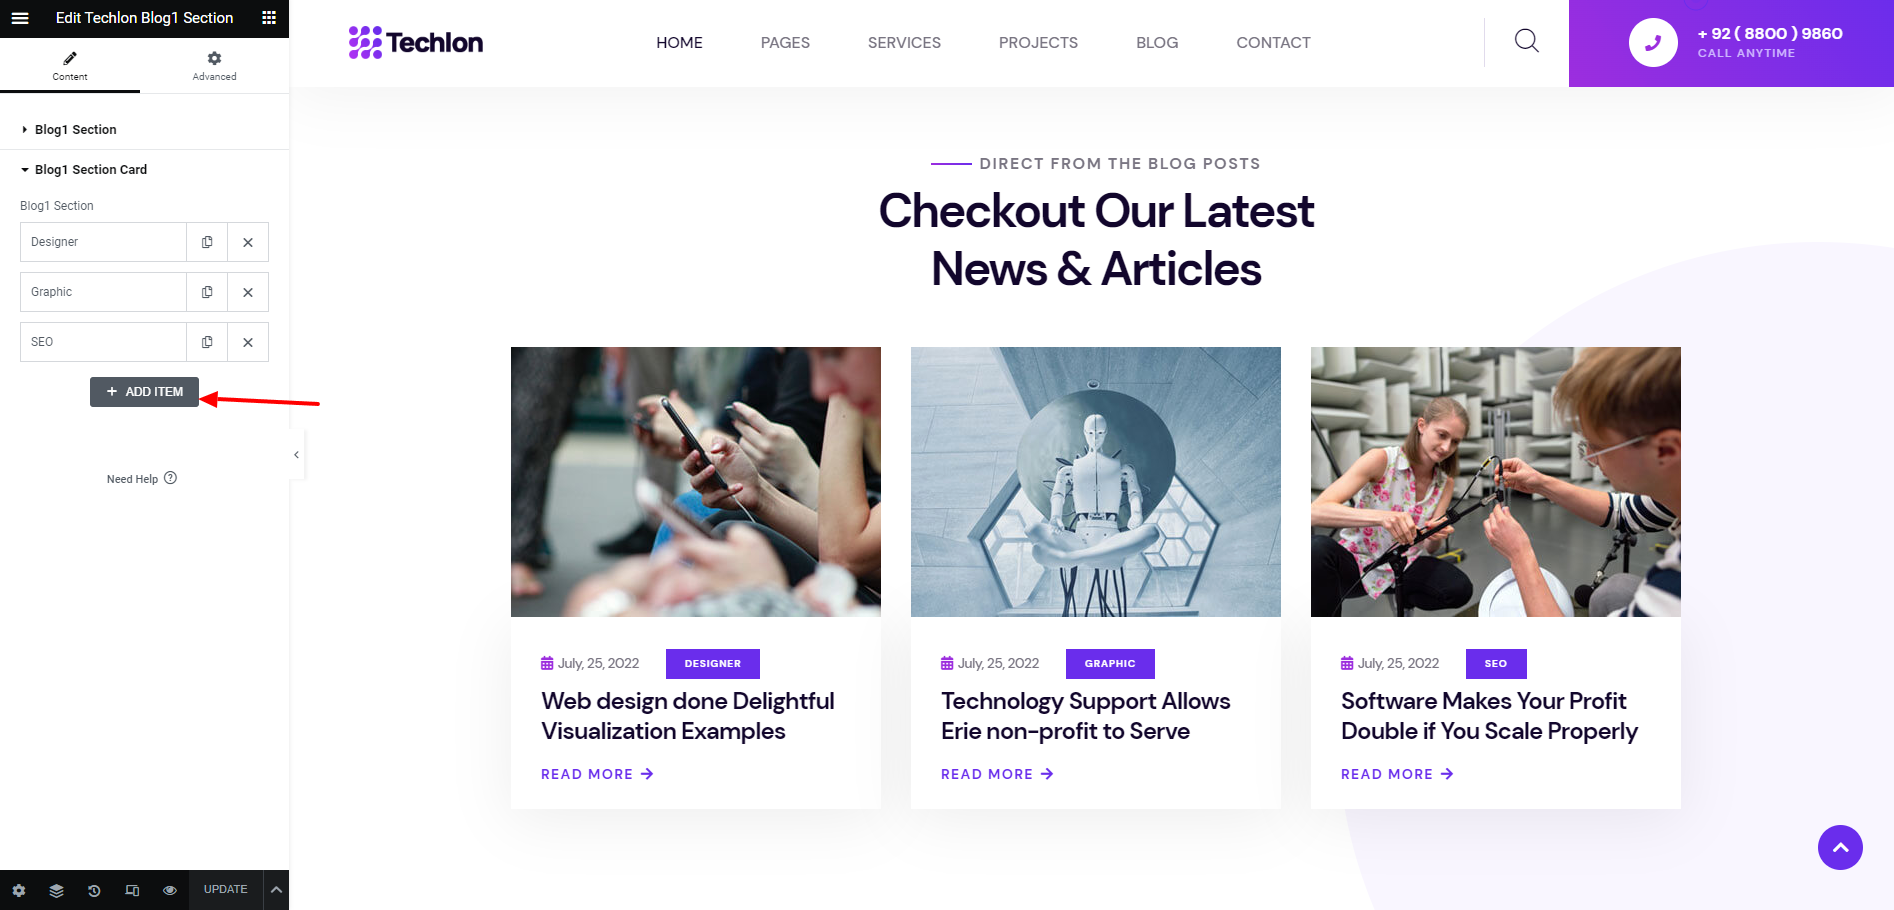
Techlon Blog1
This Section will show the blog list from your site.
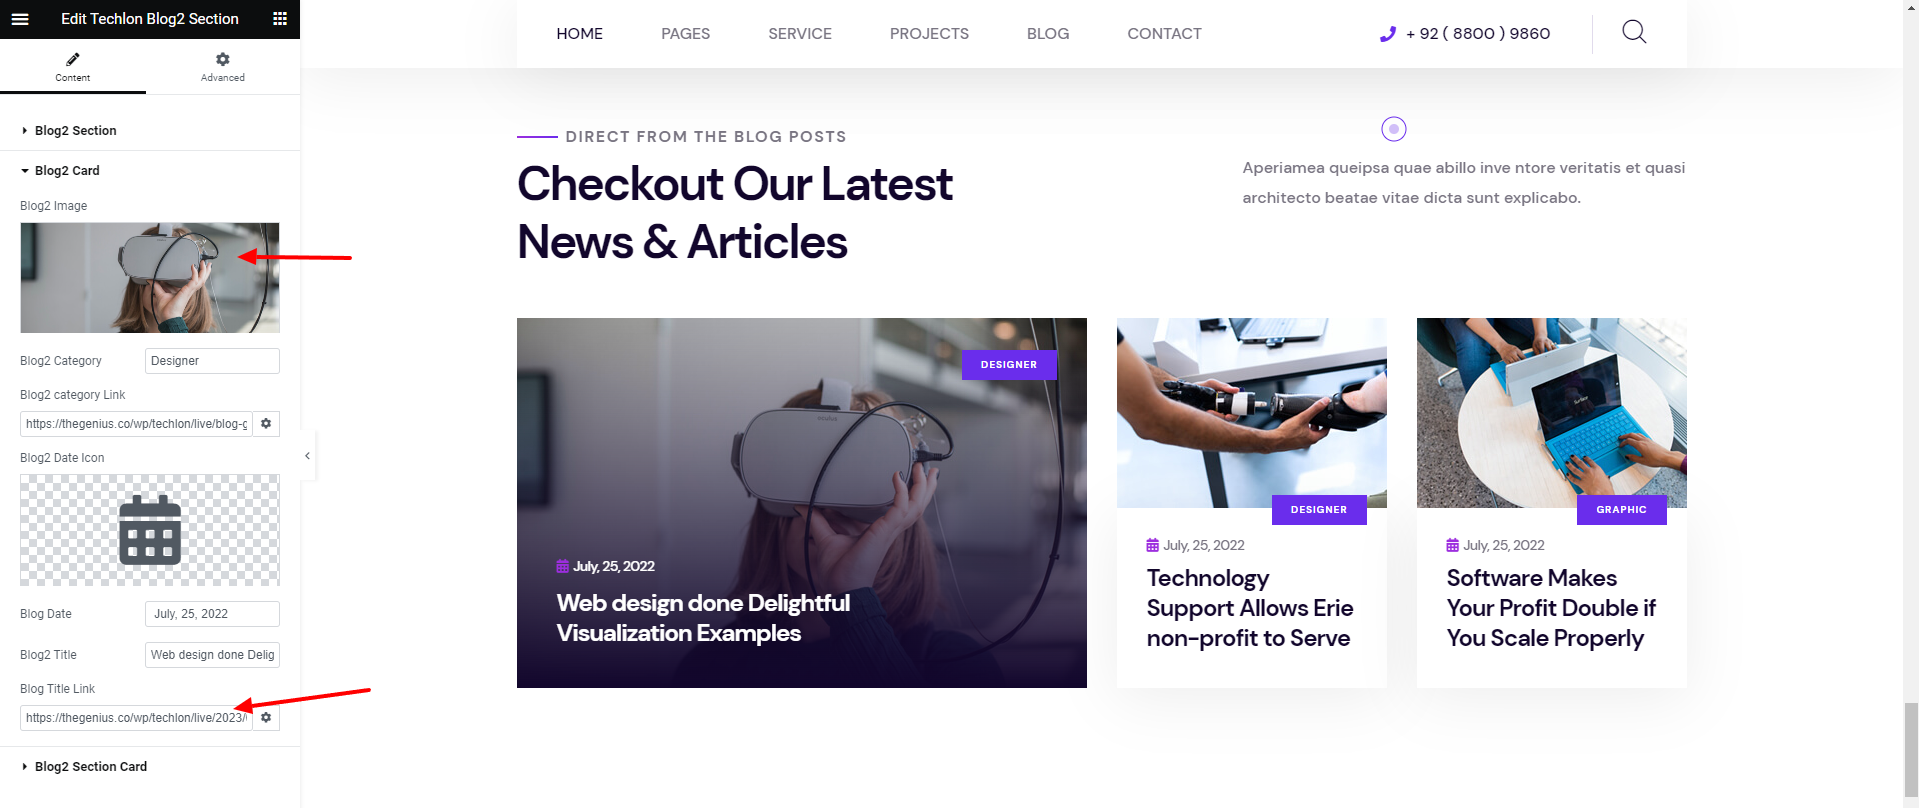
Techlon Blog2
This Widget will show the blog list from your site.
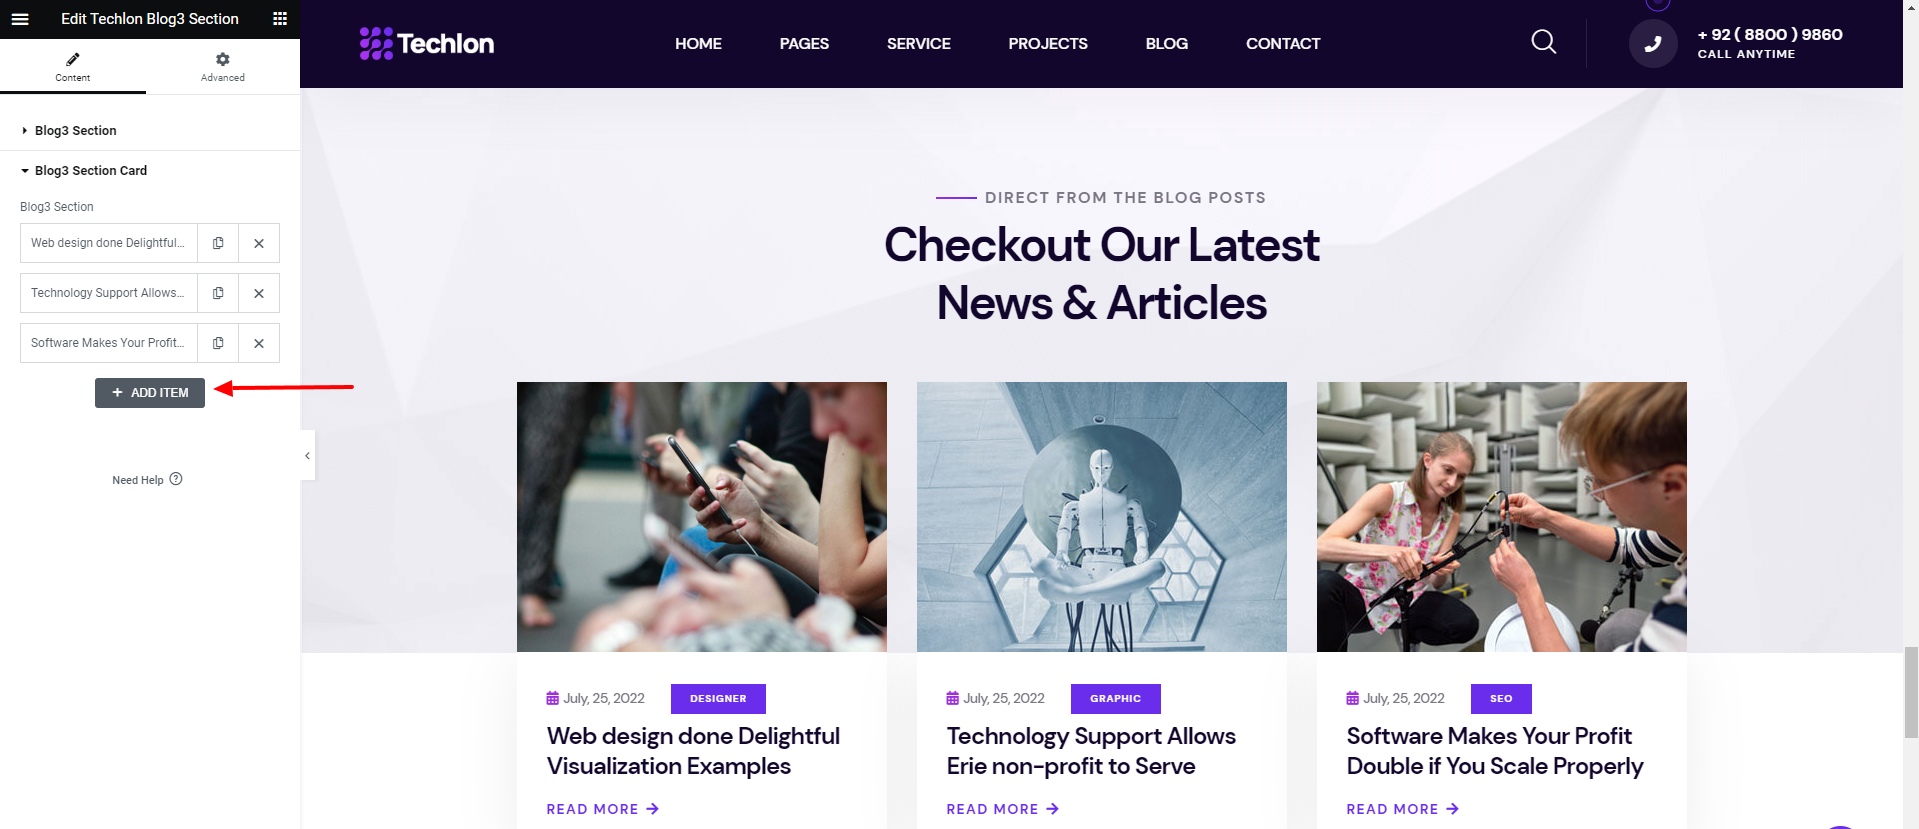
Techlon Blog3
This Section will show the blog list from your site.
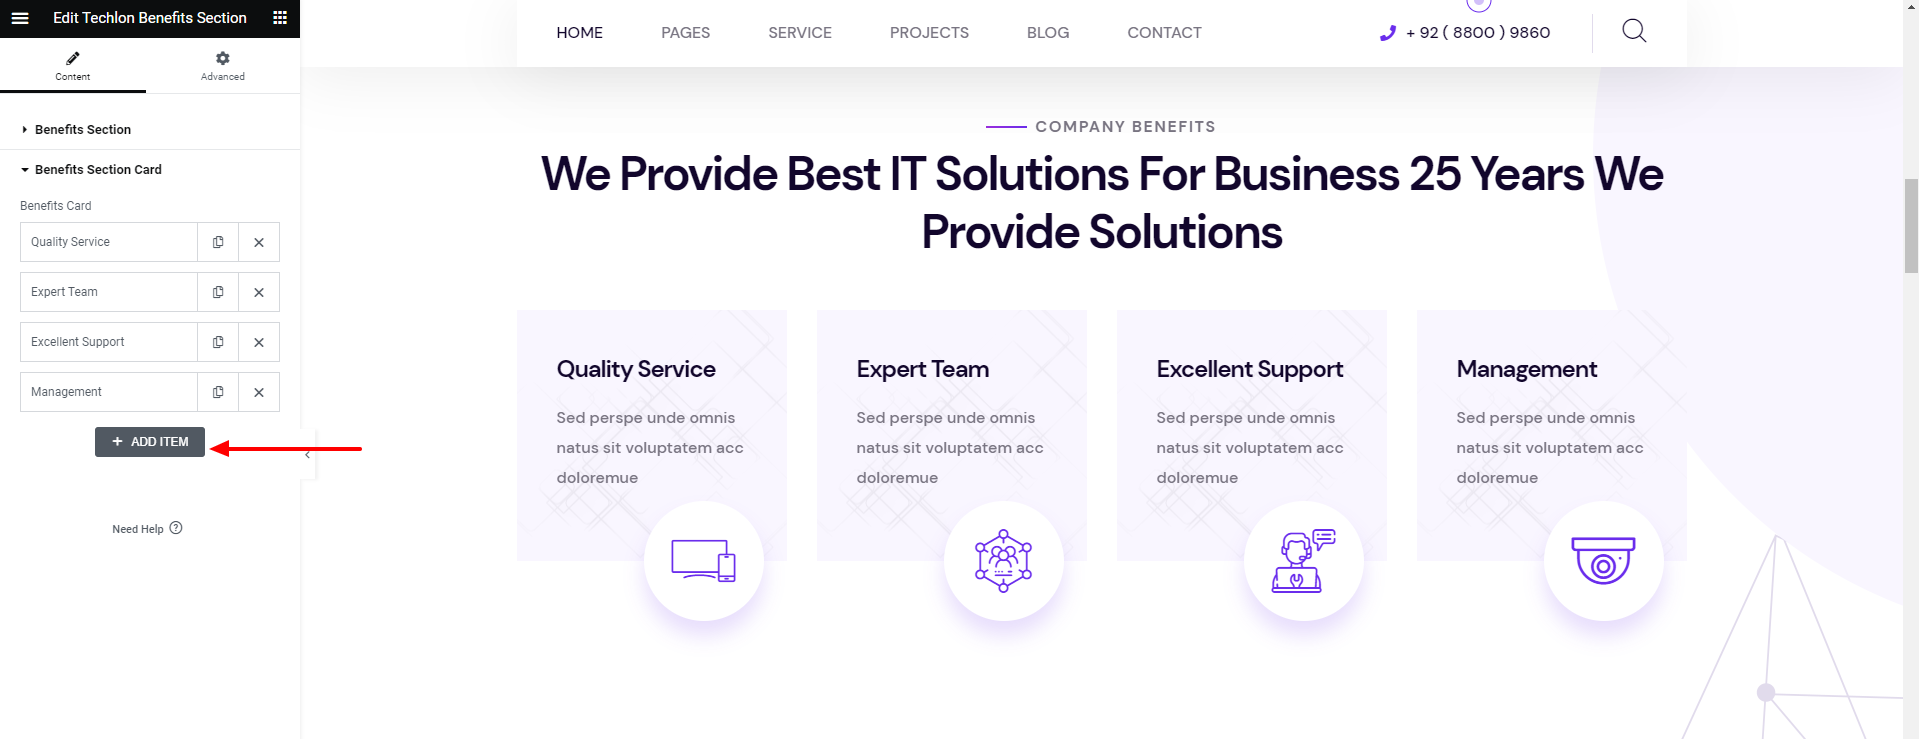
Techlon Benefits1
This Section will show the Company list Service benefits.
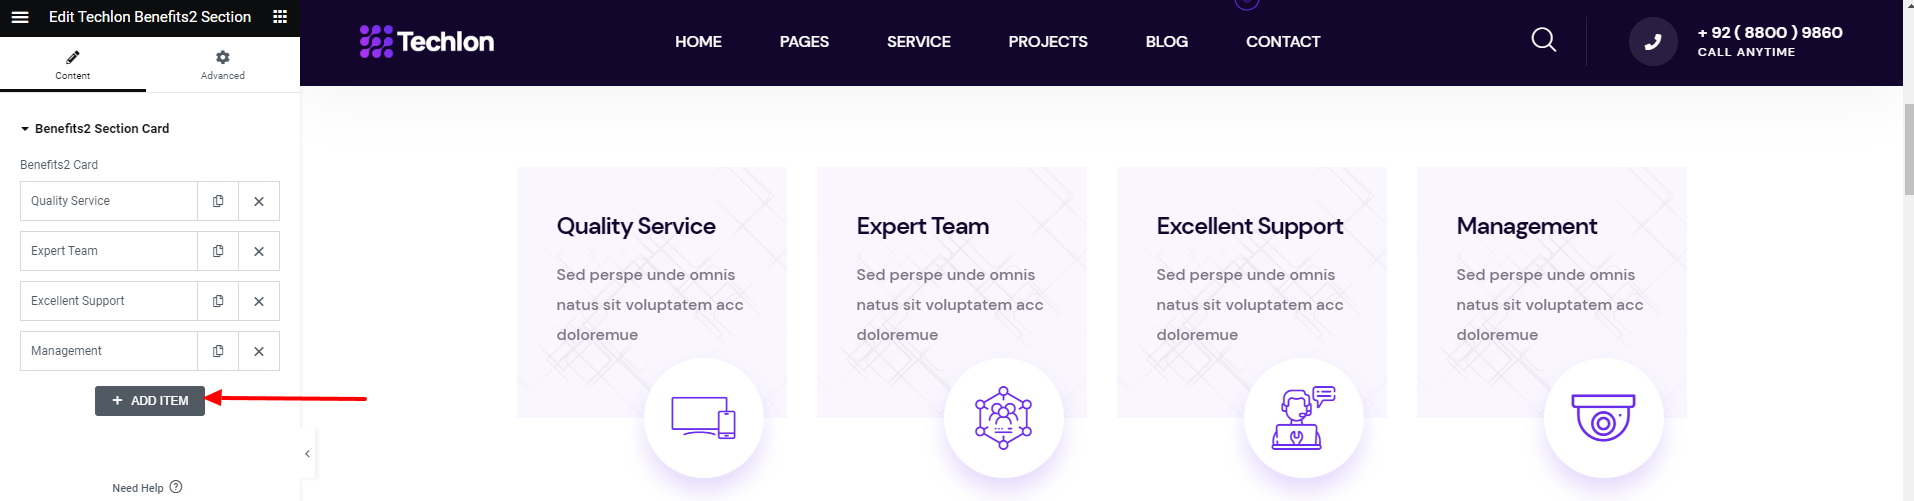
Techlon Benefits2
This Section will show the Company list Service benefits and icon.
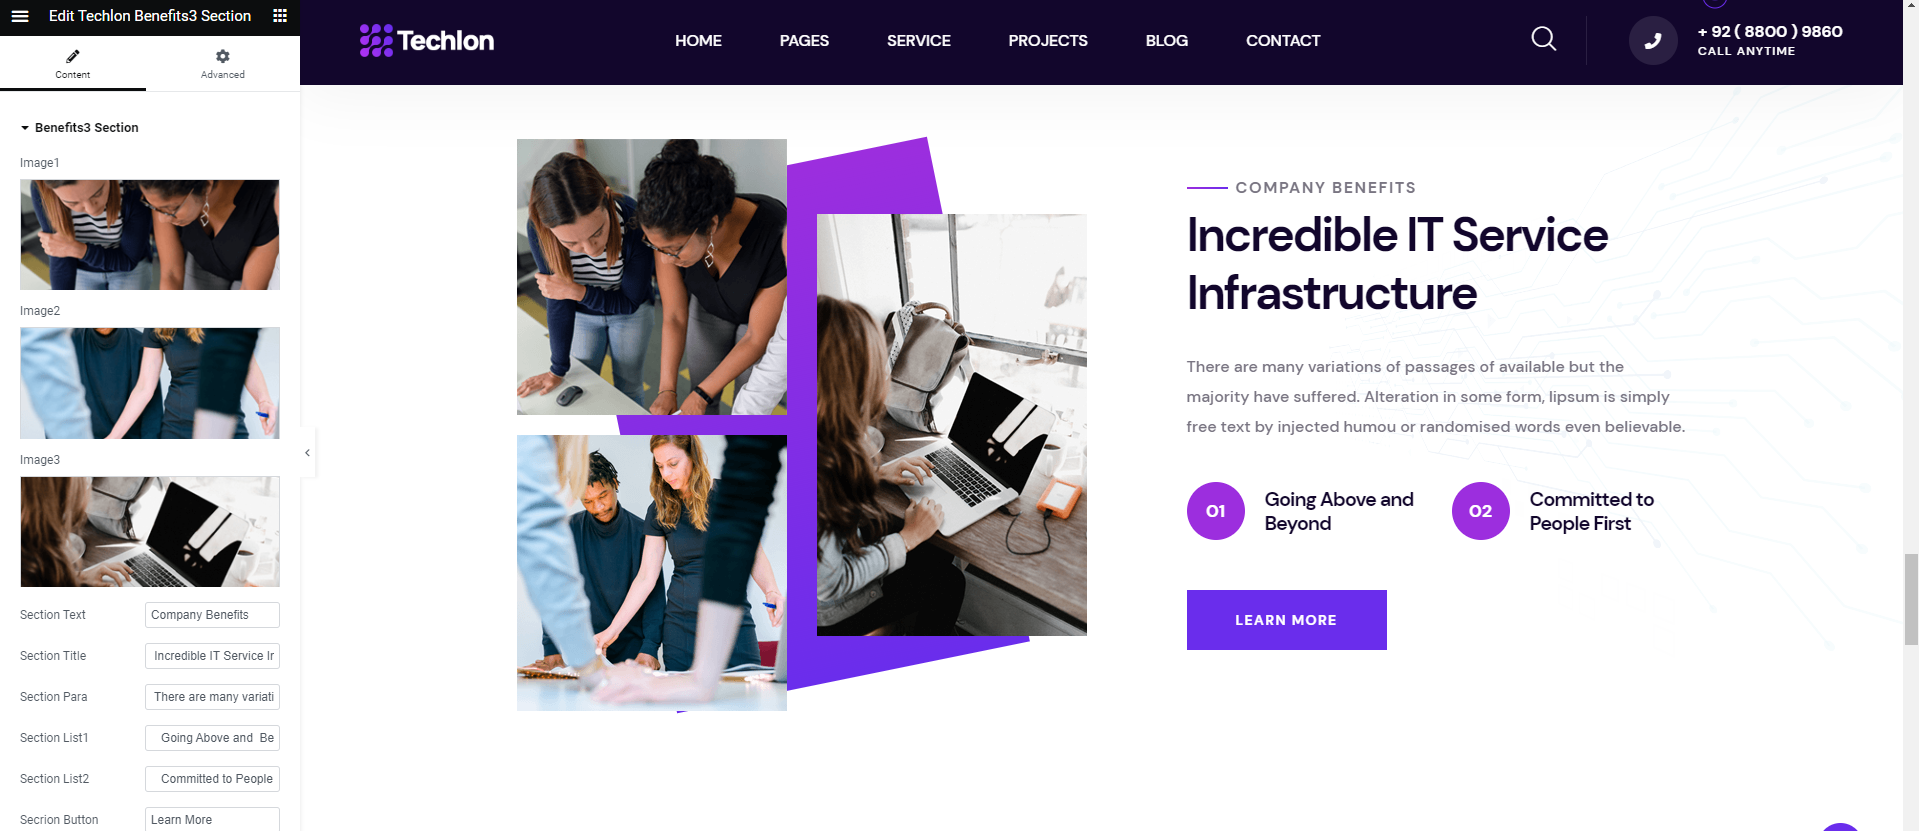
Techlon Benefits3
This Section will show the Company list Service benefits, image, and buttton.
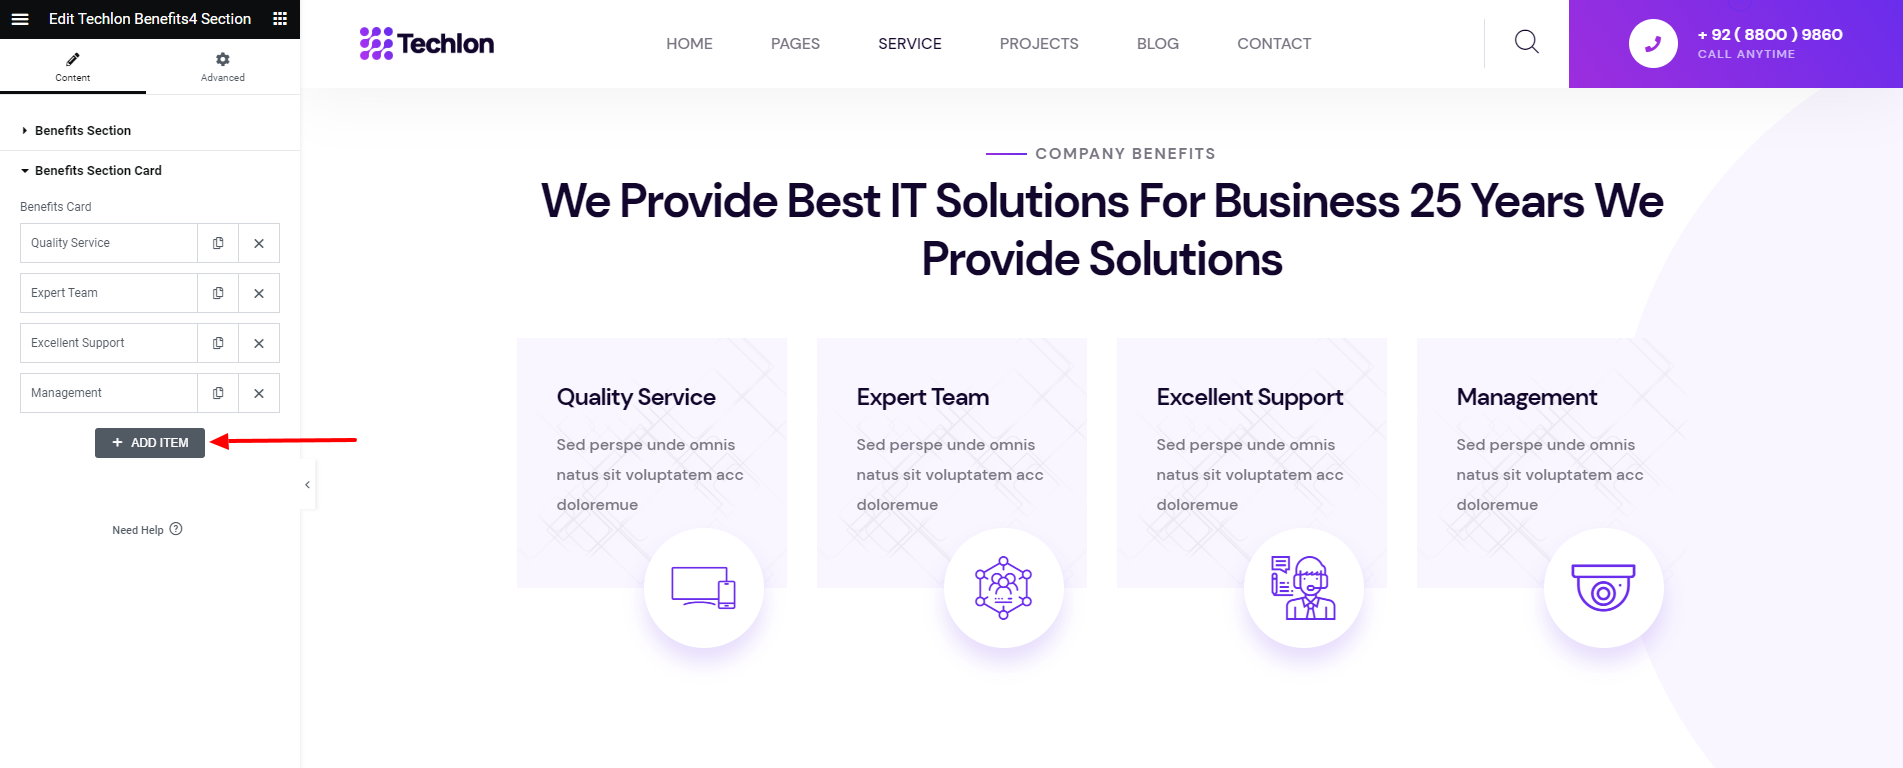
Techlon Benefits4
This Section will show the Company list Service benefits, image, and buttton.
Techlon Process
This Section will show the process list,title, and button

Techlon pricing
Enter Percentage and text ot progress bar

Techlon Contact1
This Section will show Contact information, button and image.

Techlon Contact2
This Section will show Contact information, icon, button and image.

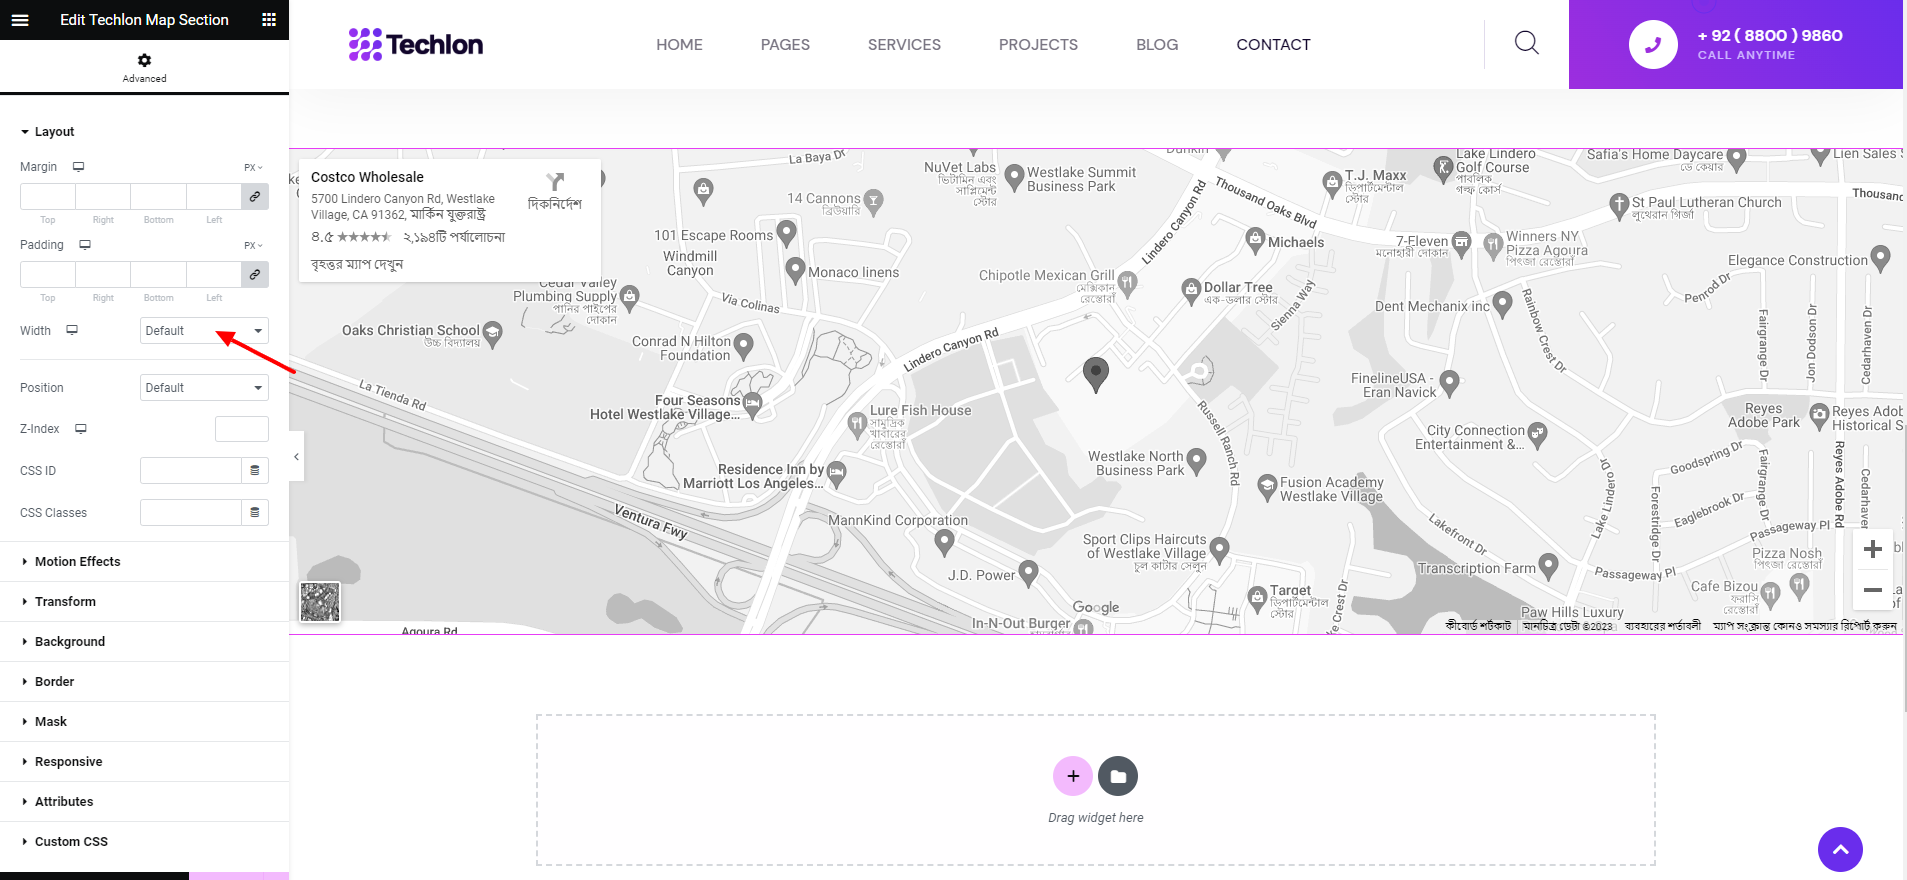
Techlon Map
This Section Will Show Map Information
FAQ
A FAQ is a list of frequently asked questions (FAQs) and answers on a particular topic.
Please set Max size of an uploaded file shoulde be 64MB
For php.ini
									upload_max_filesize = 32M
									post_max_size = 64M
									memory_limit = 128M
For .htaccess
									php_value upload_max_filesize 32M

									php_value post_max_size 64M

									php_value memory_limit 128M

									php_value max_execution_time 500

									php_value max_input_time 500
For wp-config.php
									@ini_set( 'upload_max_size' , '64M' );

									@ini_set( 'post_max_size', '128M');

									@ini_set( 'memory_limit', '256M' );
How to increase MAX post and Upload MB Ref Link
Support
If this documentation doesn't answer your questions, So, Please send us Email via Item Support Page
We are located in GMT +5:30 time zone and we answer all questions within 3 to 5 days in weekdays. (except holiday seasons which might take longer).
Don’t forget to Rate this template
Go to your Themeforest Profile > Downloads Tab > & then You can Rate & Review for our template.
Thank You.
Changelog
Version 1.0 (20 April, 2023)
Initial Release